Why I Love Making These Creepy Little Eyeballs
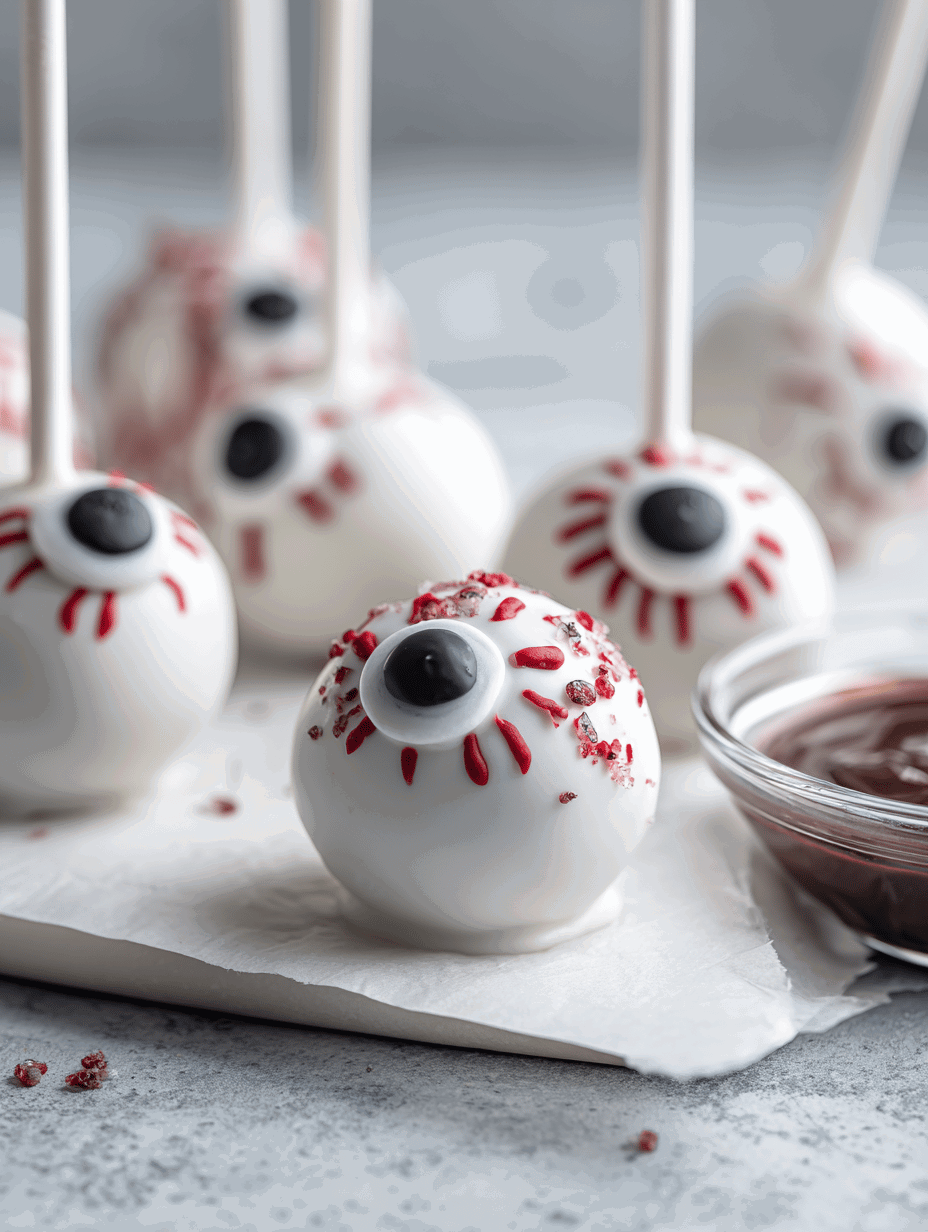
There’s something oddly satisfying about turning simple ingredients into tiny, grotesque eyeballs that look almost alive. I love how a little blood-red drizzle and a glossy finish transform these cake pops into mini monsters that make both kids and adults squeal with delight (or horror). It’s a bit chaotic to assemble, but seeing the final creepy stare is worth every messy second.
Plus, these are perfect for parties where everyone’s craving a bit of playful fright. I’ve made these with friends on Halloween night, laughing over the gooey mess and gobbling them up before dawn. They bring a nostalgic thrill, curling back to childhood costumes and candy hunts, but with a grown-up, messy twist.
What I Love About the Ingredients (and Why You Should, Too)
- Crumbled cake: I prefer a moist, slightly dense cake, like chocolate or vanilla, that holds together for rolling. If yours feels too dry, add a splash of leftover frosting or a tiny bit of milk.
- Chocolate coating: Smooth, shiny, and easy to work with. Dark or milk chocolate works; white chocolate can be fun if you want a ghostly look—just keep in mind it melts faster.
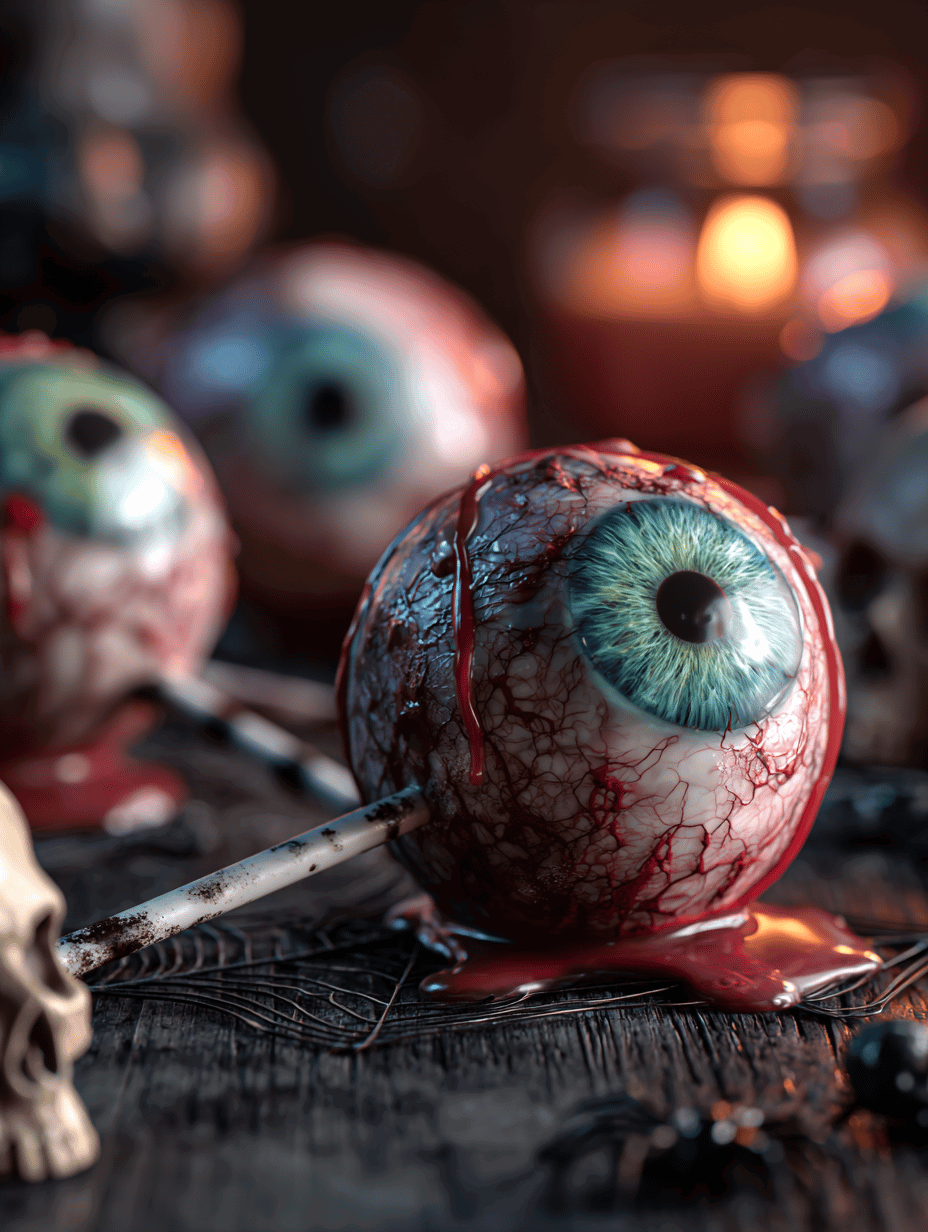
- Bloodshot eyeballs: Red candy melts or gel icing gives that visceral pop. If you’re out, a bit of red food coloring mixed into white chocolate makes a convincing substitute.
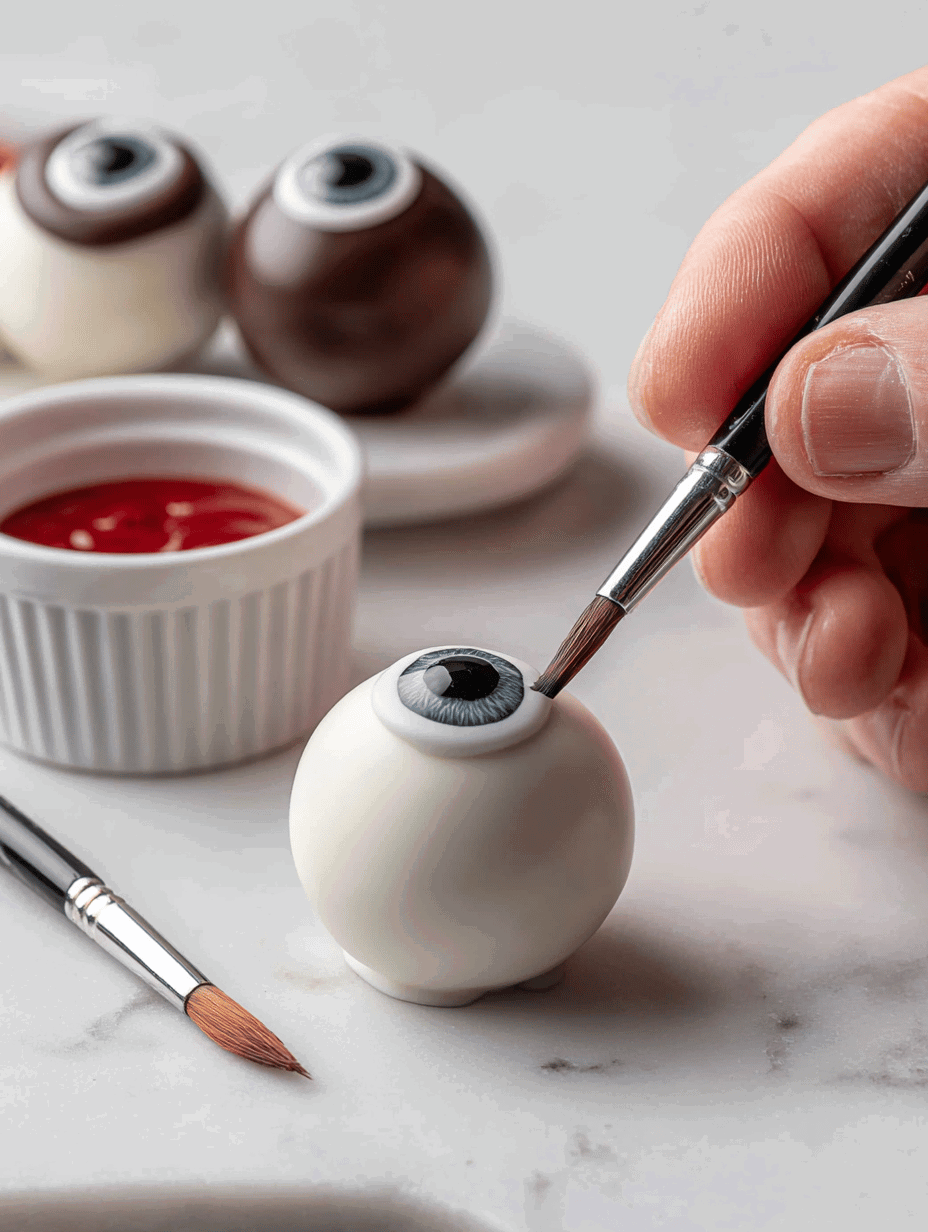
- Decorative details: Edible gel pens or melted candy for veins and pupils—these little touches make the monsters come alive. Avoid overly thick icing; it’s tough to detail cleanly.
- Toothpicks or skewers: For easy handling and dipping. If you prefer a cleaner look, use thin metal wires instead—just be careful with the sharp ends.
The Step-by-Step Monster Eye Cake Pop Construction
Equipment & Tools
- Stand mixer or large bowl for mixing cake crumbs and frosting
- Cookie scoop or spoon to portion out cake balls
- Wax paper-lined tray for chilling
- Microwave-safe bowls for melting chocolate
- Small piping bags or plastic sandwich bags for decorating
- Fine-tipped brushes or gel pens for detailing
Preparation Steps
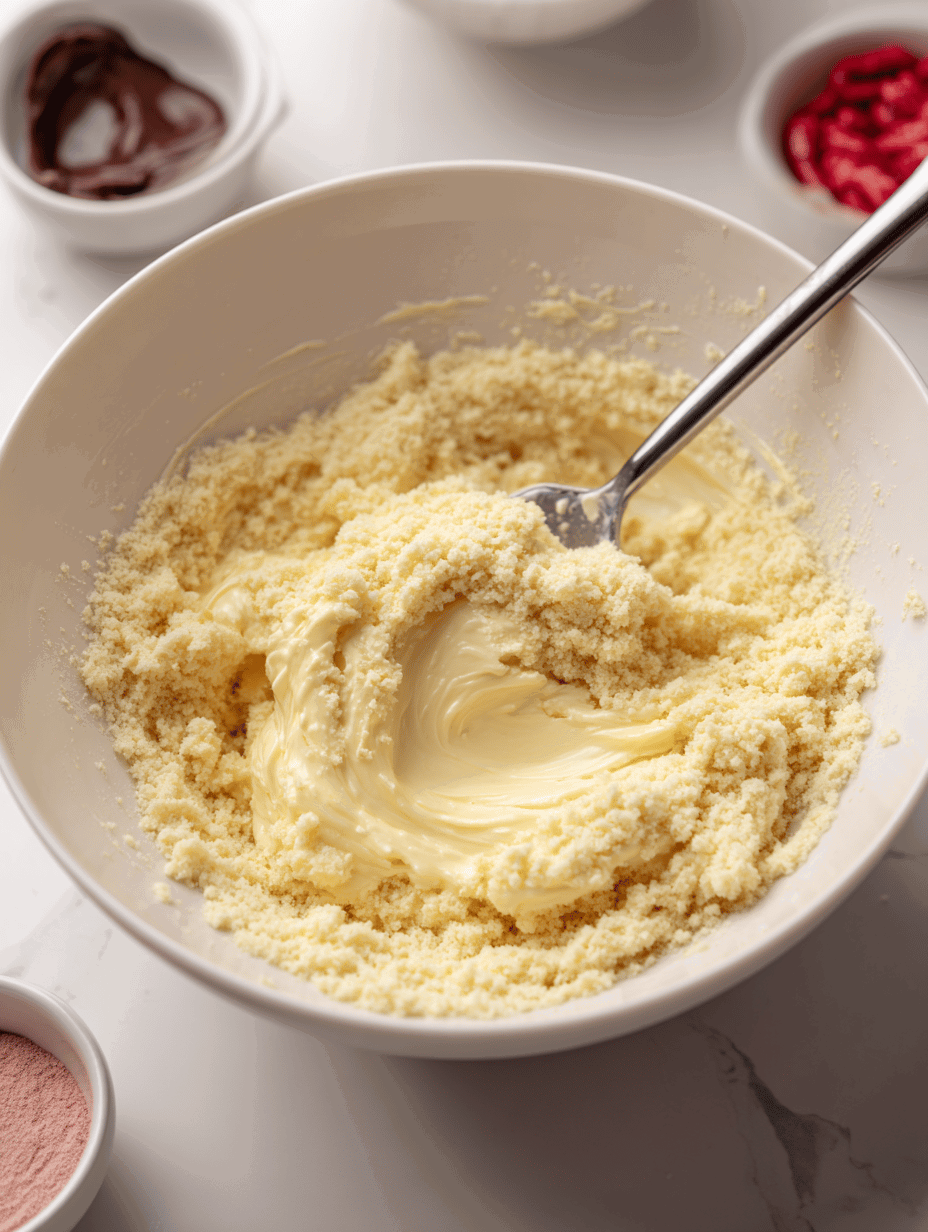
- Bake and crumble the cake: Bake your favorite flavor at 180°C/350°F until done. Cool completely, then crumble into fine crumbs in a large bowl.
- Mix in frosting: Add about half a cup of buttercream or frosting. Mix until dough-like—if it feels dry, add a splash of milk or more frosting.
- Form the eyeballs: Scoop small portions, roll into smooth balls, about 2 cm diameter. Place on lined tray and chill for 30 minutes.
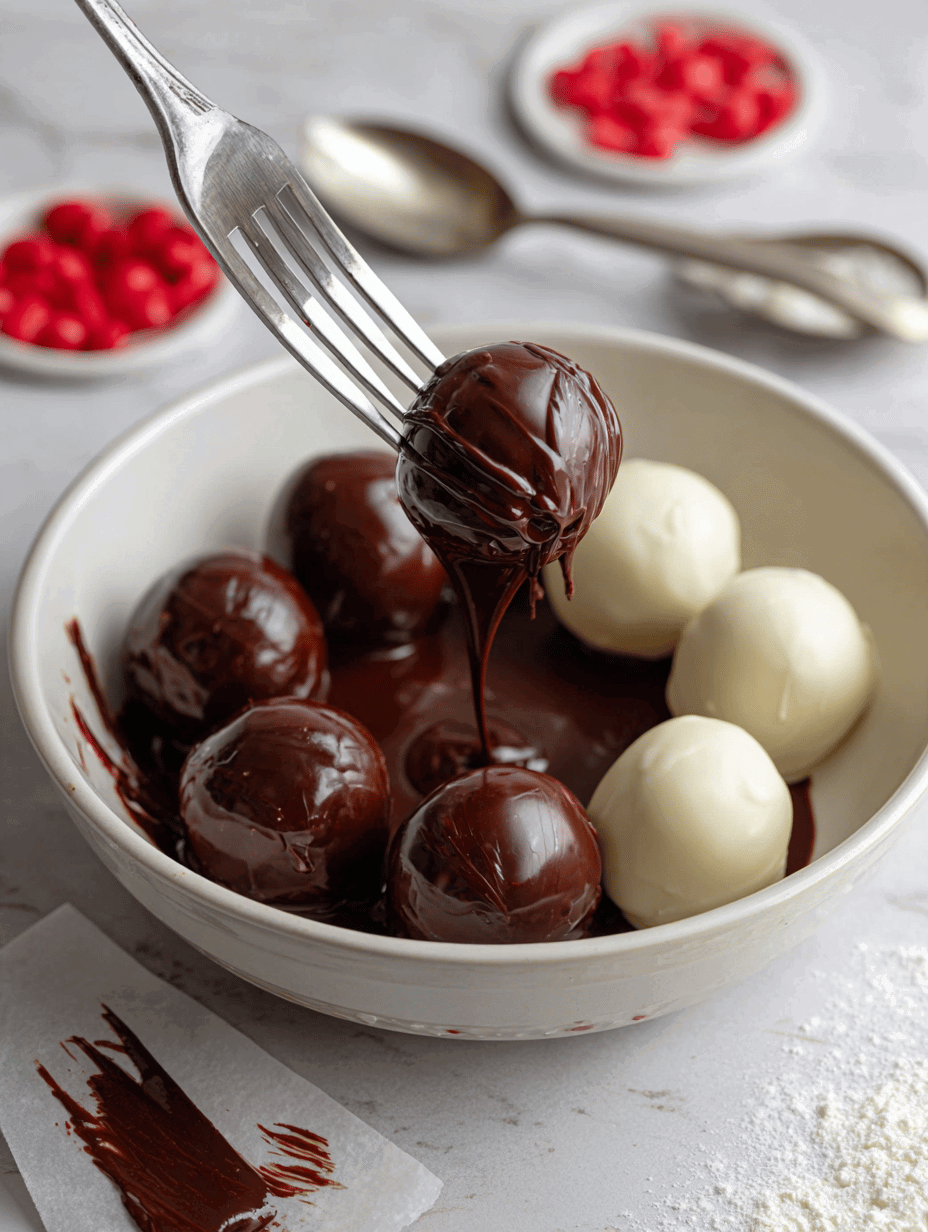
- Melt the coating: Melt chocolate in 30-second bursts, stirring until smooth. Dip one end of a skewer into chocolate, then insert into each ball’s top for stability.
- Coat the cake pops: Dip each ball into the melted chocolate, let excess drip off. Place on wax paper and chill for 15 minutes to set.
- Add the bloodshot detail: Melt red candy melts or use gel icing. Pipe thin lines around the eyeballs for veins. Add a small dot of black for the pupil, and a shiny glaze if needed.
- Finish and display: Once decorated, chill for another 10 minutes. Stick in a foam block or stand for presentation.
Checking for Readiness & Final Touches
- Ensure the coating is firm and shiny—no sticky spots.
- The eyeballs should wobble slightly but not be loose—if so, chill longer.
- Look for detailed veins and pupils—if blurred, reapply with a fine brush or pen.
Mistakes to Watch Out For—and How to Fix Them
- FORGOT to chill the cake mixture? It will be too soft to roll. Chill for at least 30 minutes before shaping.
- DUMPED too much chocolate? It’ll be lumpy. Thin with a little coconut oil or vegetable shortening.
- OVER-TORCHED coating? It becomes dull and smoky. Lower heat and stir constantly.
- POOR detailing? Use a tiny brush or toothpick for small veins or pupils. Patience makes perfect.
Quick Kitchen Fixes & What to Do When Things Go Wrong
- When chocolate cracks, add a splash of vegetable oil to smooth it out.
- If bloodshot veins bleed into the white, chill the decorated eyeballs for 5 minutes and re-draw.
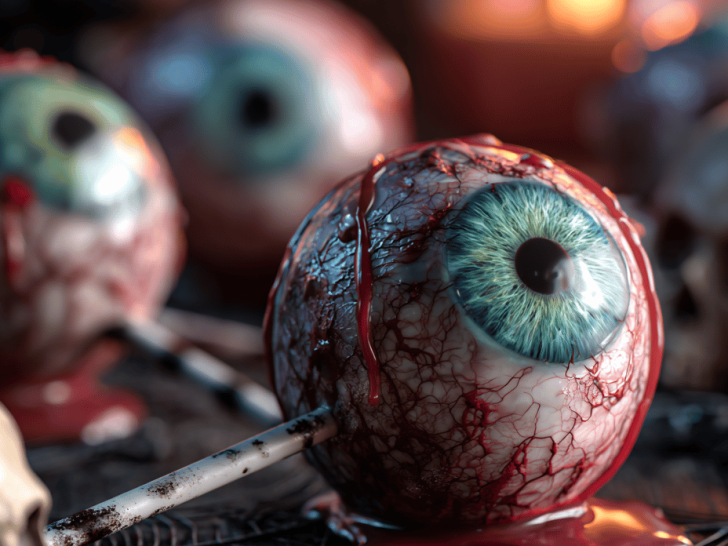
- Splash a little edible shimmer over the eyeballs for a wet, glossy look that’s extra creepy.
- Patch any cracks with a dab of melted chocolate and smooth over with a toothpick.
- When in doubt, swap out red gel with a quick swirl of raspberry jam—it adds color and flavor.
Making these monster eyeballs is a bit of chaos and a lot of fun. They have this raw, slightly spooky charm that’s perfect for Halloween or any party where you want to surprise people. The process is messy, yes, but the result is a tiny, grotesque masterpiece that’s as tasty as it is creepy.
Plus, the best part is the shared laughs and the little moments of triumph when everything finally comes together—those weird, gooey, beautiful moments you remember long after the last eyeball is gone. It’s not just a treat; it’s a little bit of Halloween magic wrapped in chocolate and sugar.
Creepy Little Eyeball Cake Pops
Equipment
- Stand mixer or large bowl
- Cookie scoop or spoon
- Wax paper-lined tray
- Microwave-safe bowls
- Small piping bags or plastic sandwich bags
- Fine-tipped brushes or gel pens
Ingredients
- 1 baked cake (chocolate or vanilla) cooled and crumbled
- 1/2 cup frosting buttercream or your favorite frosting
- 200 g dark or milk chocolate for melting
- 100 g red candy melts or gel icing for bloodshot veins
- Black color gel or edible marker for pupils and veins
- to taste vegetable shortening or coconut oil to thin chocolate if needed
Instructions
- Crumb the cooled baked cake into a large bowl until fine and uniform.

- Add the frosting to the cake crumbs and mix thoroughly until the mixture holds together when pressed.
- Scoop small portions of the mixture and roll into 2 cm diameter balls. Place them on a wax paper-lined tray.
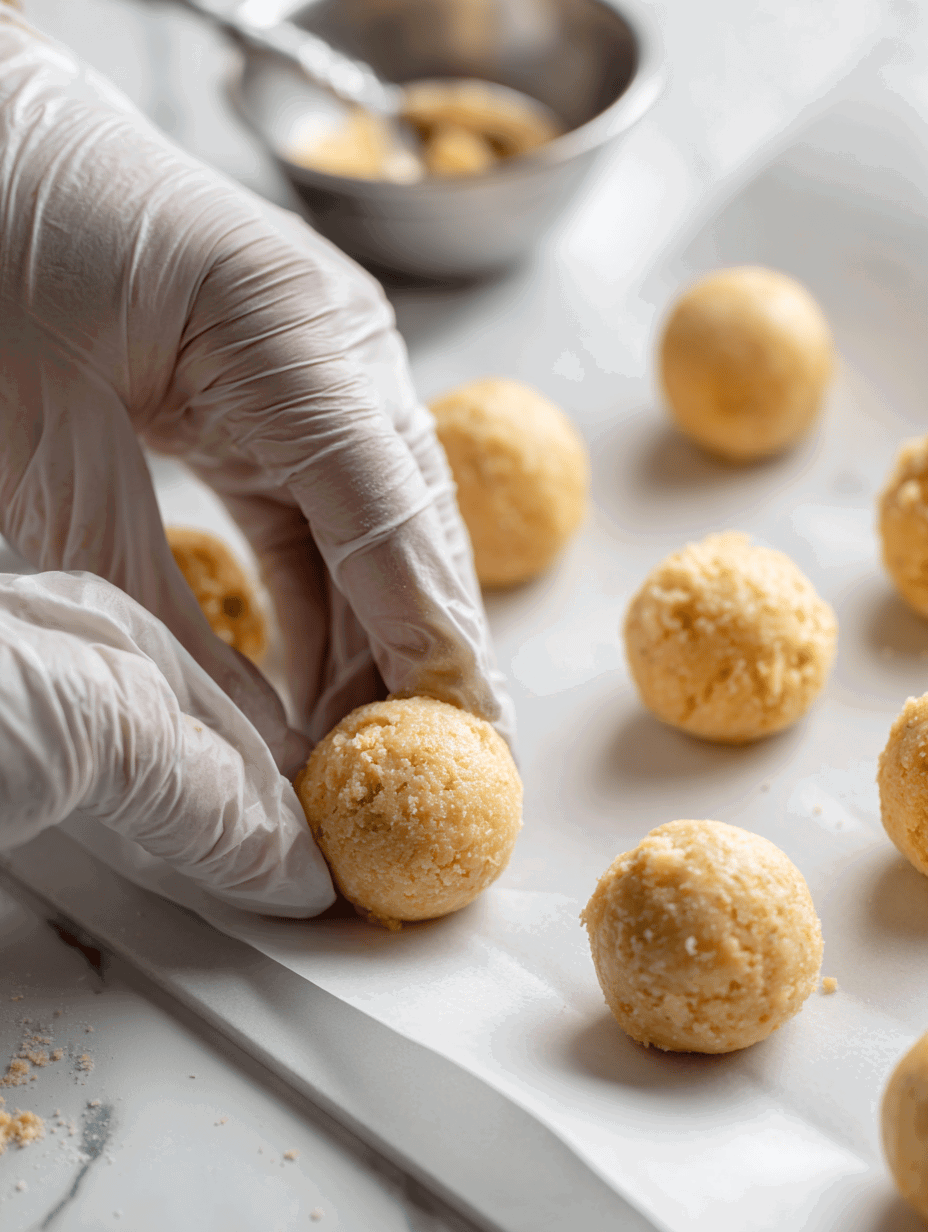
- Chill the cake balls in the refrigerator for 30 minutes to firm up.

- Melt the chocolate in short bursts in the microwave, stirring until smooth. Dip the tip of a skewer into the melted chocolate and insert into each cake ball's top for stability.

- Dip each cake ball into the melted chocolate, turning to coat evenly. Let excess chocolate drip off and place back on the wax paper. Chill for 15 minutes to set.
- Melt the red candy melts or prepare gel icing. Use a piping bag or small brush to draw bloodshot veins around the eyeball.
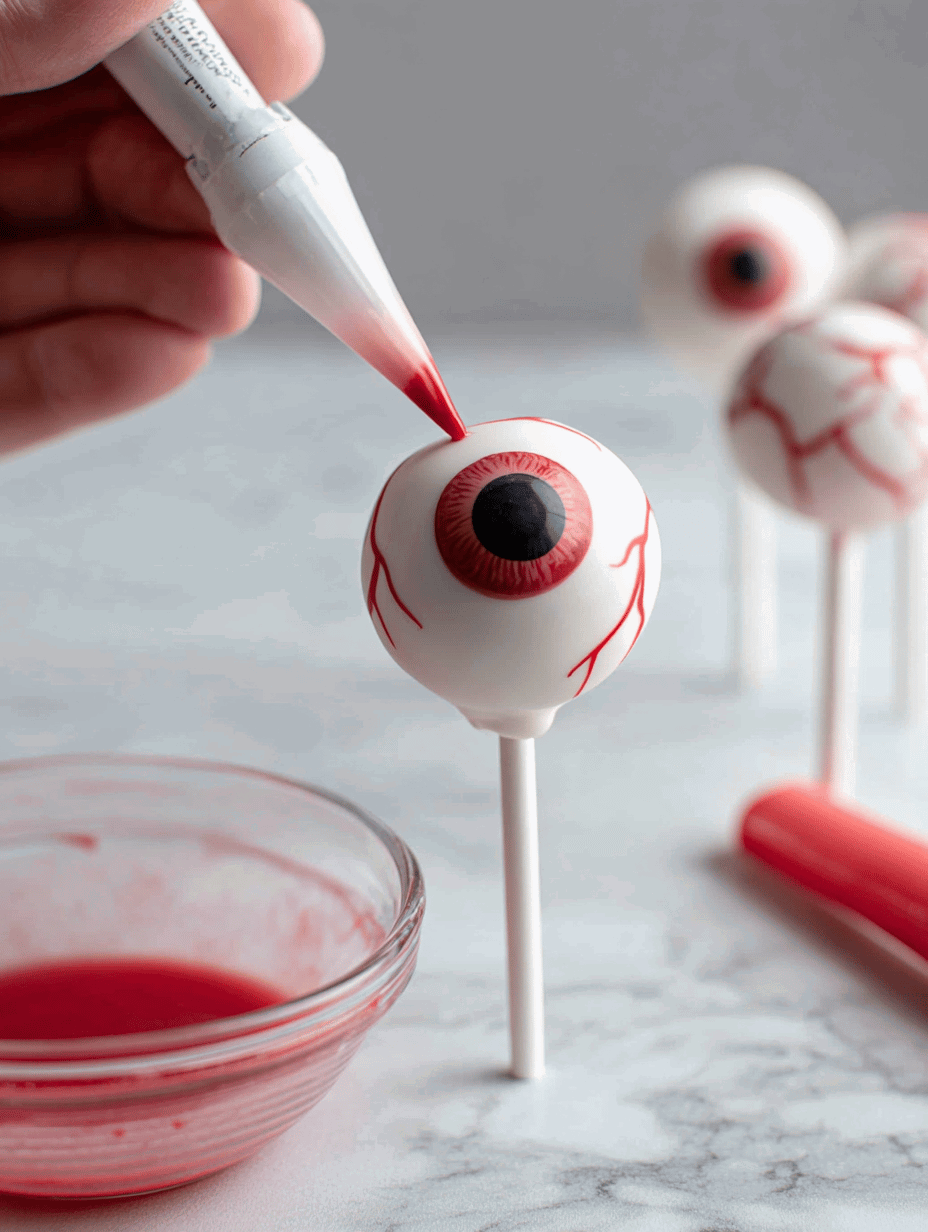
- Add a small black dot for the pupil using a gel pen or edible marker. Optionally, add a shiny glaze for a wet look.
- Chill the decorated eyeballs for another 10 minutes to set all details before serving.