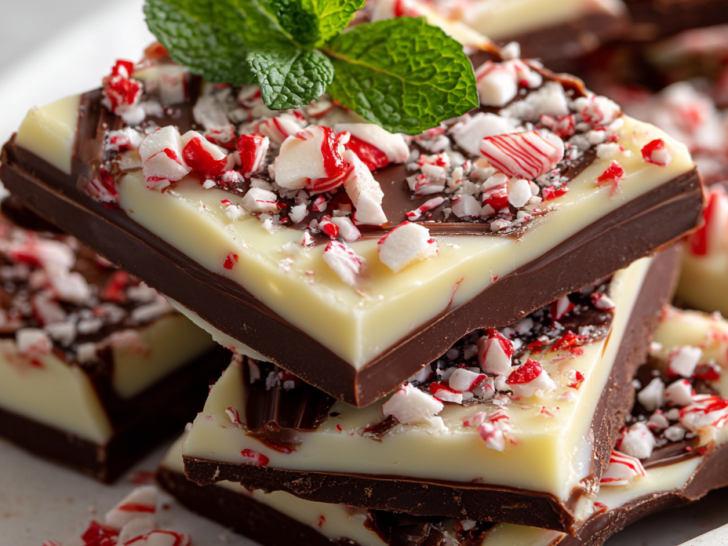
Peppermint bark is one of those recipes that feels like a tradition in the making, especially during the swirl of holiday prep. It’s surprisingly forgiving, yet it carries a quiet elegance—the glossy surface, the cool peppermint aroma, the satisfying crunch with every bite. I’ve always loved how it balances sweet and minty, a perfect little treat for sharing or keeping close.
Why I keep reaching for peppermint bark this season
It’s the perfect blend of simplicity and indulgence. The quick melting, the satisfying snap, and the peppermint zing make it a perennial favorite. Plus, it’s endlessly customizable—add nuts, drizzle caramel, or sprinkle cocoa powder for a personal touch. When the season hits, it’s the one treat I can’t do without, year after year.
Breaking down the ingredients, layer by layer
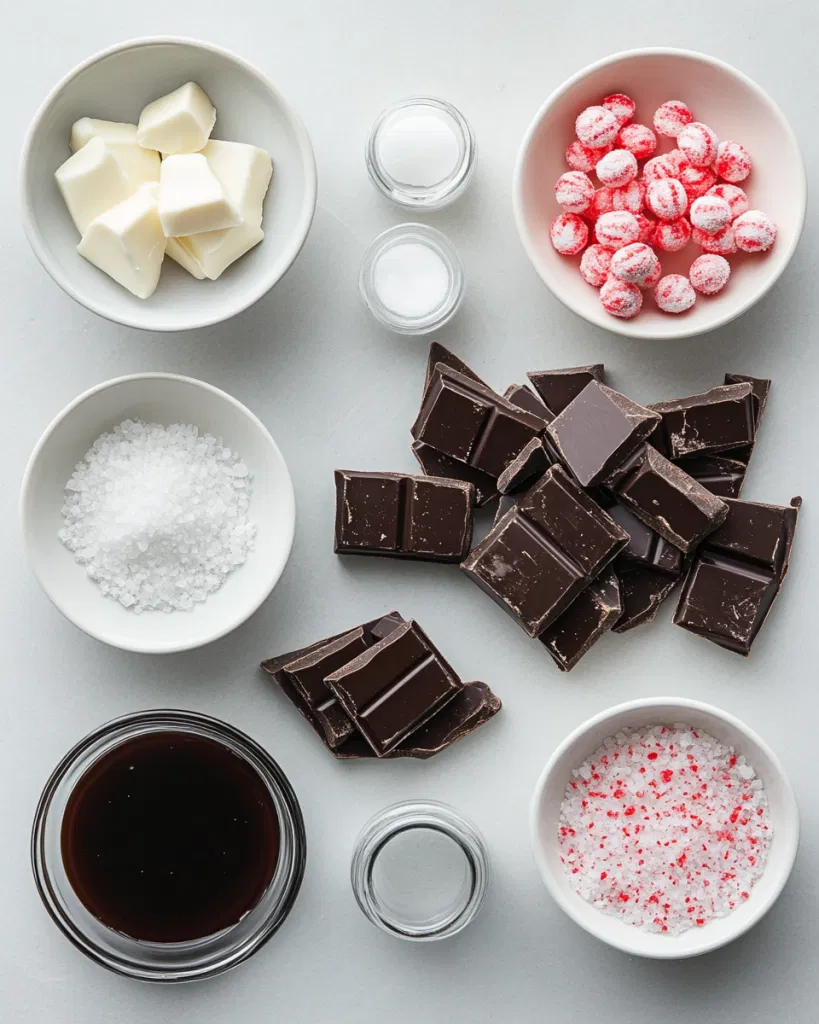
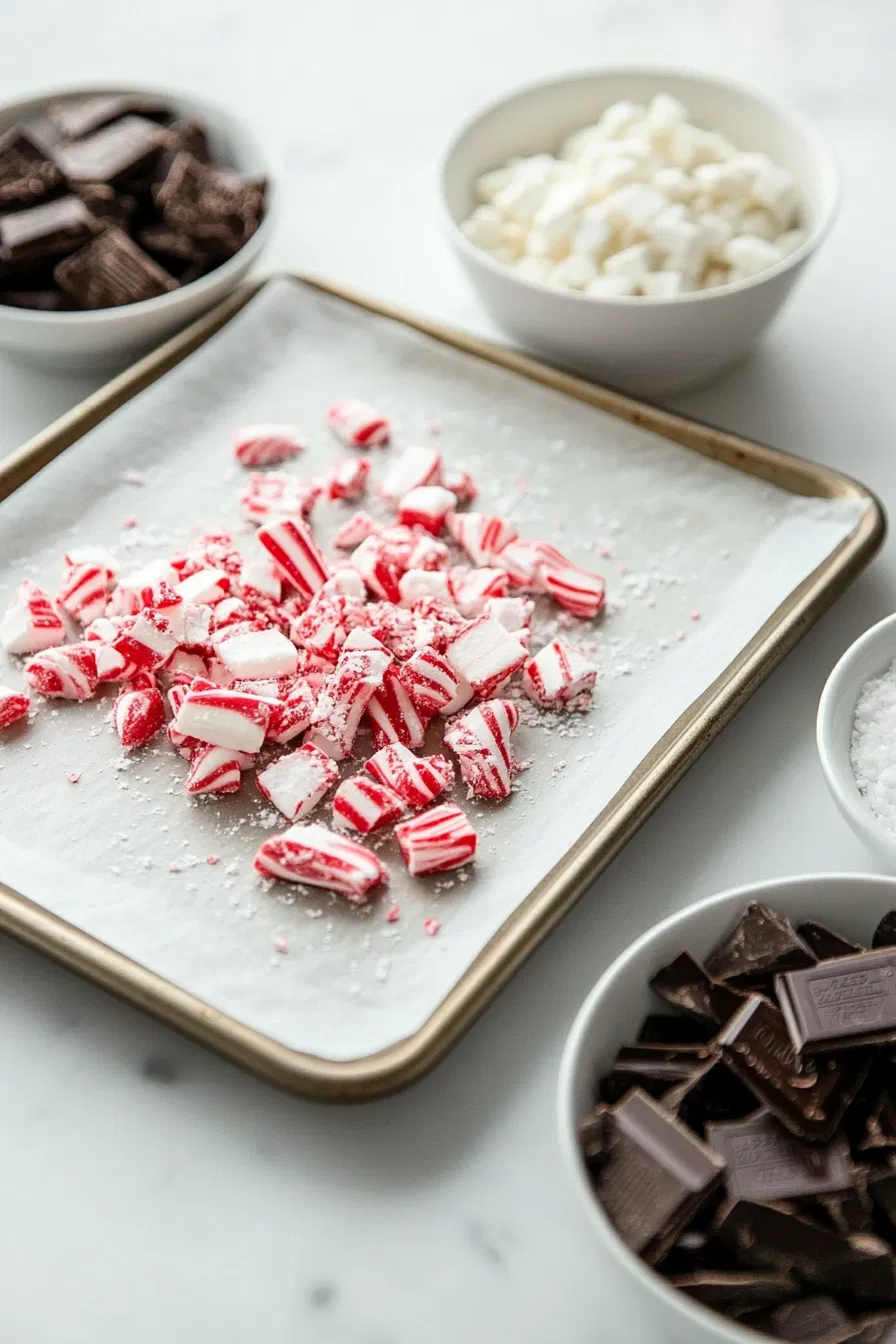
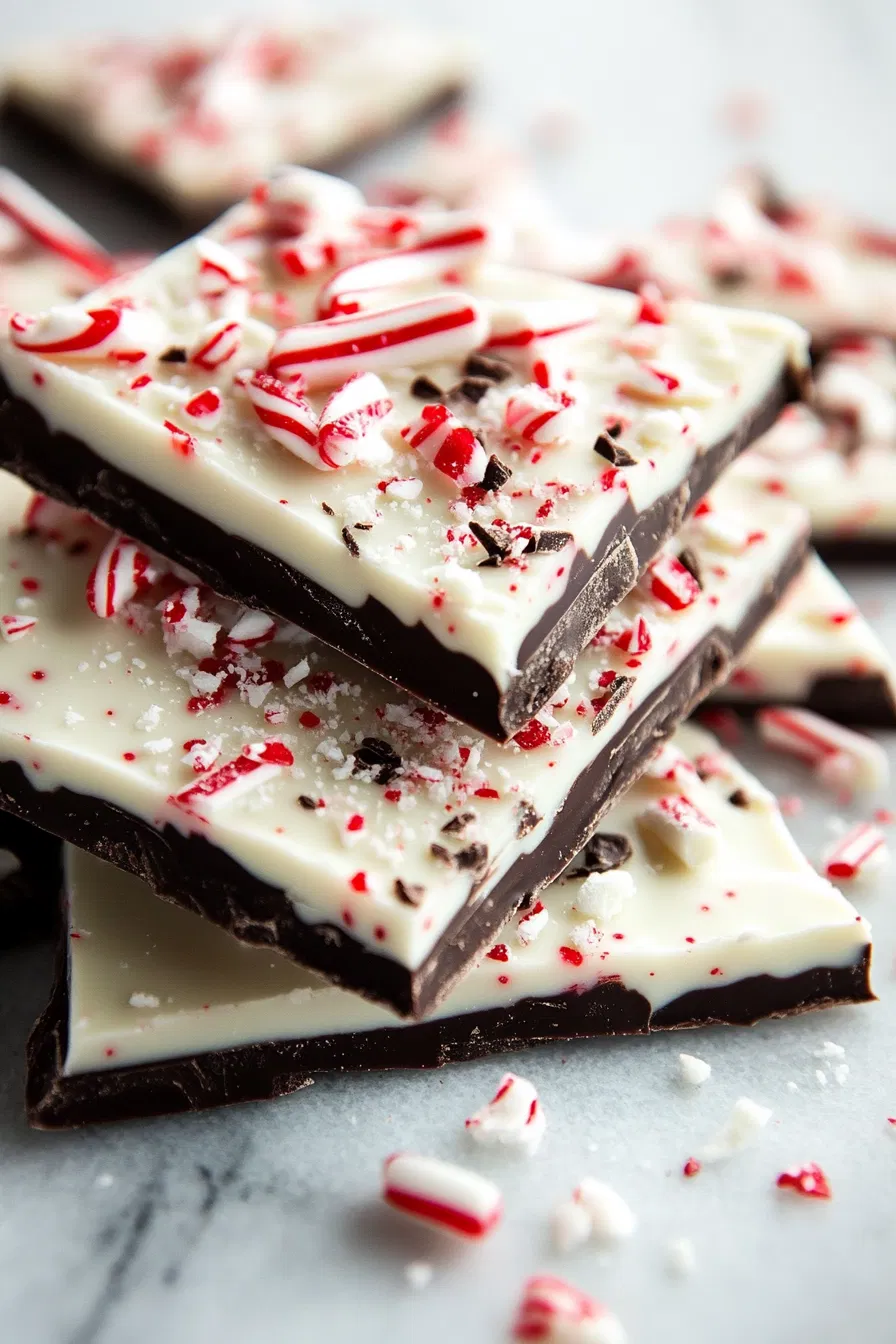
- Dark chocolate: Rich, melts smoothly, provides a deep flavor base, and pairs well with peppermint.
- White chocolate: Creamy, sweet, and brightens the overall look and taste, adding contrast.
- Peppermint candies: Crushed, they add a cool, spicy crunch; use store-bought or homemade.
- Vegetable oil: Helps smooth out the melted chocolate; substitute with coconut oil for a different note.
- Sea salt (optional): A tiny pinch enhances the chocolate’s richness; skip if you prefer pure mint.
- Parchment paper: Prevents sticking and easy removal after setting.
- Spray or brush of neutral oil: Helps prevent sticking of the bark to your hands when breaking.
Tools of the trade for peppermint perfection
- Heatproof bowl: Melts the chocolate evenly without scorching.
- Spatula: Spreads and levels the melted chocolate on the baking sheet.
- Baking sheet with parchment: Provides a clean, flat surface for setting the bark.
- Knife or breaker: Cuts or breaks the hardened bark into shards.
Step-by-step guide to layering and setting the peppermint bark
Step 1: Line a baking sheet with parchment paper.
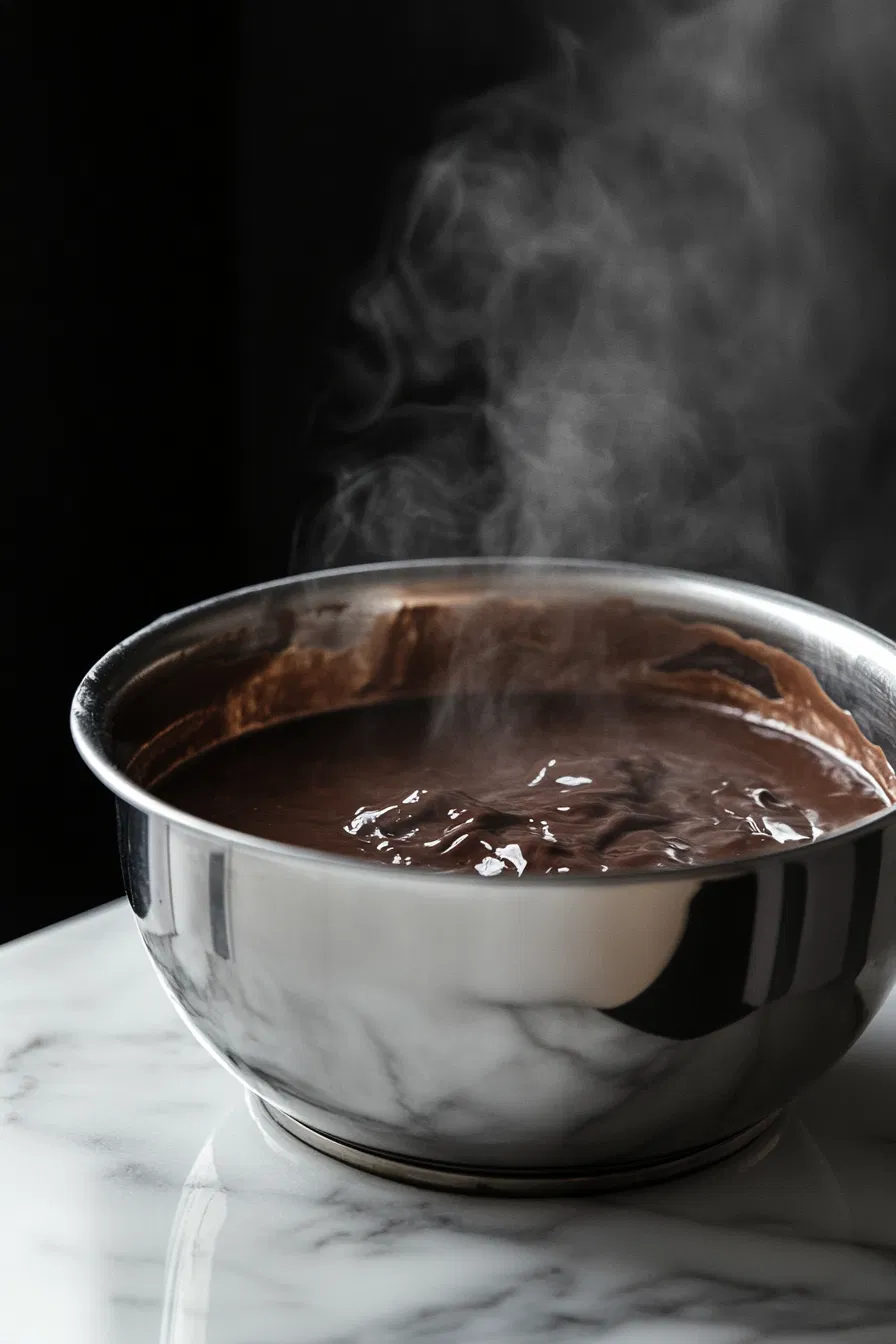
Step 2: Melt the dark chocolate in a heatproof bowl over simmering water or in short bursts in the microwave, stirring until smooth.
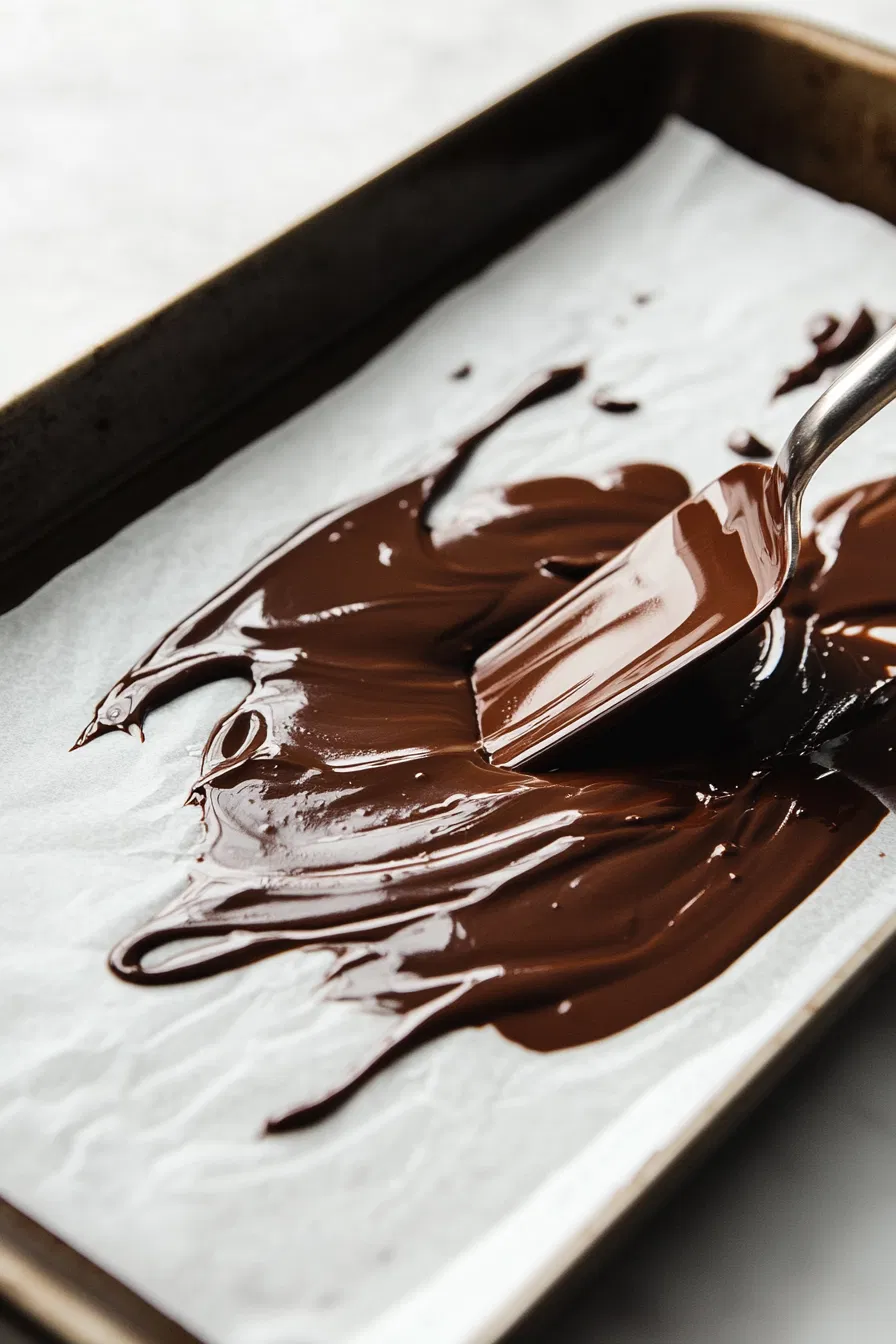
Step 3: Pour the melted dark chocolate onto the prepared sheet, spreading evenly with a spatula.
Step 4: Freeze for 10-15 minutes until just set but not hard.
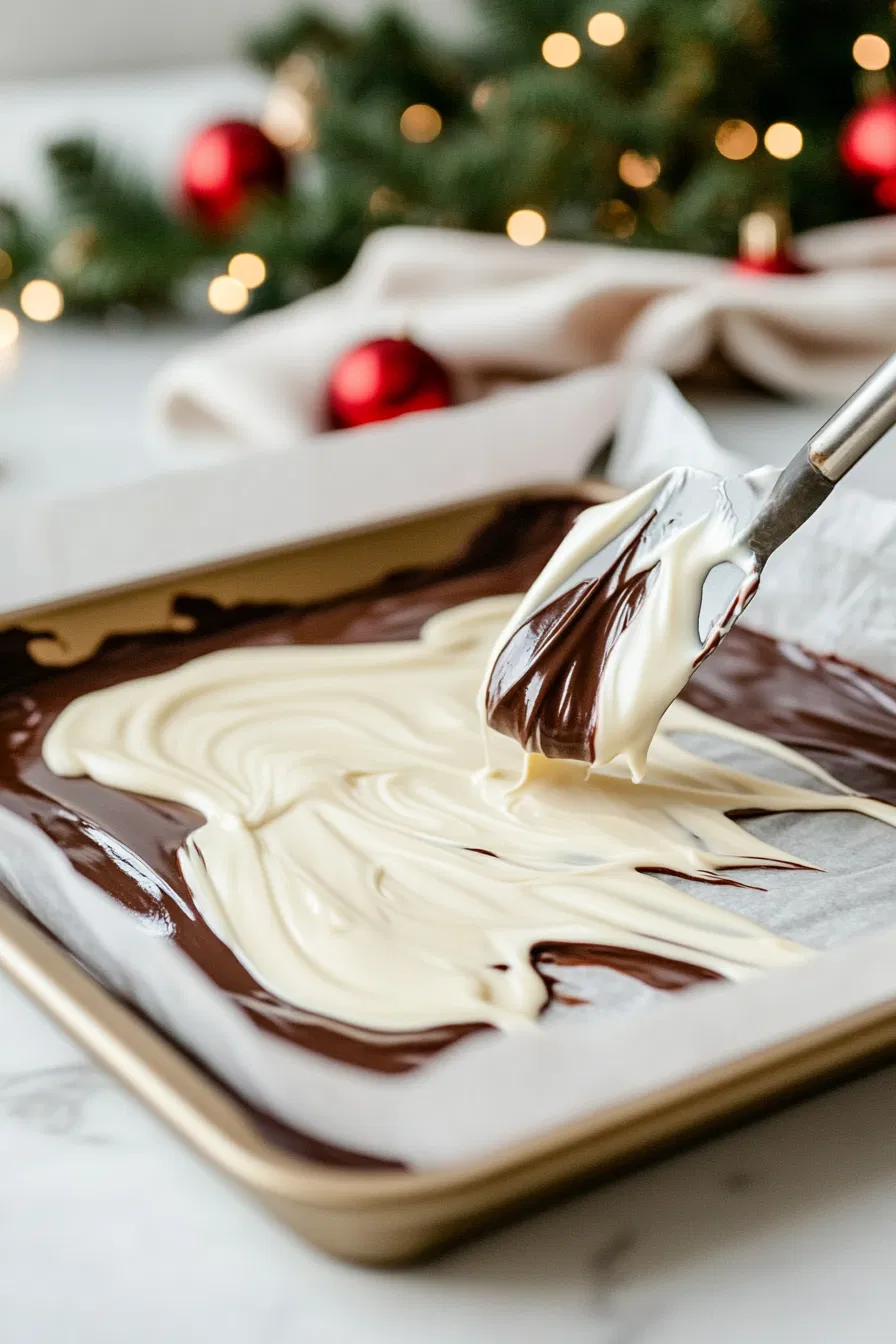
Step 5: Repeat the melting process with the white chocolate, then swirl or layer it over the dark.
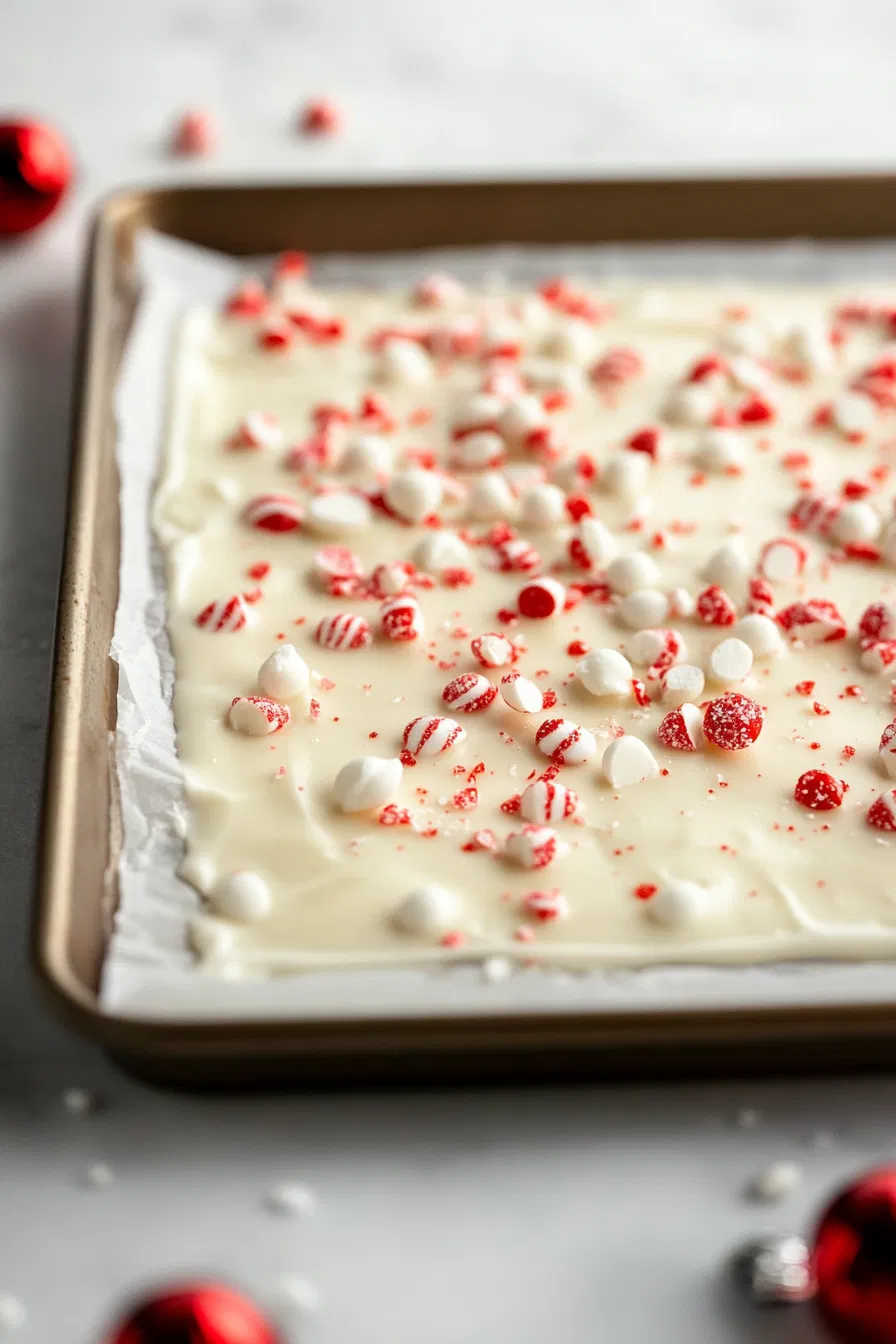
Step 6: Sprinkle crushed peppermint candies on top while the white chocolate is still warm.
Step 7: Press lightly to embed the candies and create a textured surface.
Step 8: Freeze again for at least 30 minutes until solid.
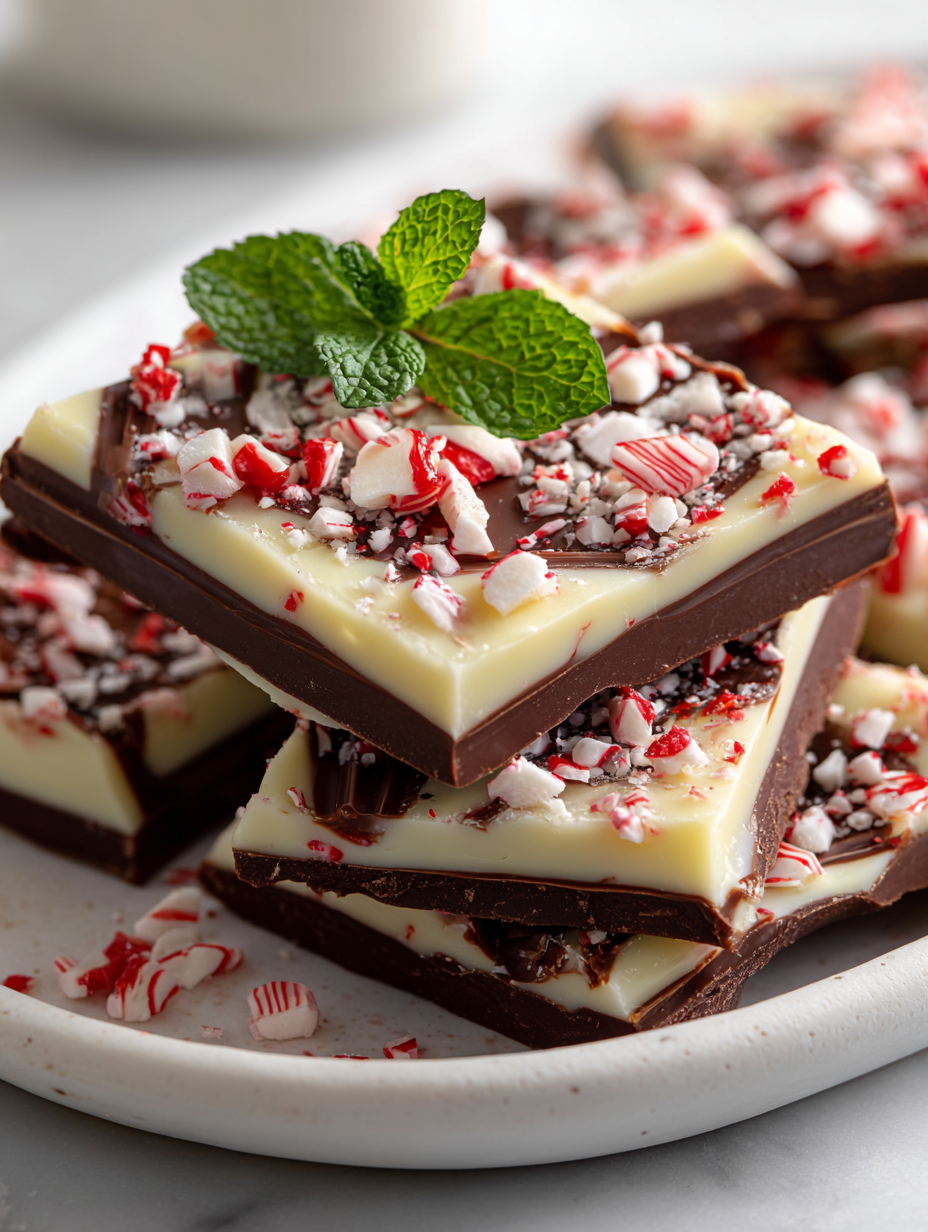
Step 9: Break into shards and enjoy the cool, crisp snap of peppermint and chocolate.
Peppermint Bark
Equipment
- Heatproof bowl
- Spatula
- Baking sheet with parchment
- Knife or breaker
Ingredients
- 8 oz dark chocolate high-quality for best flavor
- 4 oz white chocolate for contrast and brightness
- 1 cup crushed peppermint candies store-bought or homemade
- 1 tablespoon vegetable oil helps melt chocolate smoothly
- pinch sea salt optional, enhances chocolate flavor
- none parchment paper for lining the baking sheet
Instructions
- Line a baking sheet with parchment paper, smoothing it flat and ensuring the edges are secure.
- Place the dark chocolate in a heatproof bowl and melt it gently over simmering water or in short bursts in the microwave, stirring until smooth and glossy. You’ll notice a rich, velvety texture forming.
- Pour the melted dark chocolate onto the prepared parchment-lined sheet and spread evenly with a spatula, creating a smooth, glossy layer about 1/4 inch thick.
- Pop the sheet into the freezer for about 10-15 minutes until the dark chocolate is just set but still slightly soft to the touch.
- Meanwhile, melt the white chocolate in a similar manner, stirring until smooth and shiny, and add a tablespoon of vegetable oil to keep it silky.
- Pour the white chocolate over the semi-set dark chocolate layer, then use a spatula to swirl or spread it out evenly for a layered effect.
- Sprinkle the crushed peppermint candies generously over the warm white chocolate, pressing lightly to embed the candies into the surface.
- Return the baking sheet to the freezer and chill for at least 30 minutes until the entire layer is firm and solid.
- Once fully set, remove from the freezer and break the peppermint bark into shards using a knife or your hands, creating uneven but charming pieces.
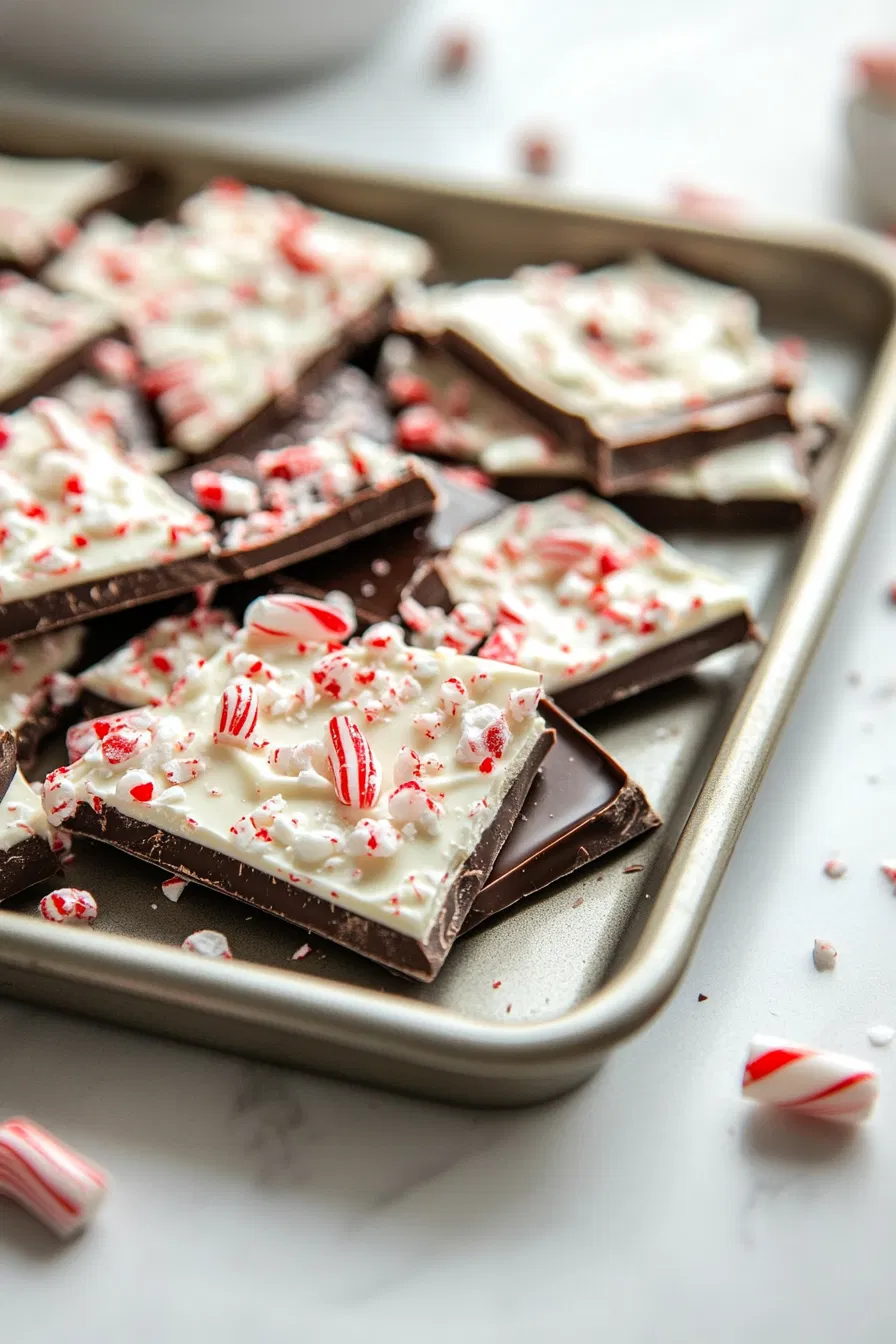
- Enjoy the crisp, glossy shards with a satisfying snap, revealing the contrasting layers and peppermint crunch in every bite.
Notes
Nutrition
Crisp, shiny, and just the right thickness: the checkpoints to perfect peppermint bark
- Chocolate should be glossy and smooth after melting, not grainy or dull.
- Layer should be even, with no gaps or thick spots that crackle when broken.
- Peppermint candies should be crushed to small, uniform pieces for even distribution.
- Bark should snap cleanly when broken, indicating proper tempering and setting.
Common pitfalls and how to dodge them
- Over-heated chocolate melts unevenly or burns.? If the chocolate seizes or becomes grainy, gently reheat over a double boiler and stir in a teaspoon of vegetable oil.
- Adding candies too early causes bleeding.? If the peppermint candies bleed into the chocolate, add candies after the chocolate is just about to set.
- Uneven spreading leads to cracks and uneven texture.? If the layer is uneven or thick, use a spatula to thin out the chocolate for a better snap.
- Too cold or brittle chocolate causes shattering.? If the bark cracks badly when broken, try warming slightly in the oven to soften before snapping.
Making peppermint bark is a straightforward ritual that rewards patience with a satisfyingly crisp, peppermint-kissed chocolate. It’s a simple project that feels like a small victory—no fancy ingredients needed, just good chocolate and a touch of holiday spirit. Feel free to experiment with different chocolates or add a dash of sea salt for contrast. Keep a stash in the freezer, because once you start, it’s hard not to keep coming back for a piece.