Homemade Black Cherry Ice Cream Recipe
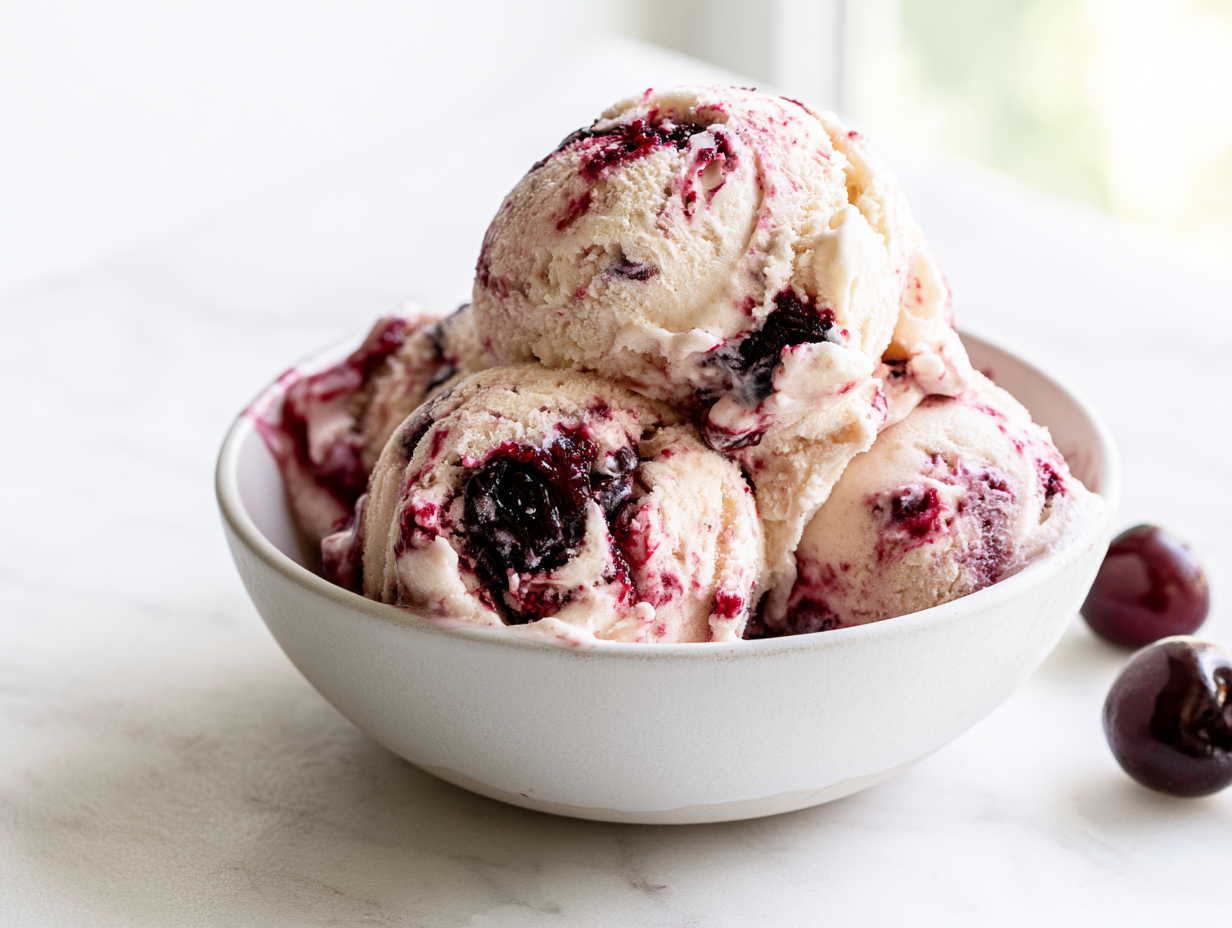
This Homemade Black Cherry Ice Cream is a creamy summer dessert made with fresh or frozen black cherries, a silky vanilla custard base, and a ribbon of cherry jam. The cherries are gently cooked first, concentrating their natural fruit flavor before they are folded into the churned ice cream.
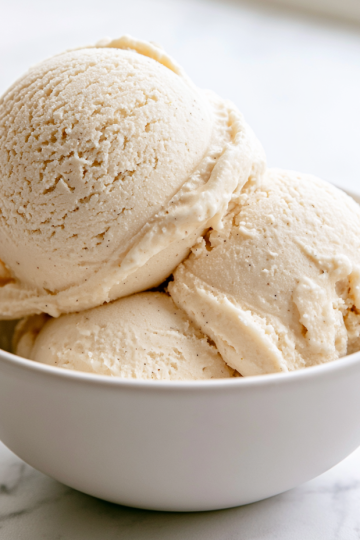
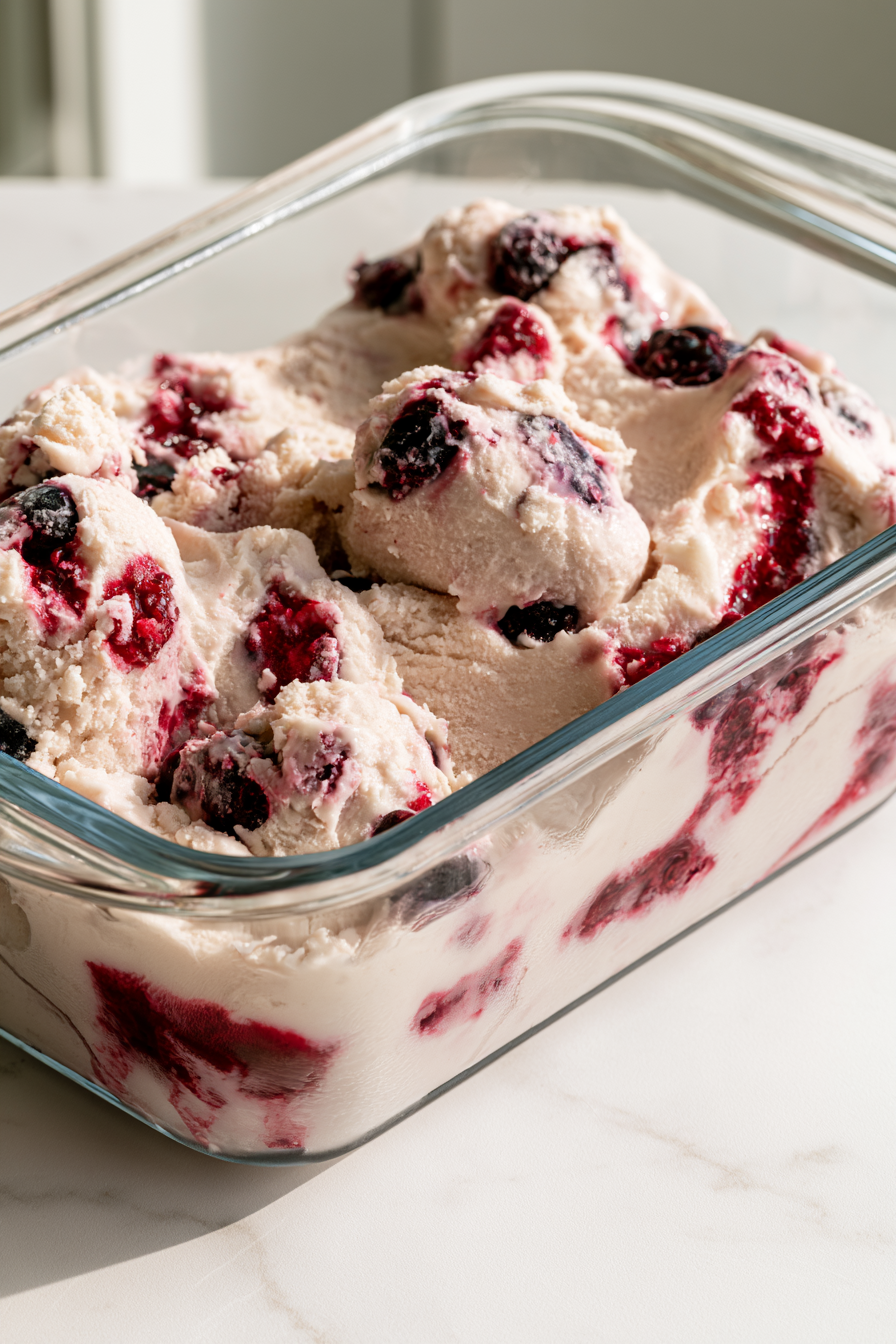
The finished ice cream has a smooth, scoopable texture with juicy pieces of cherry throughout and pockets of sweet cherry preserves. Vanilla rounds out the fruit while the lemon juice keeps the cherry flavor bright and balanced.
Why You’ll Reach for This Recipe Again
- Make-Ahead Dessert: The custard needs plenty of chilling time, making this a useful dessert to prepare ahead.
- Fresh or Frozen Cherries: You can make it with fresh black cherries during summer or use frozen cherries when they are unavailable.
- Classic Ice Cream Base: The custard method creates a rich foundation that pairs naturally with the fruit.
- Fruit-Filled: Cooked cherries and cherry preserves give the ice cream plenty of cherry flavor.
- Customizable: The basic recipe can be adapted with chocolate chips or different toppings.
- Special-Occasion Worthy: Homemade ice cream makes a memorable finish for summer dinners and celebrations.
Ingredient Insights and Easy Substitutions
- Black Cherries: Fresh or frozen black cherries both work well. If using fresh cherries, remove the pits before cooking and cut the fruit in half.
- Egg Yolks: Egg yolks give the custard its rich body and help create a smooth finished ice cream. Whisk them with the sugar until pale before adding the warm dairy mixture.
- Heavy Cream: Heavy cream provides richness and contributes to the creamy consistency. Use full-fat cream for the best results.
- Whole Milk: Whole milk balances the richness of the cream while keeping the custard fluid enough to churn properly.
- Cherry Jam: Cherry jam creates the concentrated swirl throughout the finished ice cream. Choose a good-quality jam or preserve with a strong fruit flavor.
- Vanilla: Vanilla extract or vanilla bean paste complements the cherries and adds depth to the custard without overpowering the fruit.
Chef’s Tip: Chill the custard completely before churning. A thoroughly cold base freezes more efficiently in the ice cream maker and helps produce a smoother texture.
Homemade Black Cherry Ice Cream
Equipment
- Ice Cream Maker
- Medium Saucepan
- Large heat-safe mixing bowl
- Fine-mesh strainer
- Rubber spatula
- Freezer-Safe Container:
Ingredients
For the Cherry Mixture
- 2 cups fresh or frozen black cherries pitted and halved
- ⅓ cup granulated sugar
- 1 tablespoon lemon juice
For the Ice Cream Base
- 4 large egg yolks
- ⅓ cup granulated sugar
- 1¼ cups heavy cream
- 1¼ cups whole milk
- Pinch of salt
- 1 teaspoon vanilla extract or vanilla bean paste
For the Cherry Swirl
- ½ cup cherry jam or preserves
Instructions
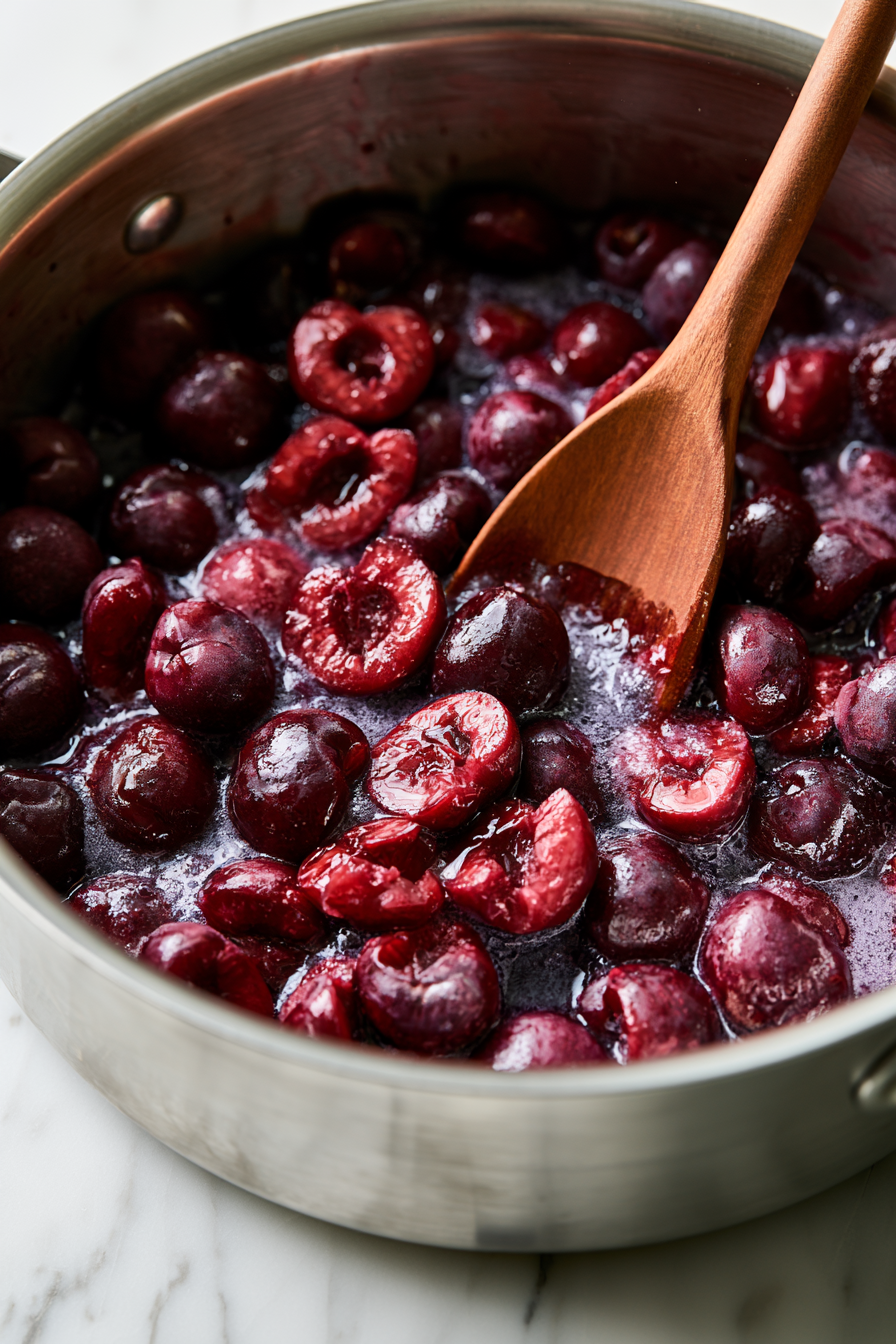
- Add the cherries, sugar, and lemon juice to a saucepan. Cook over medium heat for 5 to 7 minutes, until the cherries soften and release their juices.
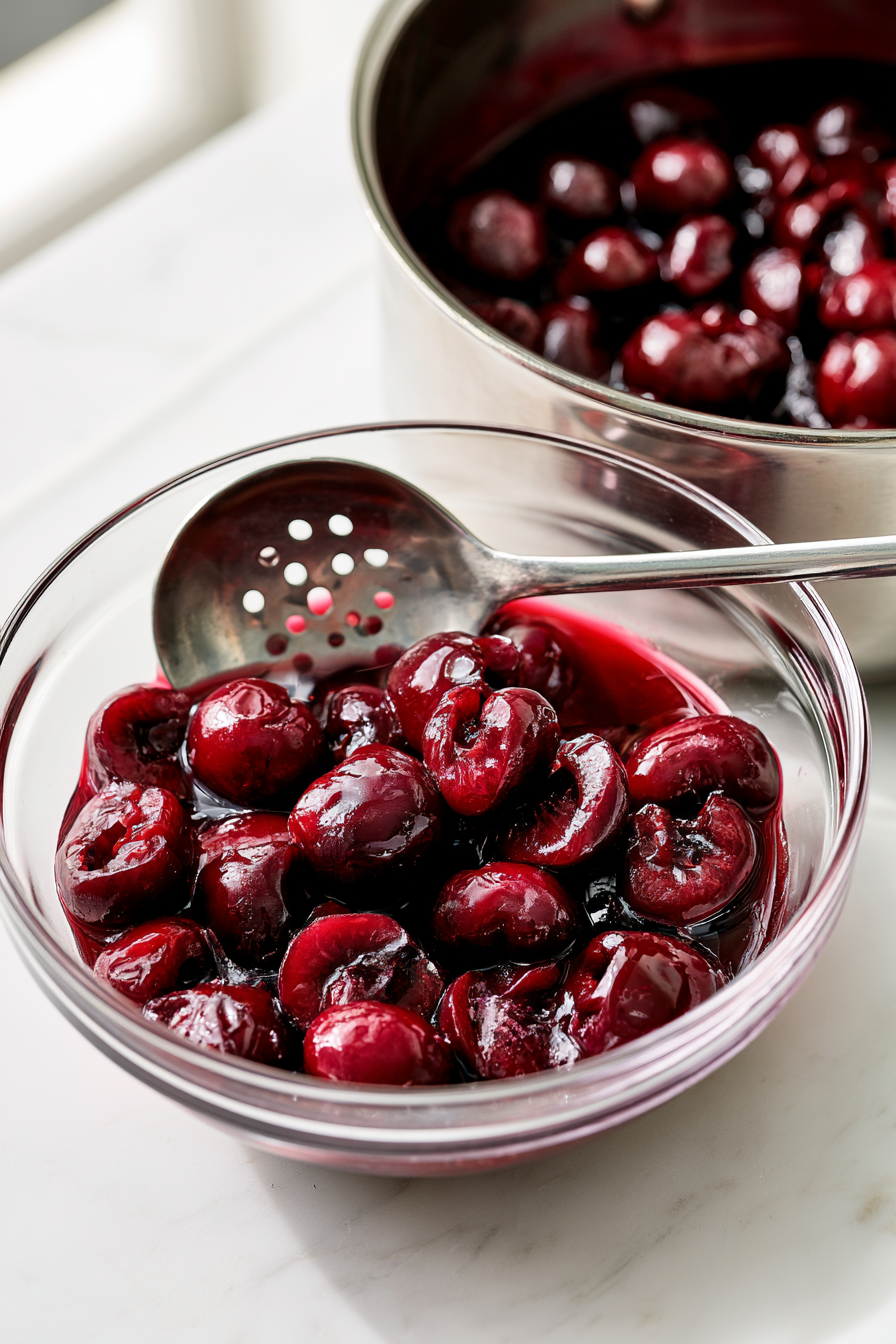
- Transfer the cherries to a bowl with a slotted spoon and refrigerate. Let the cherry syrup cool slightly.
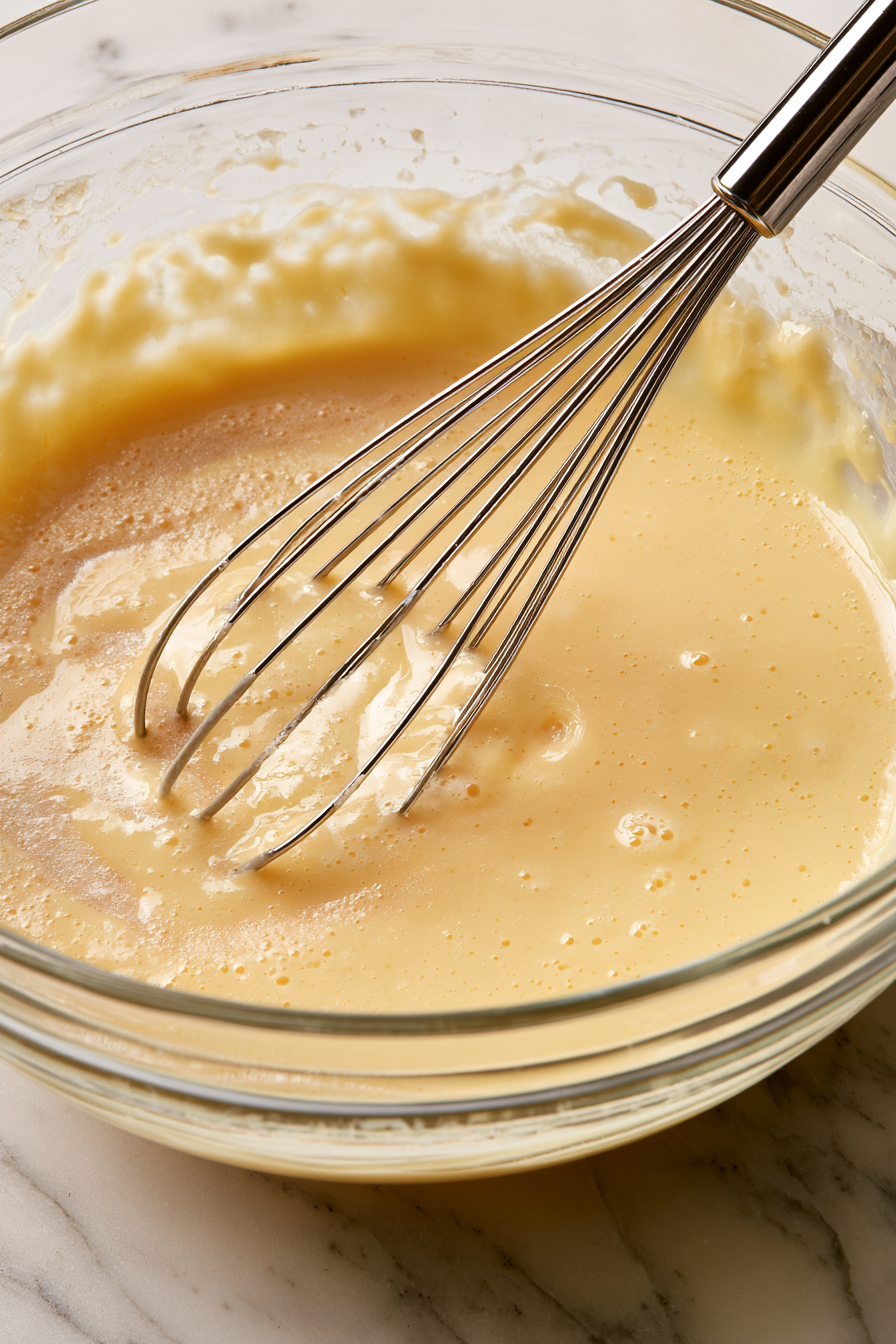
- Whisk the egg yolks and sugar in a heat-safe bowl until pale and slightly thickened.
- Stir the heavy cream, whole milk, salt, and cherry syrup together in the saucepan. Warm over medium heat until steaming but not boiling.
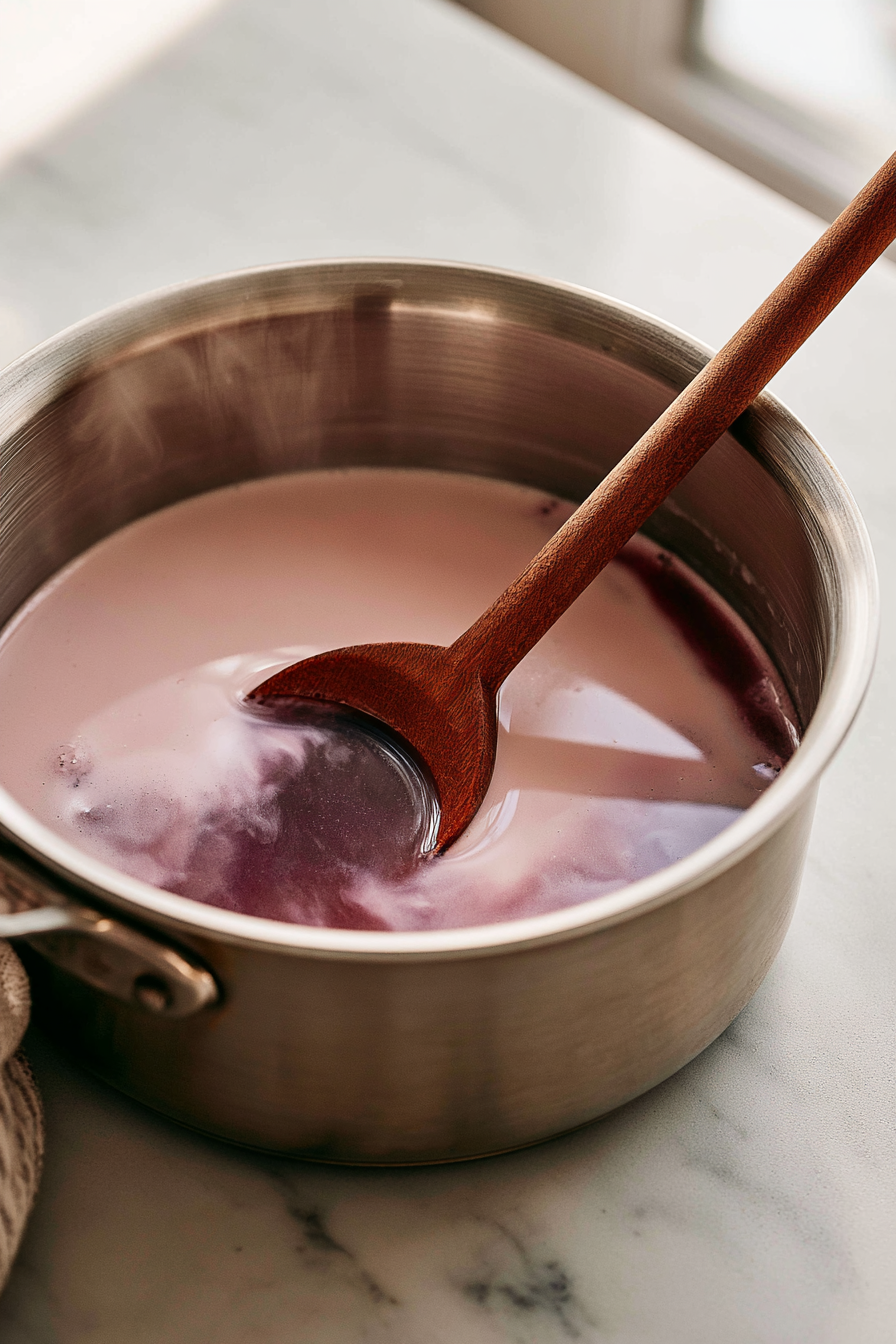
- Slowly whisk the warm cream mixture into the egg yolks. Return everything to the saucepan and cook over medium-low heat, stirring constantly, until the custard reaches about 170°F (75°C) and coats the back of a spoon.
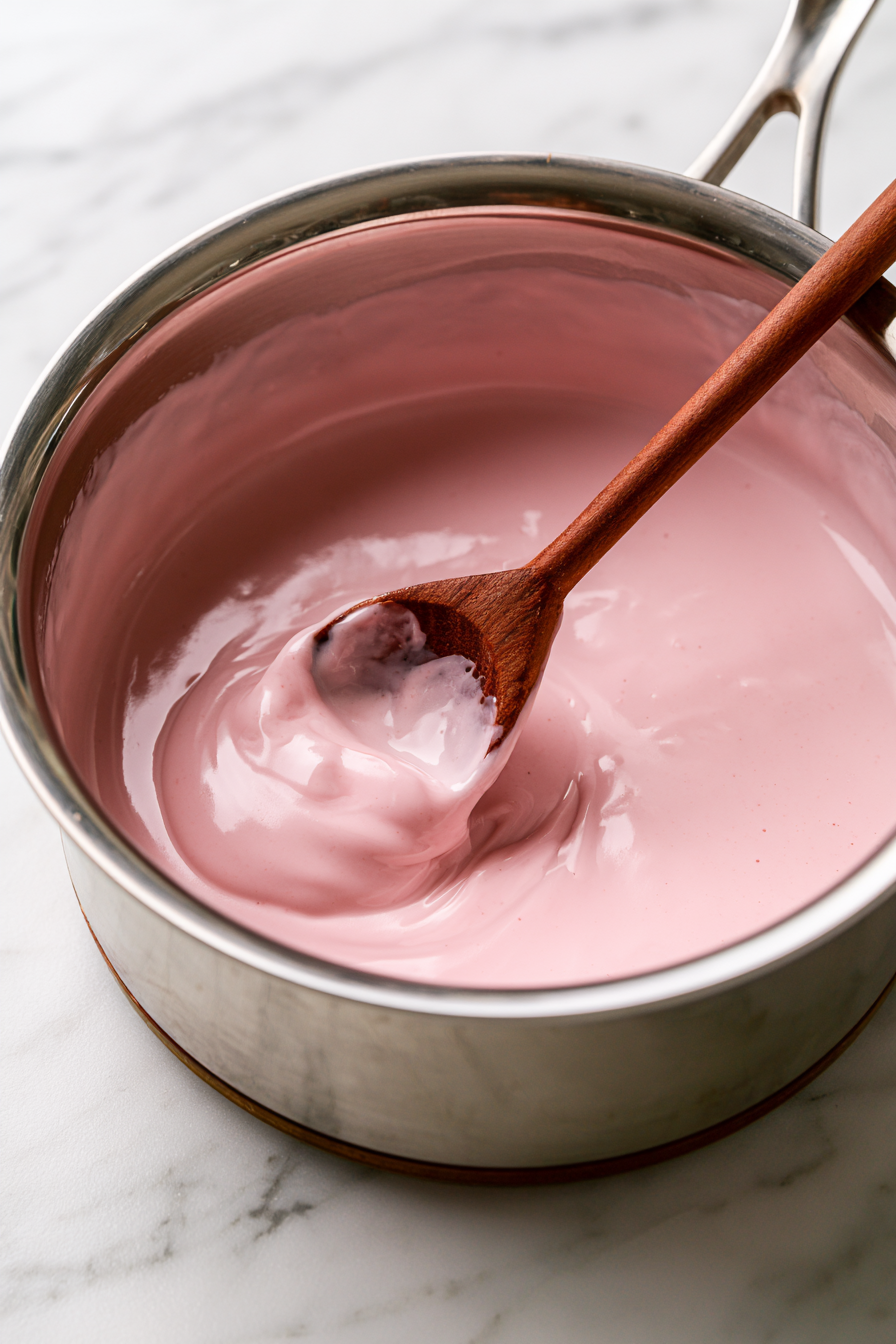
- Remove from the heat and stir in the vanilla. Strain the custard into a clean bowl, cover, and refrigerate until completely chilled, at least 3 hours.
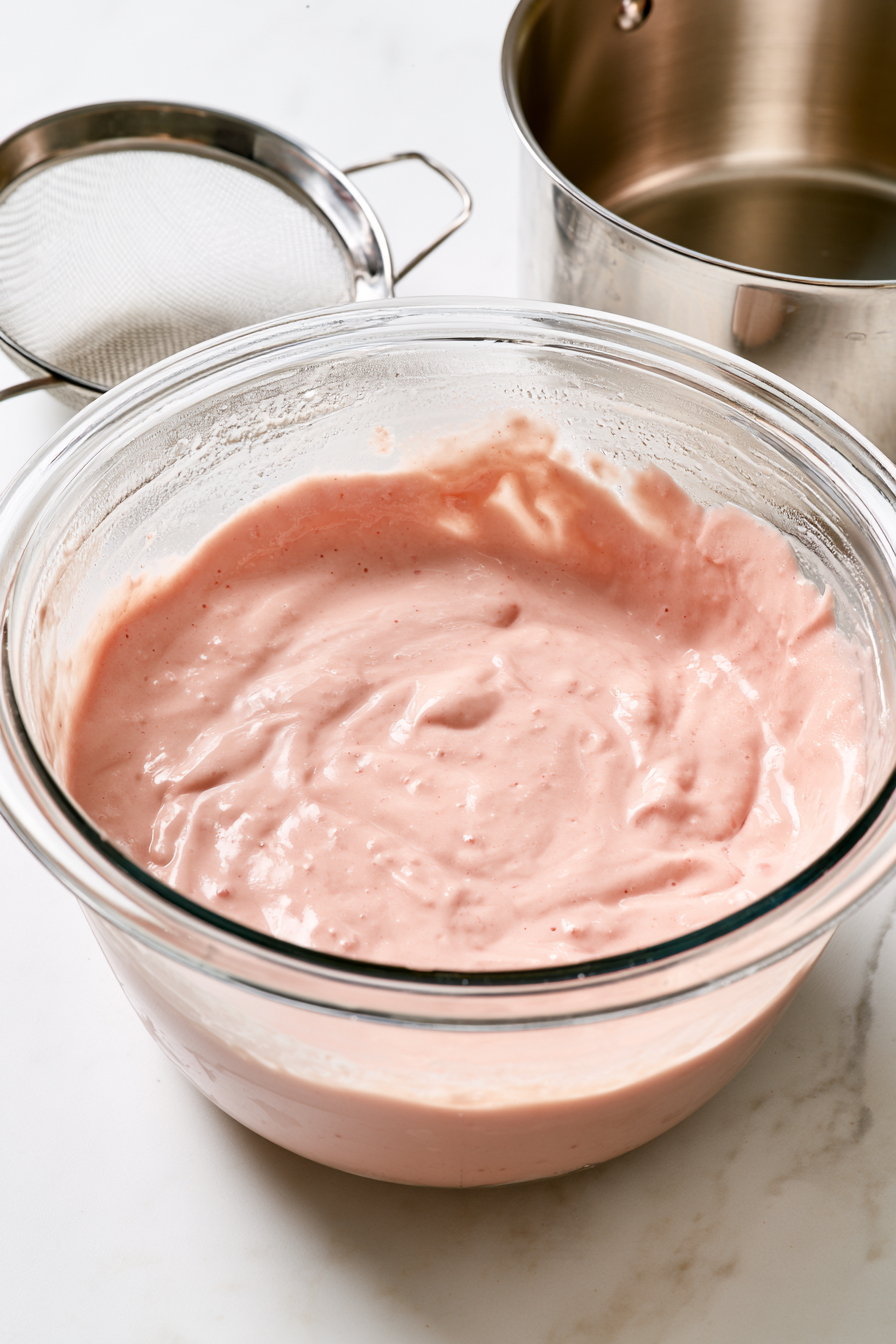
- Churn the chilled custard in an ice cream maker according to the manufacturer's instructions. Add the chilled cherries during the final few minutes of churning.
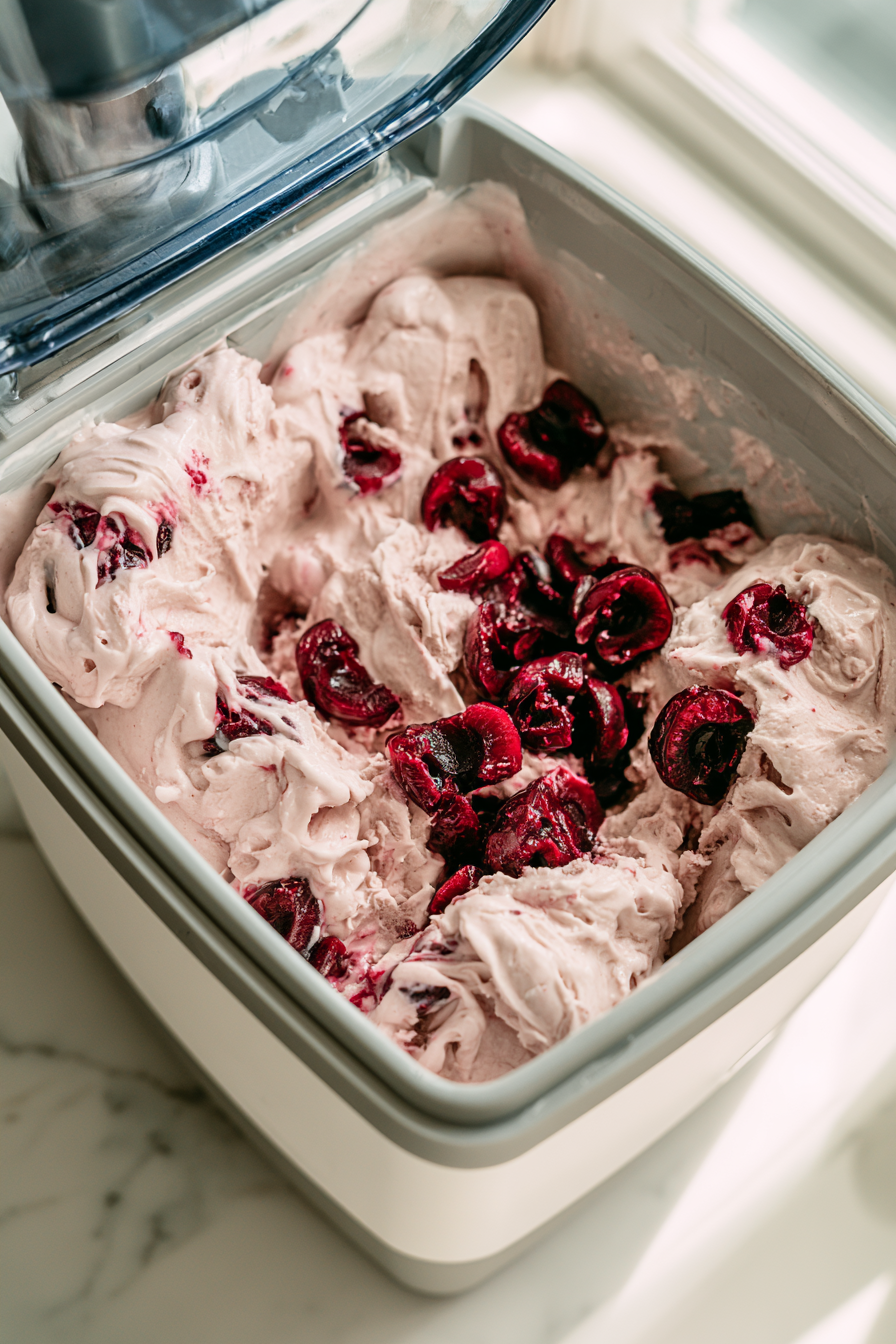
- Layer the ice cream and cherry jam in a freezer-safe container, then gently swirl with a knife or spoon.
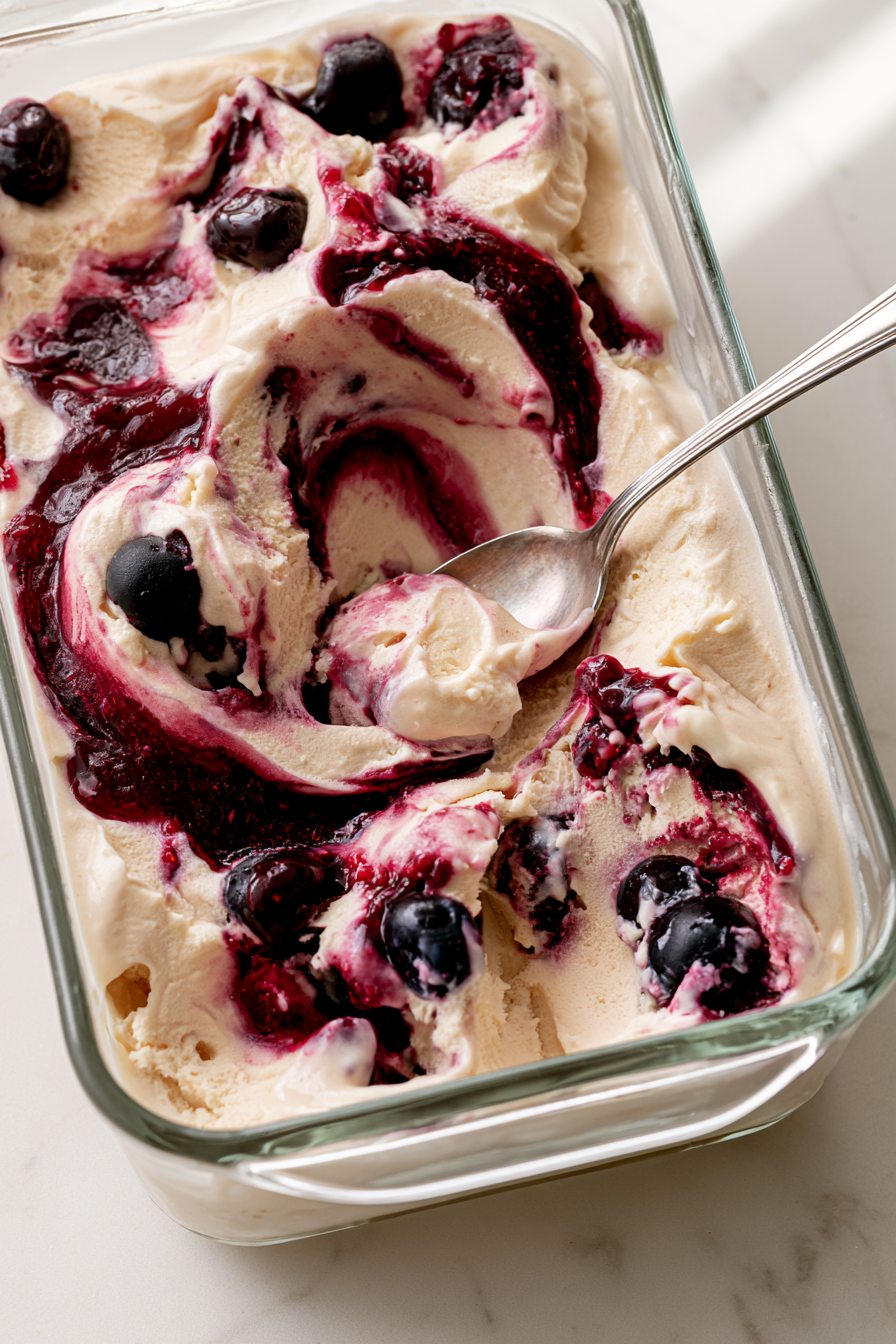
- Cover and freeze for at least 4 hours, or until firm enough to scoop.
Notes
- Fresh or frozen black cherries work well in this recipe.
- Cooking the cherries first softens them and concentrates their flavor, while the cherry syrup adds extra fruitiness to the custard.
- Keep the custard cold before churning for the creamiest texture.
- Do not let the custard boil while cooking, as the egg yolks can scramble.
- For a Cherry Garcia-inspired version, add up to ¼ cup mini chocolate chips during the final minutes of churning.
- Store the ice cream in an airtight freezer-safe container for up to 3 months.
Nutrition Information
| Nutrient | Amount |
|---|---|
| Calories | 310 kcal |
| Carbohydrates | 34g |
| Protein | 4g |
| Fat | 18g |
| Fiber | 1g |
| Sugar | 28g |
| Sodium | 55mg |
Common Mistakes to Avoid
- Boiling the Custard: High heat can cause the egg yolks to scramble, so keep the mixture below a boil.
- Skipping the Straining Step: Straining removes any small pieces of cooked egg and creates a smoother base.
- Churning Warm Custard: The custard needs to be completely chilled before it goes into the ice cream maker.
- Overcooking the Custard: Cook only until it reaches about 170°F and coats the back of a spoon.
- Adding Warm Cherries: Chilled cherries are less likely to soften the ice cream during the final minutes of churning.
- Overmixing the Jam: Gently swirl the preserves rather than fully incorporating them so distinct cherry ribbons remain.
Creative Variations for Your Next Batch
- Cherry Chocolate Chip: Add up to ¼ cup mini chocolate chips during the final minutes of churning.
- Chocolate Cherry: Add finely chopped dark chocolate along with the cherries for a richer variation.
- Almond Cherry: Add a small amount of almond extract to the custard for a classic cherry-almond combination.
- Cherry Cheesecake: Swirl in small pieces of cheesecake along with the cherry jam.
- Extra Cherry: Increase the amount of cherry jam for more pronounced fruit ribbons.
- Vanilla Bean: Use vanilla bean paste for visible vanilla flecks throughout the custard.
- Chocolate Swirl: Add a thin ribbon of chocolate fudge sauce alongside the cherry preserves.
More Dessert Recipes You’ll Enjoy
Best Ways to Store Leftovers
- Freezer Storage: Store the ice cream in an airtight freezer-safe container for up to 3 months.
- Container Choice: Use a shallow, freezer-safe container to help the ice cream freeze evenly.
- Surface Protection: Press a piece of parchment directly against the surface before sealing the container to reduce ice crystal formation.
- Scoopability: Let the container sit at room temperature briefly before scooping if the ice cream becomes very firm.
- Freshness Tip: Keep the container tightly sealed between servings to protect the ice cream from freezer odors.
Frequently Asked Questions
- Do I need an ice cream maker for this recipe?
Yes. The recipe is specifically designed to churn the chilled custard in an ice cream maker according to the manufacturer’s instructions. - Why is the custard cooked to 170°F?
This temperature allows the egg yolks to thicken the custard properly without requiring the mixture to reach a boil. - Why does the recipe cook the cherries first?
Cooking softens the cherries and concentrates their fruit flavor. The cooking liquid is also incorporated into the custard for additional cherry character. - Can I use sweet cherries instead of black cherries?
Yes. Sweet cherries can be used, although they will have a somewhat different flavor profile from black cherries. - How do I get visible cherry swirls?
Layer the churned ice cream and cherry jam in the freezer-safe container, then gently swirl with a knife or spoon. Avoid mixing too thoroughly. - Why is my homemade ice cream hard after freezing?
Homemade ice cream can become quite firm after several hours in the freezer. Letting it sit briefly at room temperature before scooping helps soften it enough to serve. - Can I leave the cherry pieces larger?
Yes, but smaller pieces are easier to distribute throughout the ice cream and make the finished scoops easier to eat. - How do I know when the custard is thick enough?
The cooked custard should reach about 170°F and coat the back of a spoon. It should have a noticeably thicker consistency than the original cream and milk mixture.

hi there,
i’m James
The home cook and food blogger behind Beyond the Bayou Blog. Cooking has always been my happy place.
know more