
Grandma Old Fashioned Apple Pie Recipe
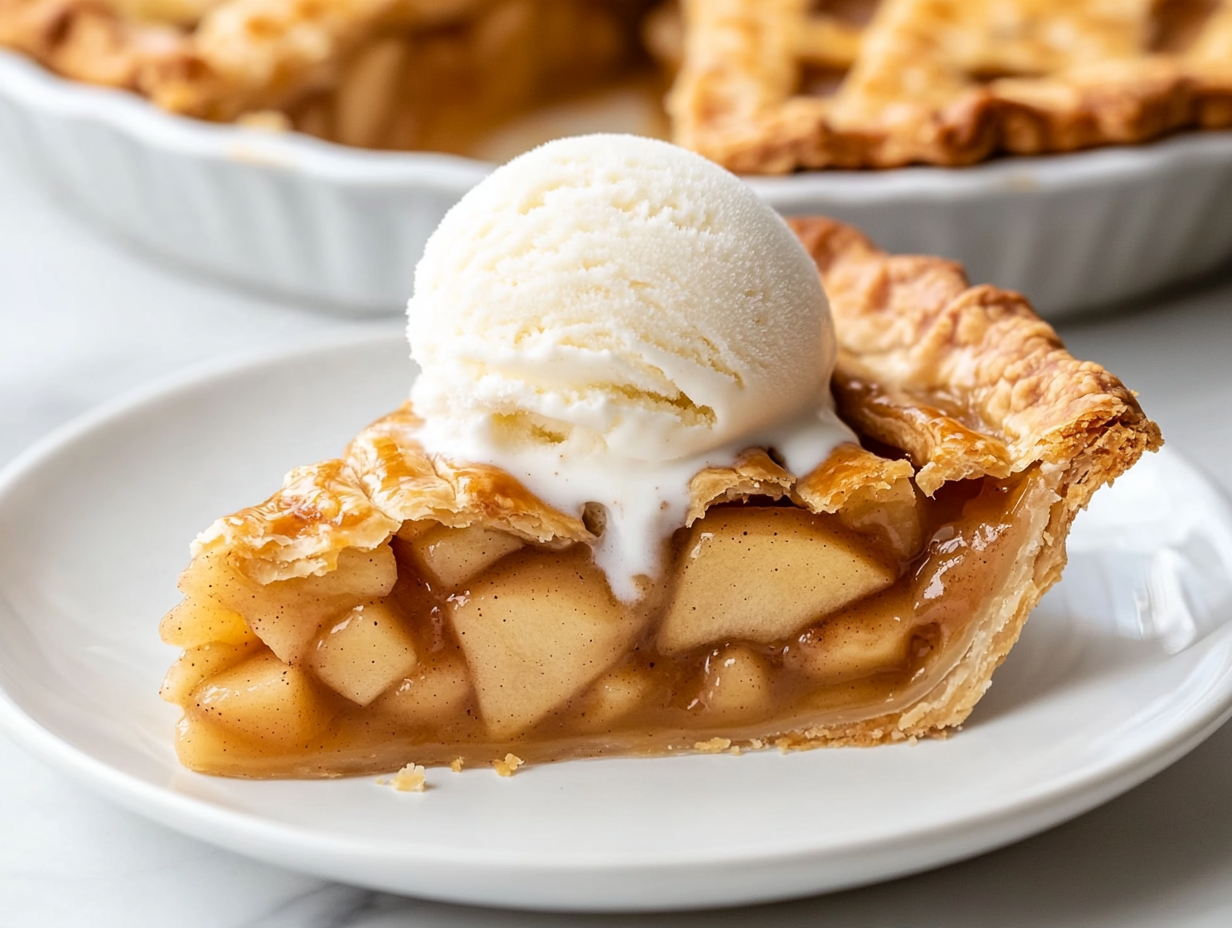
There’s something special about a homemade apple pie with a golden, flaky crust and a warm, cinnamon-scented filling. Grandma’s Old Fashioned Apple Pie brings that classic American dessert feeling to your kitchen with tender apples, a buttery pastry, and the comforting flavors of a family-favorite recipe.
This pie is a lovely choice for Thanksgiving, holiday dinners, Sunday suppers, or any day you’re craving an old-fashioned homemade dessert. With simple ingredients and a little time for chilling and cooling, you can make a beautiful apple pie that tastes wonderful served warm with vanilla ice cream or a dollop of whipped cream.
Why This Old Fashioned Apple Pie Is Worth Making
- Classic Homemade Flavor: Tender apples, warm spices, and buttery pastry create the familiar taste of a traditional apple pie.
- Flaky, Buttery Crust: Cold butter and properly chilled dough help create a tender crust with delicious layers.
- Sweet and Tangy Filling: Lemon juice brightens the apple flavor and balances the sweetness of the sugar.
- Perfect for Special Occasions: Serve it at Thanksgiving, Christmas, family gatherings, or weekend dinners.
- Easy to Personalize: Choose your favorite baking apples and adjust the spices to suit your taste.
- Delicious Served Warm: A slice pairs beautifully with vanilla ice cream or freshly whipped cream.
Grandma’s Baking Tip: Keep the butter cold and avoid overworking the dough. If the pastry starts feeling soft or sticky while rolling, return it to the refrigerator briefly before continuing.
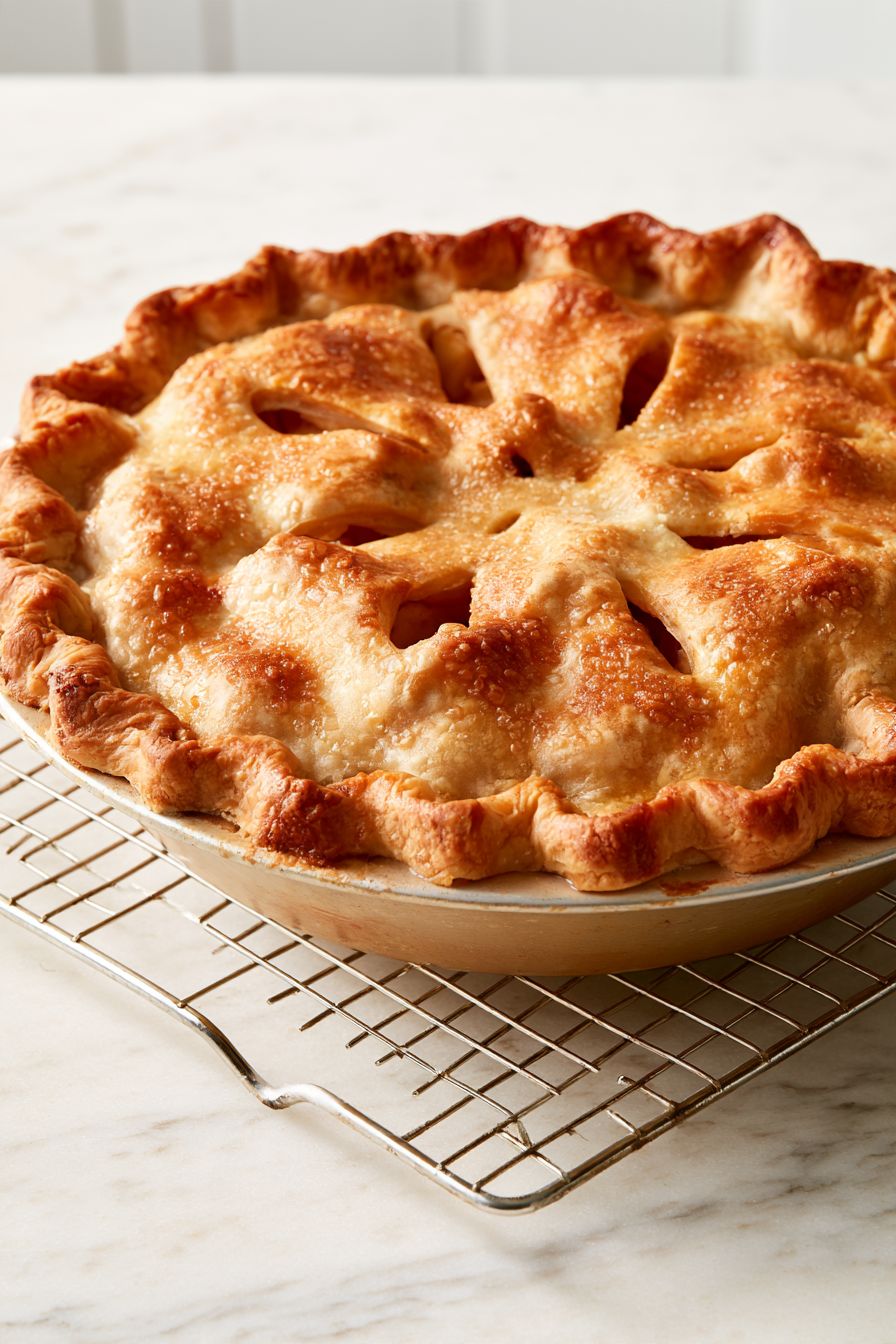
Grandma’s Old Fashioned Apple Pie Recipe
Equipment
- Pie Dish
- Cutting Board and Knife
- Oven
- Cooling Rack
Ingredients
- 300 gram all-purpose flour
- 230 gram unsalted butter, cold and cubed
- 1/2 cup ice water
- 7 medium-sized apples
- 150 gram granulated sugar
- 1 tbps lemon juice
Instructions
- Preheat oven to 375°F (190°C).
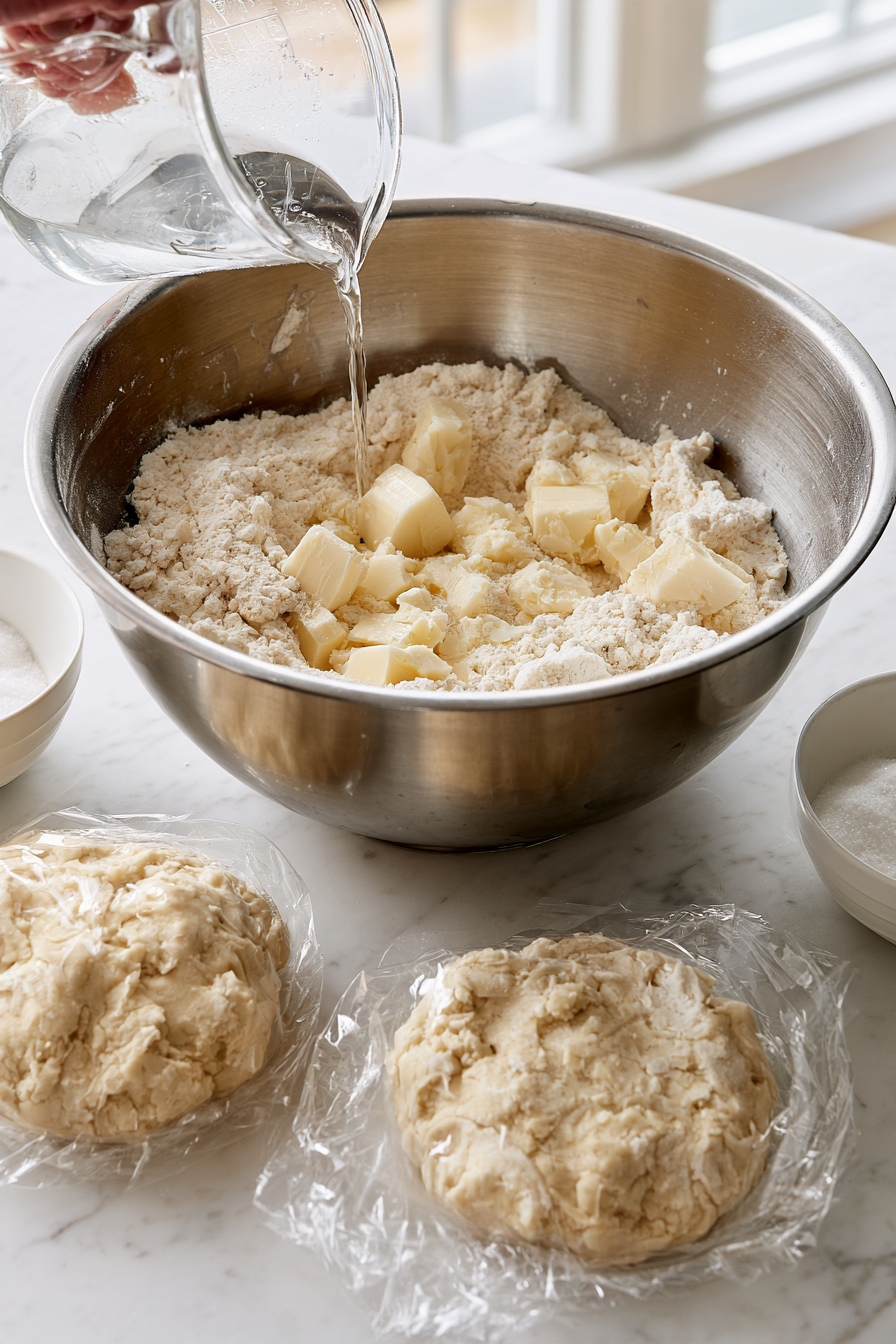
- Prepare the pie crust by mixing flour, salt, and sugar. Cut in cold butter until mixture resembles coarse crumbs. Add ice water, a tablespoon at a time, until dough comes together. Divide dough in half and shape into discs. Wrap in plastic wrap and chill for 30 minutes.
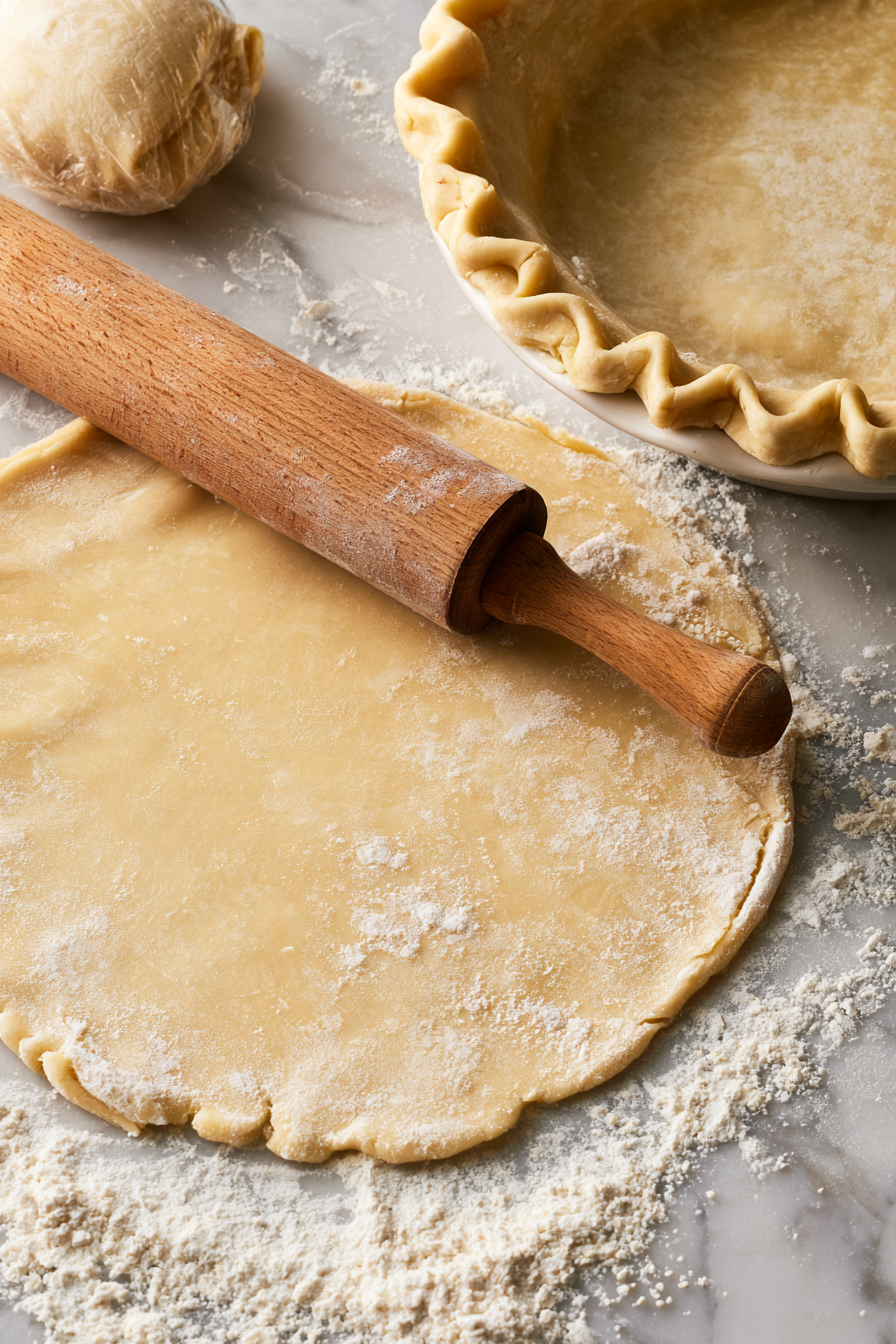
- Roll out one disc of dough on a floured surface and fit into a 9-inch pie dish.
- In a bowl, mix sliced apples with sugar, cinnamon, nutmeg (if using), and lemon juice.
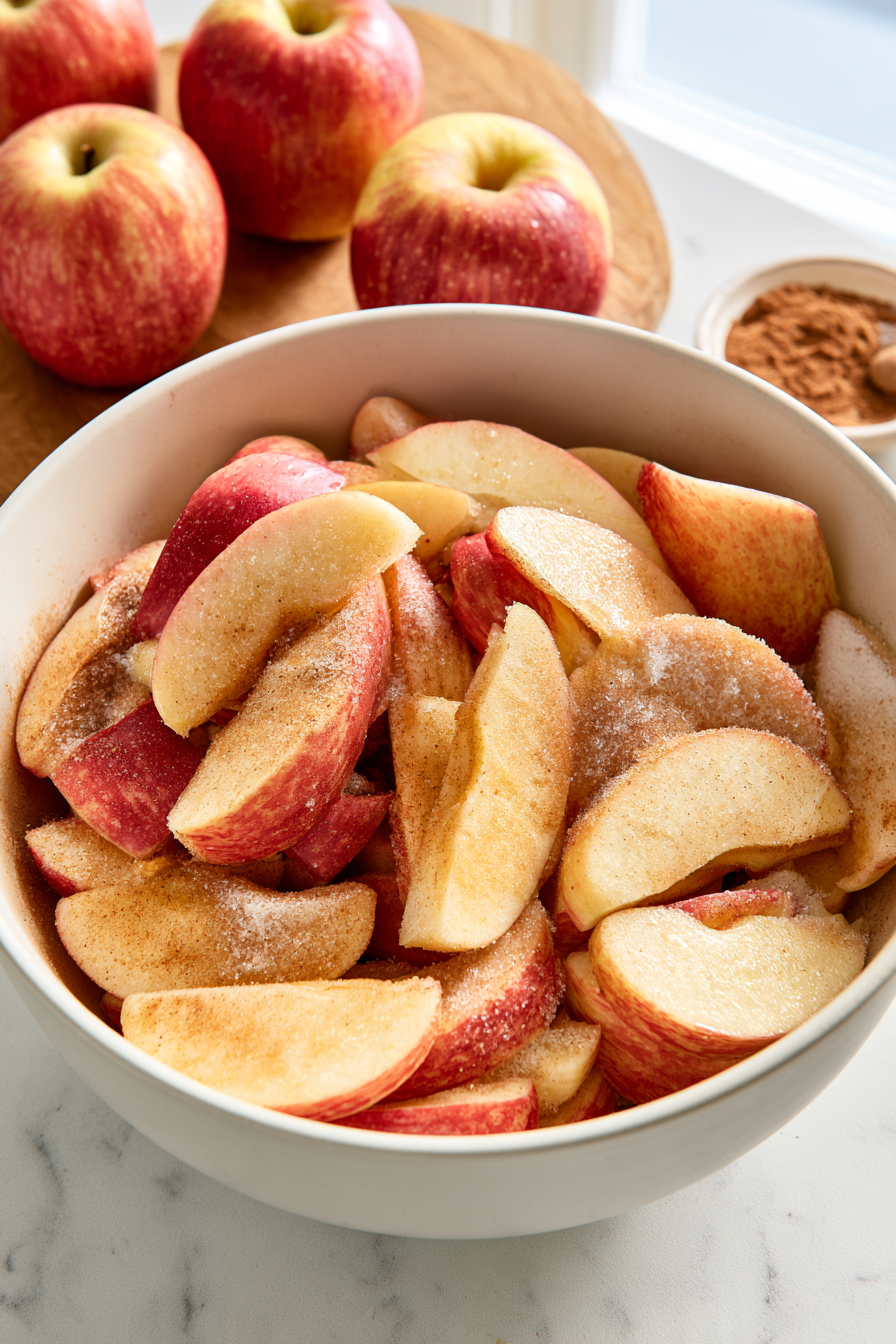
- Pour apple mixture into prepared pie crust.
- Roll out the second disc of dough and place it over the apple filling. Trim excess dough and crimp edges to seal.
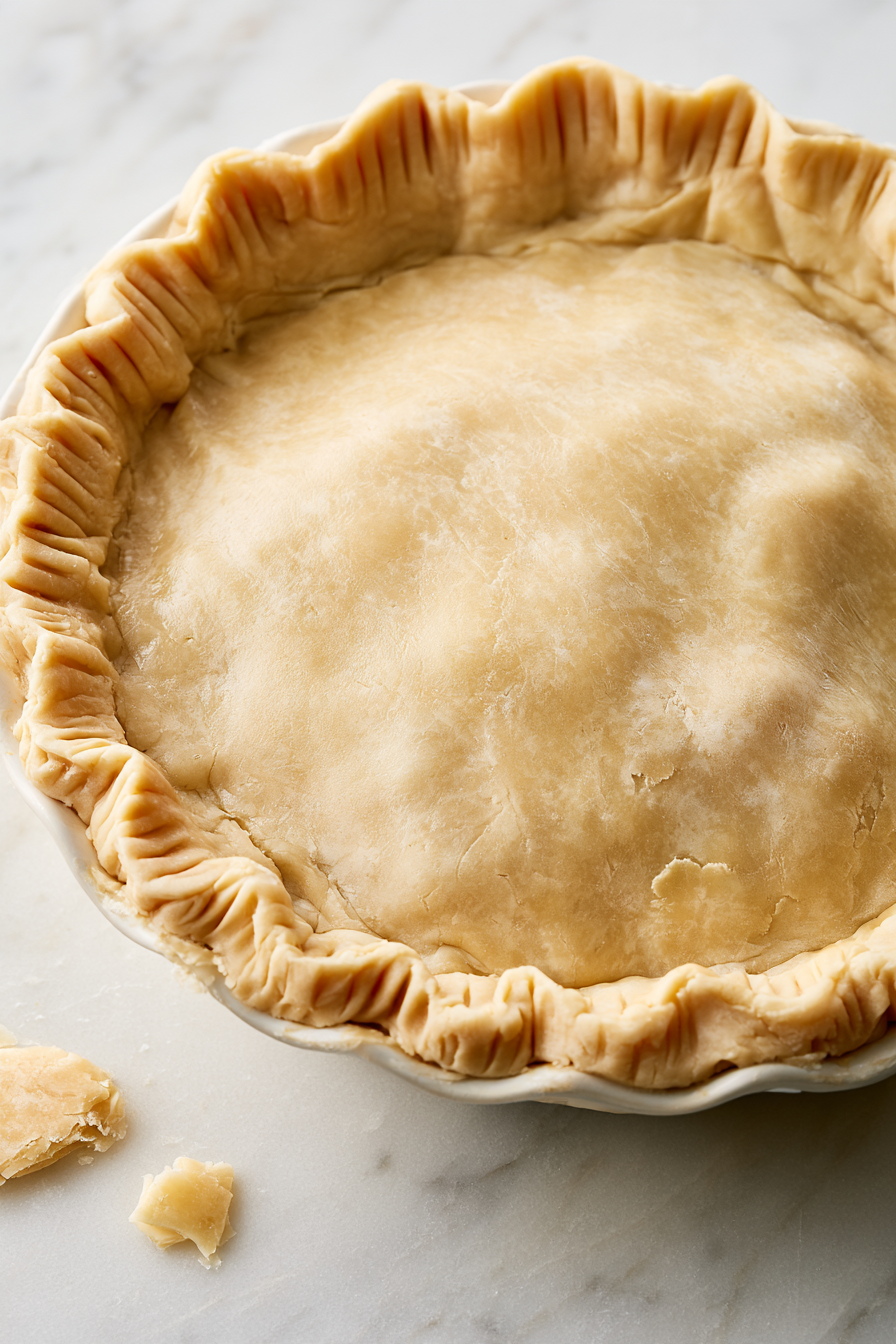
- Cut slits in the top crust to allow steam to escape.
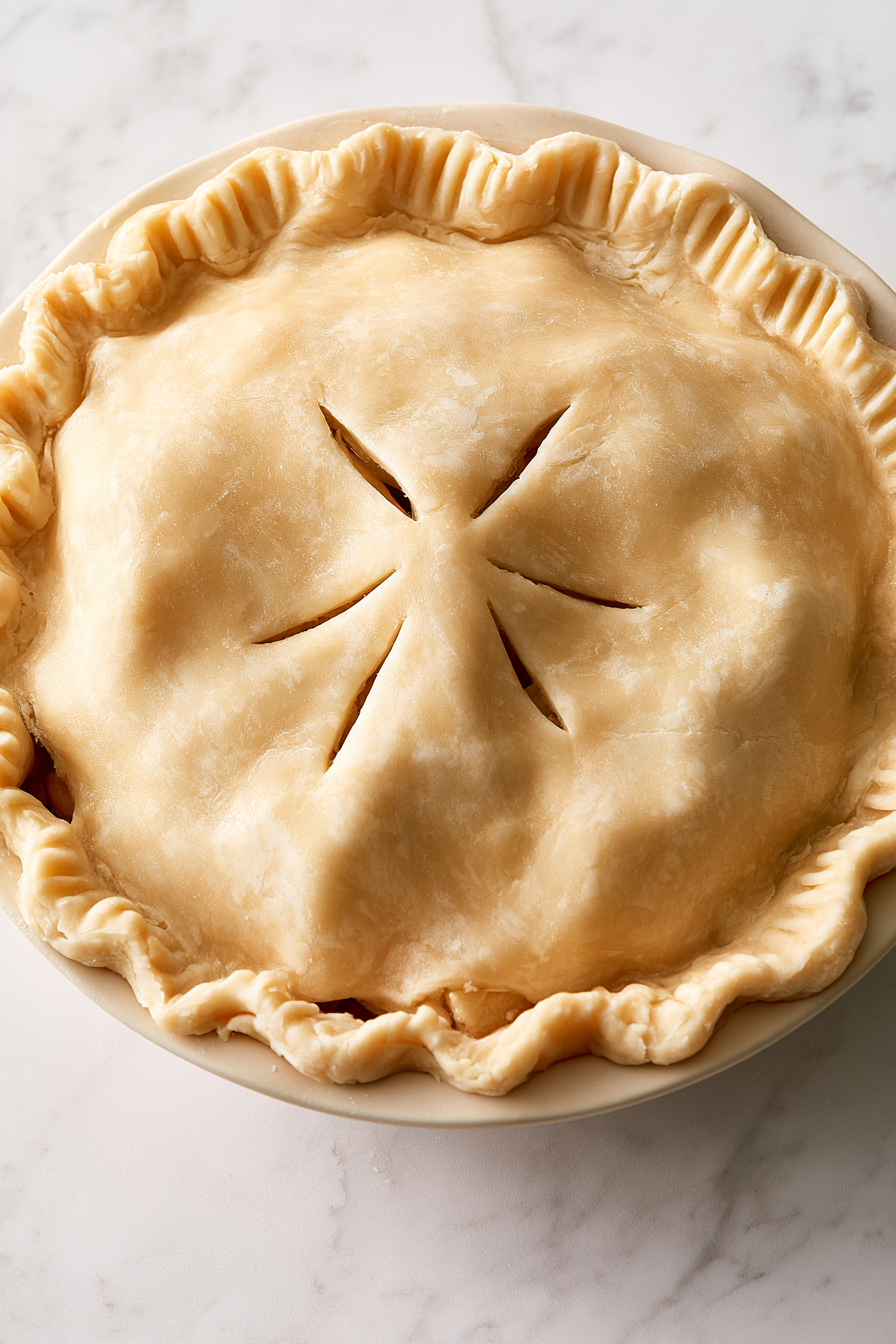
- Place pie on a baking sheet to catch any drips and bake for 45-55 minutes, or until crust is golden and filling is bubbly.
- Cool on a wire rack for at least 30 minutes before serving.
- Serve warm with ice cream or whipped cream, if desired.
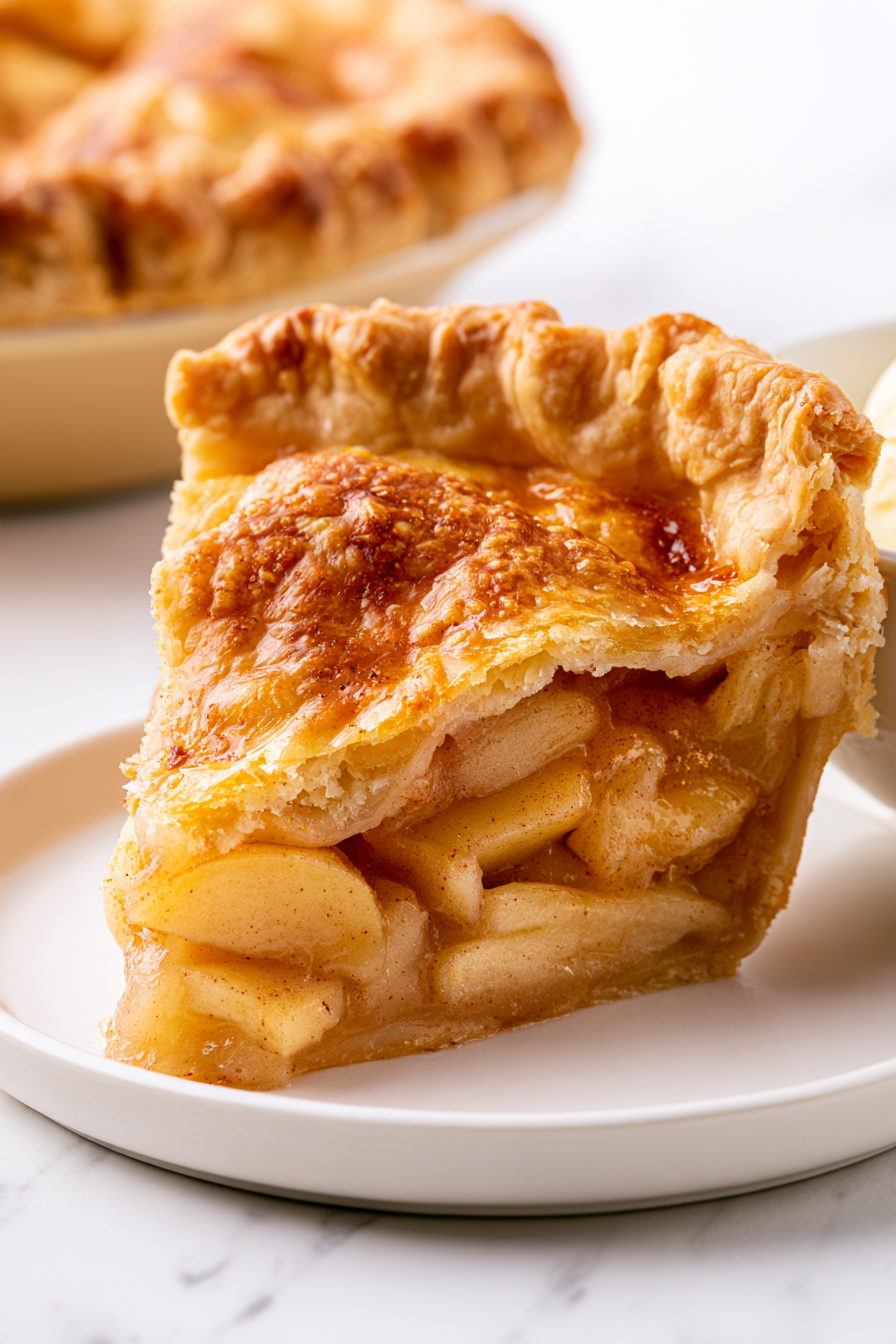
Notes
Nutrition
Common Apple Pie Problems and How to Fix Them
- The Crust Turns Out Tough: Overworking the dough can develop too much gluten. Mix just until the dough comes together and handle it gently while rolling.
- The Bottom Crust Becomes Soggy: Excess moisture from the apples can collect beneath the filling. Allowing the pie to bake until the filling bubbles helps the crust cook properly.
- The Filling Is Too Watery: Some apple varieties release more juice than others. Choose firm baking apples and allow the pie to cool before slicing so the filling can settle.
- The Crust Browns Too Quickly: Cover the edges loosely with foil once they reach your preferred color, then continue baking until the filling is bubbling.
- The Dough Cracks While Rolling: The dough may be too cold or slightly dry. Let it rest for a few minutes, then press small cracks together gently.
- The Apples Stay Too Firm: Apple variety and slice thickness affect cooking time. Slice the apples evenly and check that the filling is tender before removing the pie from the oven.
Delicious Ways to Customize Grandma’s Apple Pie
- Use a Blend of Apples: Combine tart Granny Smith apples with sweeter varieties such as Honeycrisp for a balanced filling.
- Add Extra Cinnamon: Increase the cinnamon to taste for a warmer, more aromatic apple pie.
- Include Nutmeg: A small amount of nutmeg adds a cozy, traditional spice flavor that complements the apples.
- Add Vanilla Extract: A little vanilla can round out the sweetness and enhance the buttery crust.
- Try Brown Sugar: Replace some of the granulated sugar with brown sugar for a deeper, caramel-like flavor. This may slightly change the filling’s moisture.
- Create a Lattice Crust: Instead of covering the pie with a solid top crust, arrange strips of pastry in a woven pattern for a classic bakery-style appearance.
- Finish With Coarse Sugar: Sprinkle a little coarse sugar over the top crust before baking for extra sparkle and a delicate crunch.
What to Serve with Grandma’s Old Fashioned Apple Pie?
How to Store Grandma’s Old Fashioned Apple Pie
- Room Temperature: Once cooled, cover the pie and keep it at room temperature for up to 2 days if the filling and preparation method are suitable for room-temperature storage. Refrigerate it sooner if your kitchen is hot or the recipe includes perishable additions.
- Refrigeration: For longer storage, cover the pie and refrigerate it within 2 hours of baking. Use within 3–4 days.
- Protect the Crust: Store the pie covered without pressing plastic wrap directly against the crust. This helps protect the surface while limiting exposure to air.
- Freezing a Baked Pie: Let the pie cool completely, wrap it securely, and freeze it for the best quality for about 2–3 months. Thaw it in the refrigerator before reheating.
- Reheating: Warm individual slices in the oven until heated through. A moderate oven helps restore some crispness to the crust better than a microwave.
Frequently Asked Questions About Old Fashioned Apple Pie
1. Which apples are best for old-fashioned apple pie?
Firm baking apples are ideal because they hold their shape during cooking. Granny Smith apples provide tartness, while Honeycrisp and Braeburn offer a sweeter flavor. Combining varieties creates a more complex filling.
2. Why is lemon juice added to apple pie filling?
Lemon juice brightens the flavor of the apples and balances the sweetness of the sugar. It also helps slow browning while you prepare the filling.
3. Why does apple pie need steam vents?
Steam vents allow moisture to escape during baking. Without them, steam can build up beneath the top crust and contribute to a messy or uneven filling.
4. Can I use salted butter instead of unsalted butter?
Yes, but the overall salt level may increase. Since the supplied instructions also mention adding salt, check the recipe’s salt quantity before making this change.
5. Why should apple pie cool before slicing?
Cooling gives the hot filling time to settle and thicken. Cutting too early can cause the juices to run out, making the slices harder to serve neatly.
6. Can I prepare the pie dough ahead of time?
Yes. Pie dough can be prepared in advance and refrigerated in a tightly wrapped disc. Let it soften slightly if it becomes too firm to roll comfortably.
7. What does macerating apples mean?
Macerating means mixing sliced fruit with sugar and seasonings and letting it rest. This draws out some of the fruit’s juices and gives the apples time to absorb the flavors.
8. How can I tell when an apple pie is fully baked?
Look for a golden crust and bubbling filling, especially through the steam vents. The apples should be tender when tested carefully with a thin knife, and the pie should be allowed to cool before serving.
Please give cup measurements instead or with grams