Halloween Crepes Recipe
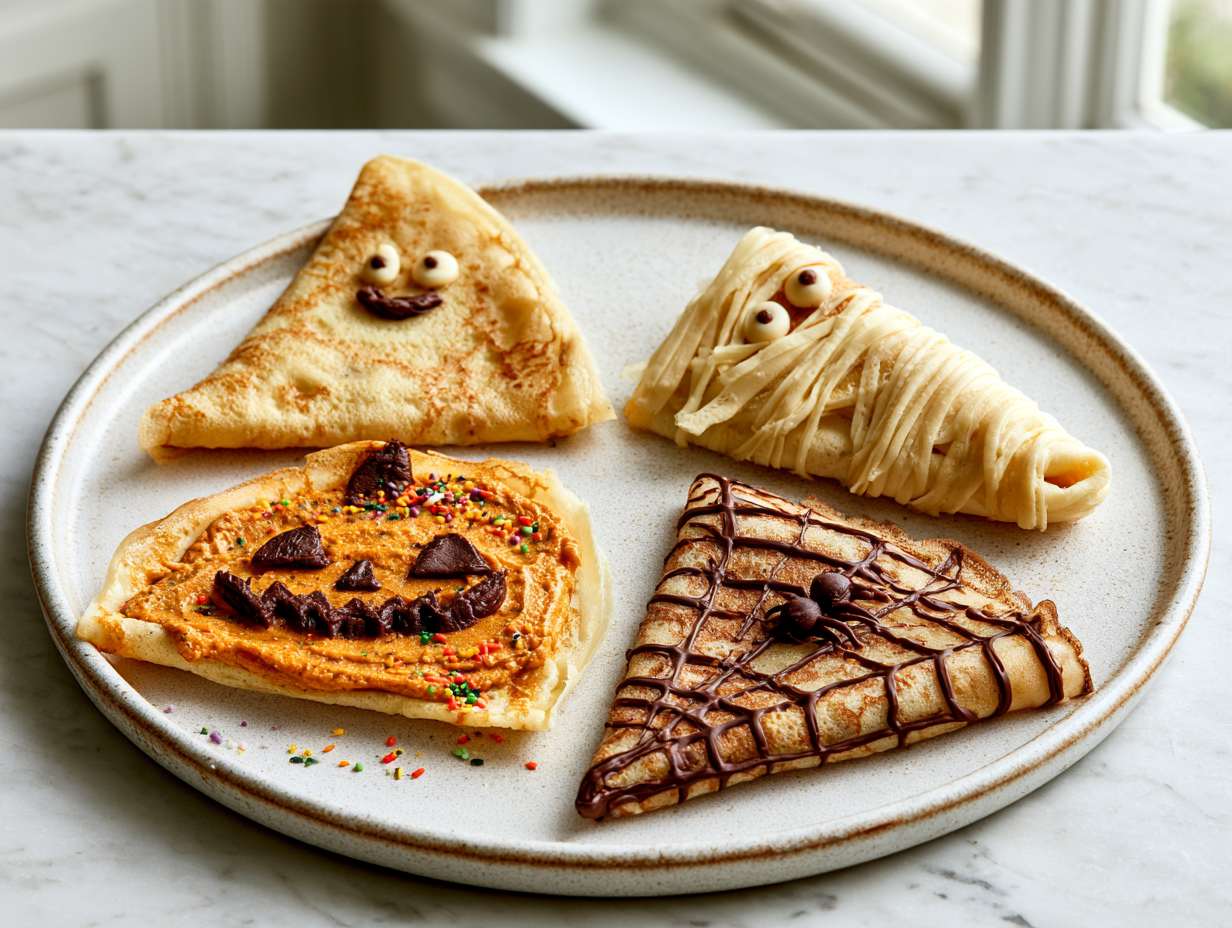
These Halloween Crepes turn a simple crepe recipe into a playful seasonal treat with spooky fillings and edible decorations. The batter comes together with a handful of basic ingredients, then cooks into thin, flexible crepes that are easy to fold, roll, and decorate.
Each crepe has lightly crisp edges with a tender center that works well with sweet fillings. Pumpkin-spiced cream, chocolate spread, colorful sprinkles, and edible eyes make it easy to give each one its own Halloween personality.
What Makes This Dish Worth Trying
- Simple Batter: Basic pantry and refrigerator ingredients create the crepe base.
- Quick Cooking: Each crepe cooks in just a few minutes.
- Easy to Customize: Fillings and decorations can be changed to suit your Halloween theme.
- Flexible Texture: Thin crepes are easy to fold, roll, or shape.
- No Special Equipment: A non-stick skillet and a few basic utensils are enough.
- Fun Decorating: Kids and adults can create different spooky designs.
Key Ingredients That Matter
- All-Purpose Flour: Flour gives the crepes structure while keeping the batter thin enough to spread across the skillet.
- Eggs: Eggs help bind the batter and add richness to the finished crepes.
- Milk: Dairy or plant-based milk creates the liquid base needed for a smooth, pourable batter.
- Butter or Oil: A light coating in the skillet helps prevent sticking while adding a little richness.
- Pumpkin-Spiced Cream or Chocolate Spread: These fillings add sweetness and make the crepes more substantial.
- Edible Decorations: Edible eyes, sprinkles, and melted chocolate turn plain crepes into Halloween-inspired treats.
Chef’s Tip: Let the batter rest for the full 15 minutes before cooking. This gives the flour time to hydrate and helps produce more tender crepes.
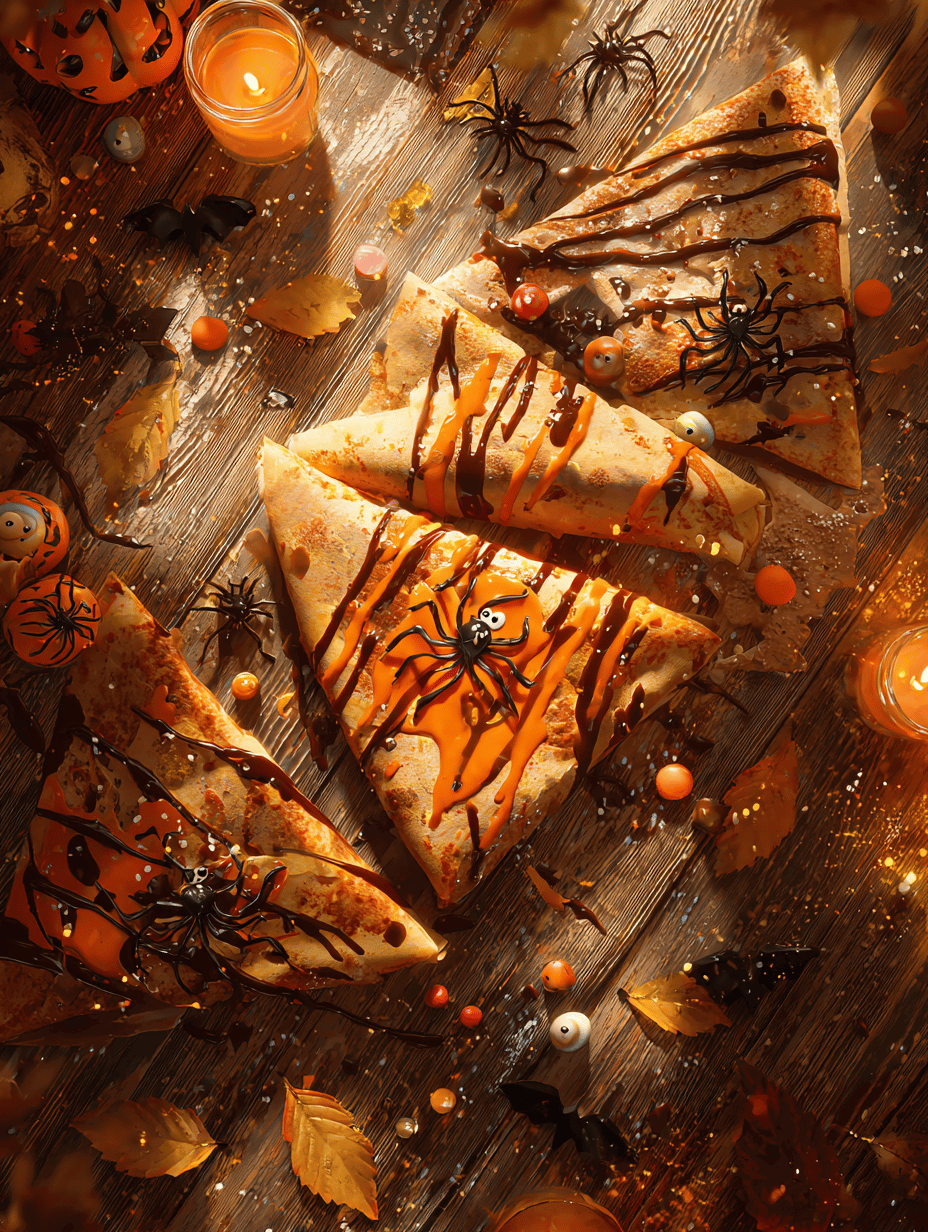
Halloween Crepes Recipe
Ingredients
- 1 cup all-purpose flour or gluten-free blend
- 2 eggs eggs for binding and richness
- 1 cup milk dairy or plant-based
- a pinch salt to enhance flavor
- 1 tablespoon butter or oil for cooking
- filling options Pumpkin-spiced cream or chocolate spread for filling
- decorations Edible eyes, sprinkles, melted chocolate for spooky decorations
Instructions
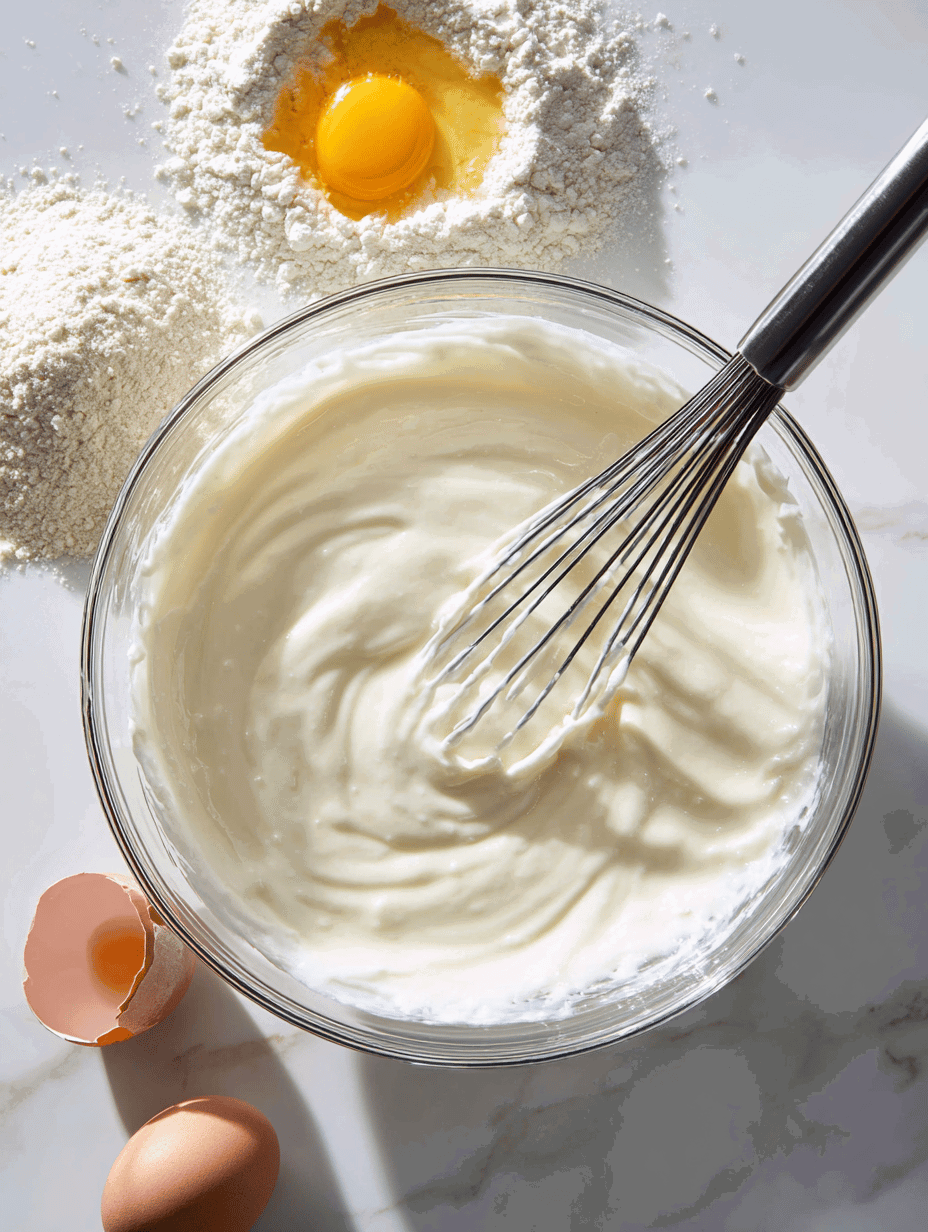
- Whisk together the flour, eggs, milk, and a pinch of salt in a bowl until the batter is smooth and free of lumps; let it rest for 15 minutes to relax the gluten and improve tenderness.
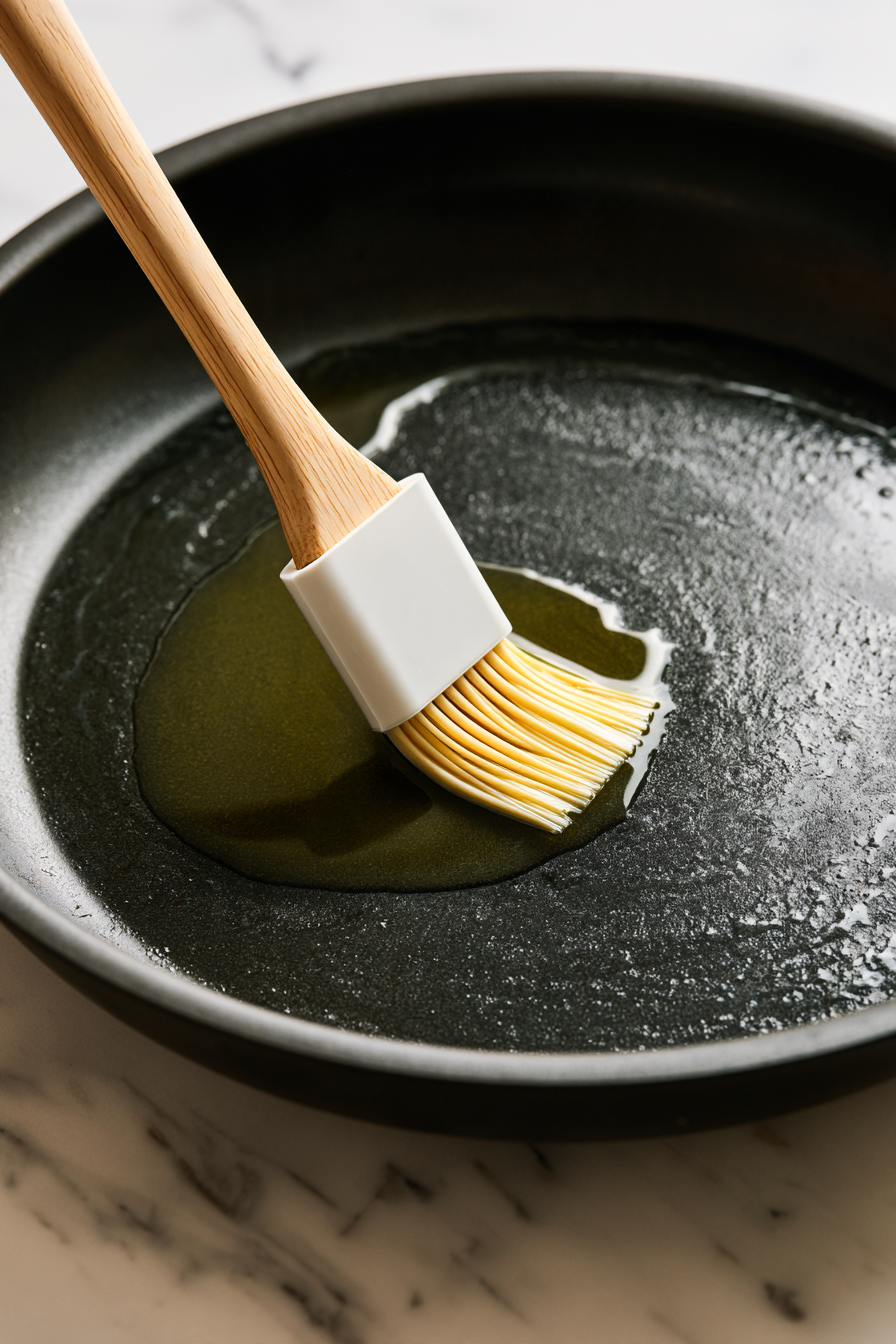
- Heat a non-stick skillet over medium-low heat and lightly butter the surface, creating a shiny, even coating.
- Pour a ladleful of batter into the center of the pan, tilting the pan gently to spread it into a thin, even layer. Cook for about 1-2 minutes until the edges lift slightly and the bottom turns golden brown.
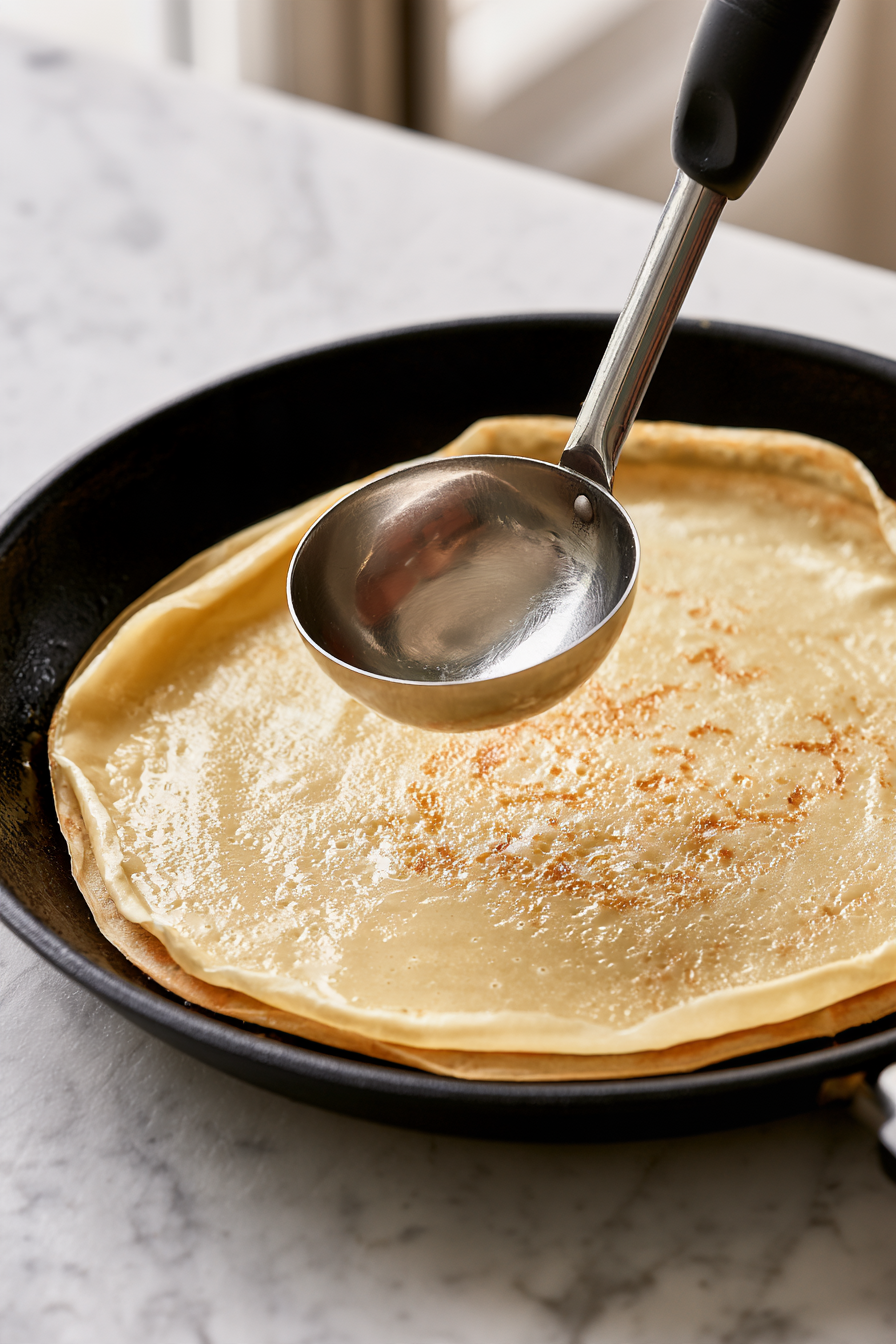
- Carefully flip the crepe using a spatula, cooking the other side for about 30 seconds until it also turns golden and slightly crispy around the edges.
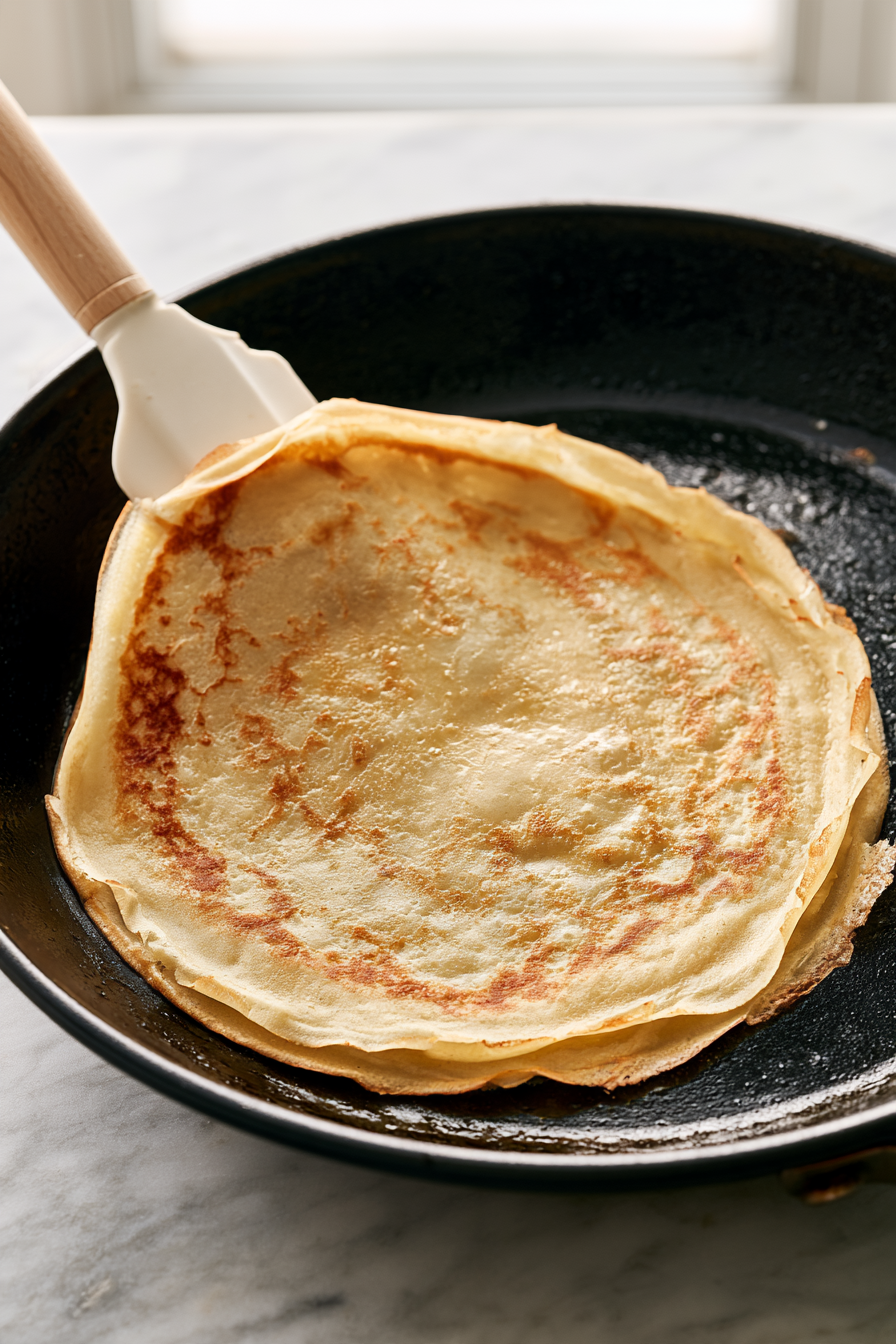
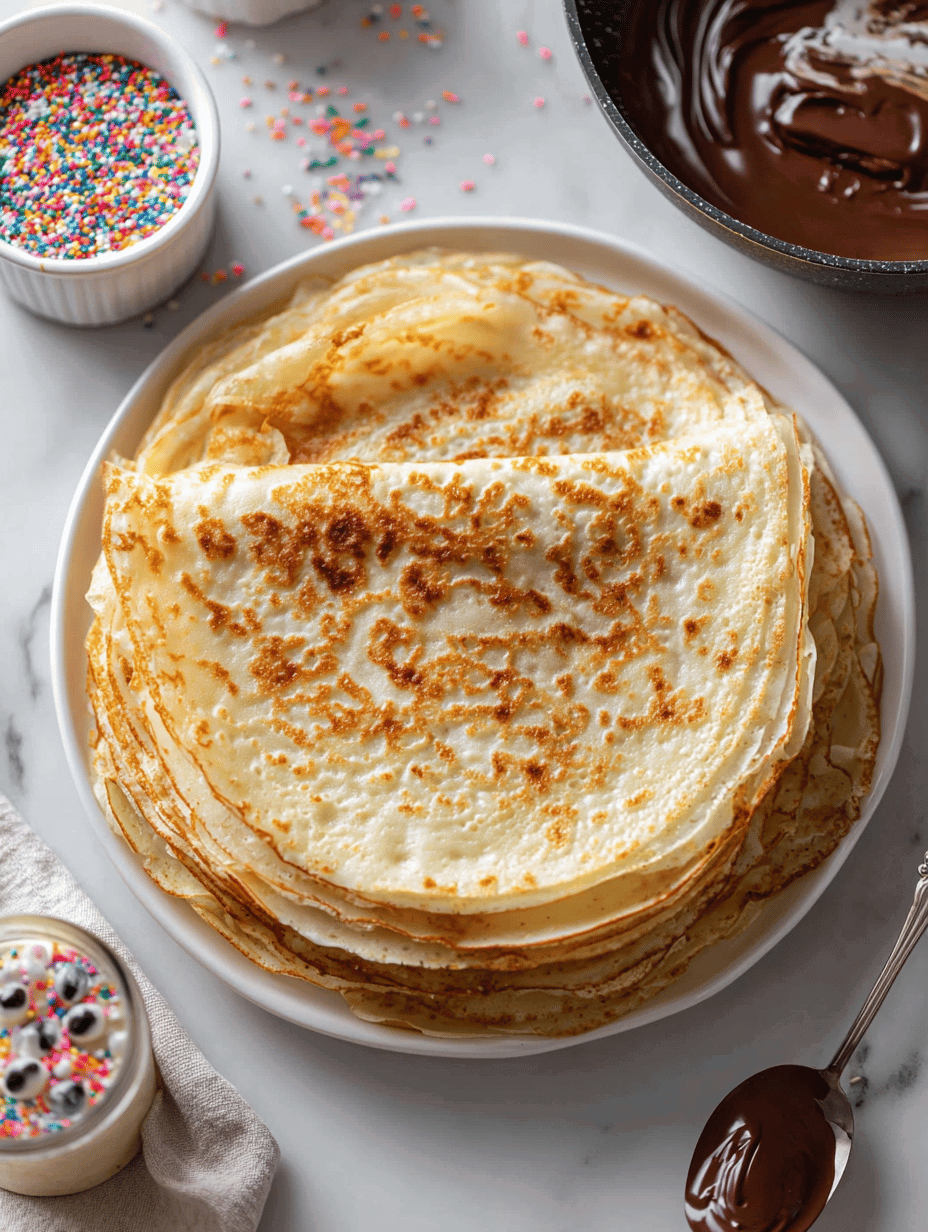
- Repeat with the remaining batter, stacking cooked crepes on a plate and covering them loosely to keep warm.
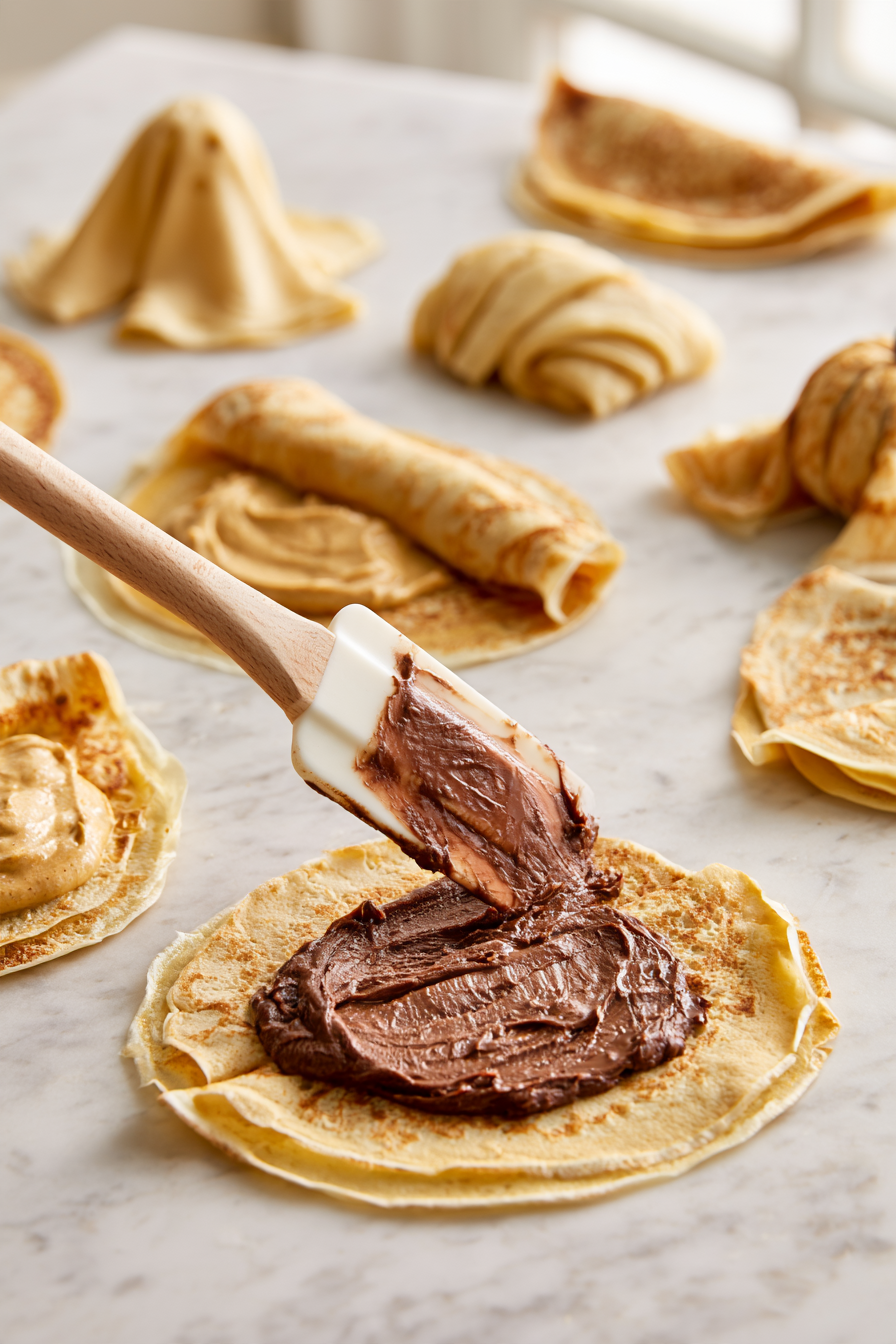
- Fill each crepe with your chosen spooky filling, such as pumpkin-spiced cream or chocolate spread, then fold or roll it into a fun shape.
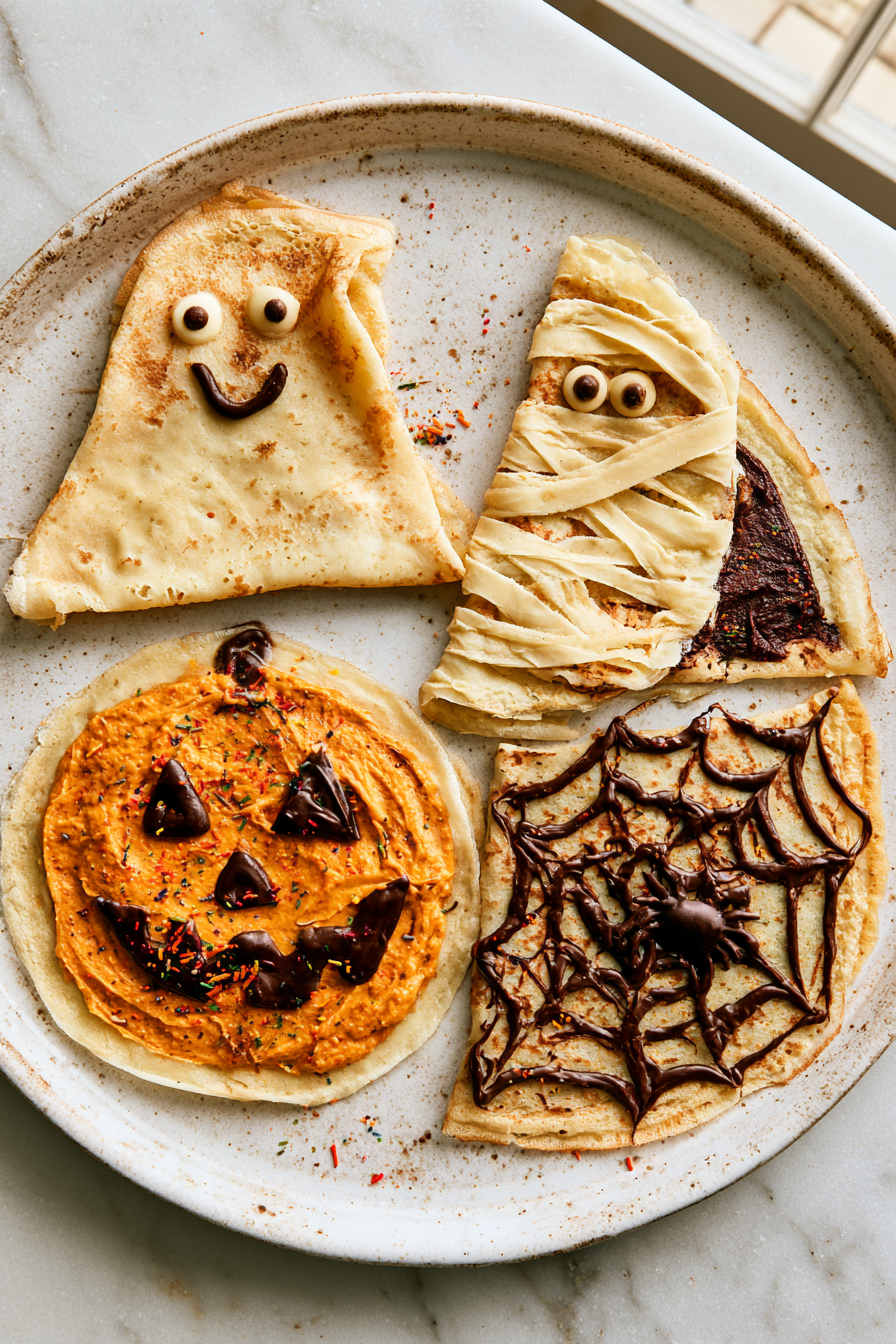
- Decorate the crepes with edible eyes, sprinkles, or melted chocolate to add spooky, playful touches.
- Let the decorated crepes rest for a minute to set the decorations, then serve immediately for the best texture and visual impact.
Notes
Nutrition
Common Mistakes to Avoid
- Batter Too Thick: A thick batter will be difficult to spread into a thin, even crepe.
- Skipping the Rest: Resting the batter helps improve the final tenderness.
- High Heat: Excessive heat can brown the crepes before they have cooked evenly.
- Too Much Butter: A heavy coating can make the batter difficult to spread smoothly.
- Flipping Too Soon: Wait until the edges begin to lift and the bottom is golden before flipping.
- Overcooking: Crepes only need a short time on the second side, so avoid leaving them on the skillet too long.
Fun Ways to Customize Your Crepes
- Pumpkin Spice: Use pumpkin-spiced cream for a distinctly autumnal filling.
- Chocolate Treat: Fill the crepes with chocolate spread for a richer dessert.
- Caramel Drizzle: Add caramel to the filling for extra sweetness.
- Whipped Cream: Add whipped cream before folding for a lighter filling.
- Colorful Sprinkles: Use Halloween-colored sprinkles inside or on top of the crepes.
- Chocolate Faces: Use melted chocolate to draw ghosts, spiders, or other spooky designs.
- Monster Crepes: Add several edible eyes to create playful monster faces.
More Halloween Recipes to Try
- Halloween Spooky Face Pancakes
- Mummy Cinnamon Rolls
- Halloween Monster Muffins
- Halloween Donuts
- Halloween Candy Corn Parfaits
Storage Tips for Better Freshness
- Cool First: Allow cooked crepes to cool appropriately before storing them.
- Stack Carefully: Keep the crepes stacked flat to make them easier to use later.
- Protect From Air: Store crepes in a covered container to help prevent them from drying out.
- Keep Decorations Separate: If possible, add delicate decorations shortly before serving.
- Best Texture: Serve decorated crepes promptly for the most appealing texture and appearance.
Frequently Asked Questions
- Why should crepe batter rest before cooking?
Resting the batter for 15 minutes allows the flour to hydrate and helps relax the gluten for a more tender crepe. - How thin should the crepes be?
The batter should spread into a thin, even layer when the skillet is tilted gently. - Why are my crepes sticking to the pan?
Make sure the skillet is properly heated and lightly coated with butter or oil before adding the batter. - How do I know when the first side is ready?
The edges should lift slightly and the bottom should have a golden-brown color. - How long should the second side cook?
The recipe calls for about 30 seconds, or until the second side is golden with slightly crisp edges. - Can I use gluten-free flour?
Yes. The recipe specifically allows a gluten-free flour blend in place of all-purpose flour. - What fillings work well for Halloween crepes?
Pumpkin-spiced cream and chocolate spread are listed in the recipe, while caramel and whipped cream can also be used. - How can I make the crepes look spooky?
Fold or roll them into fun shapes, then use edible eyes, sprinkles, and melted chocolate to create Halloween designs.

Hi, I’m Austin. Every recipe you’ll find here is carefully tested, photographed, and created to help you cook with confidence…..
know more