Homemade Nutters Butters Recipe
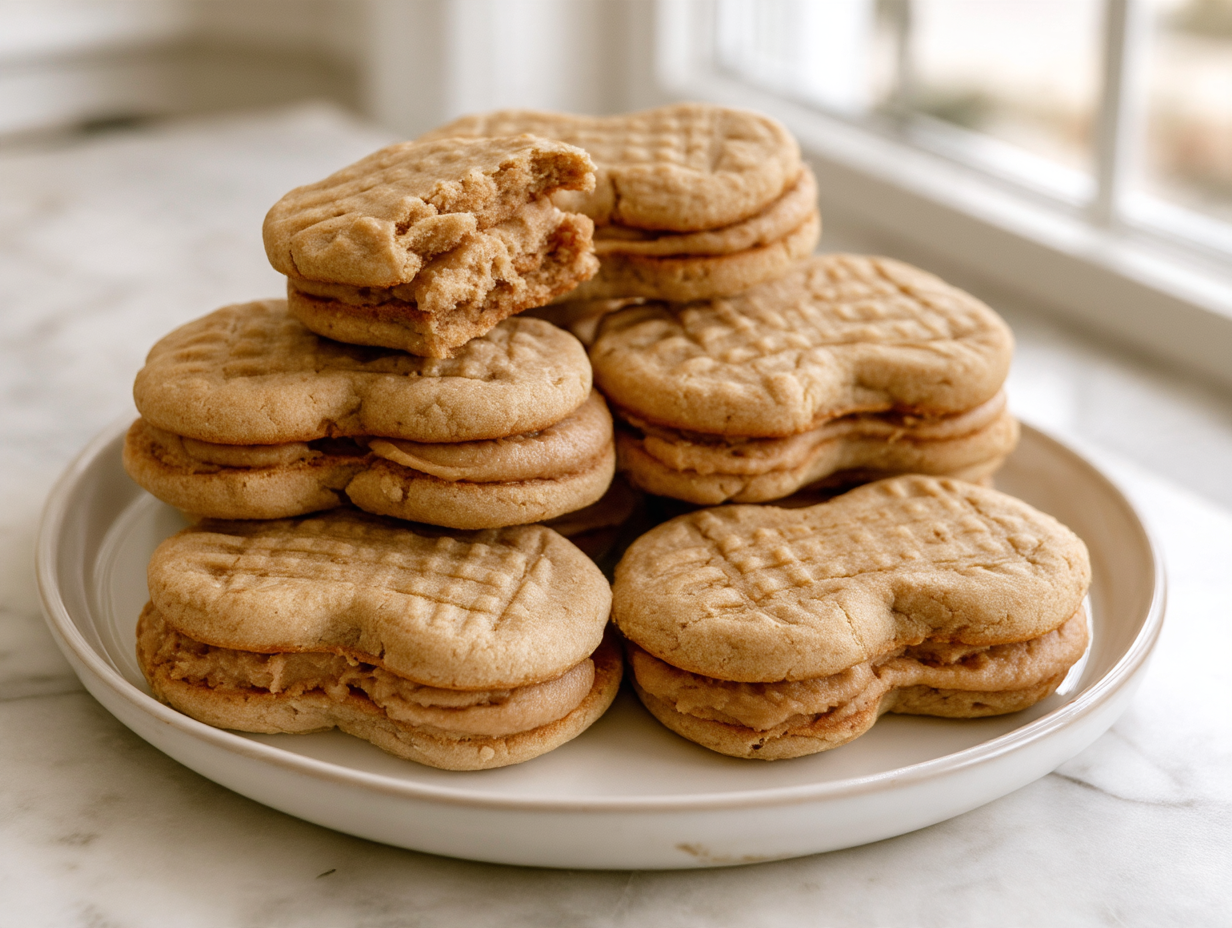
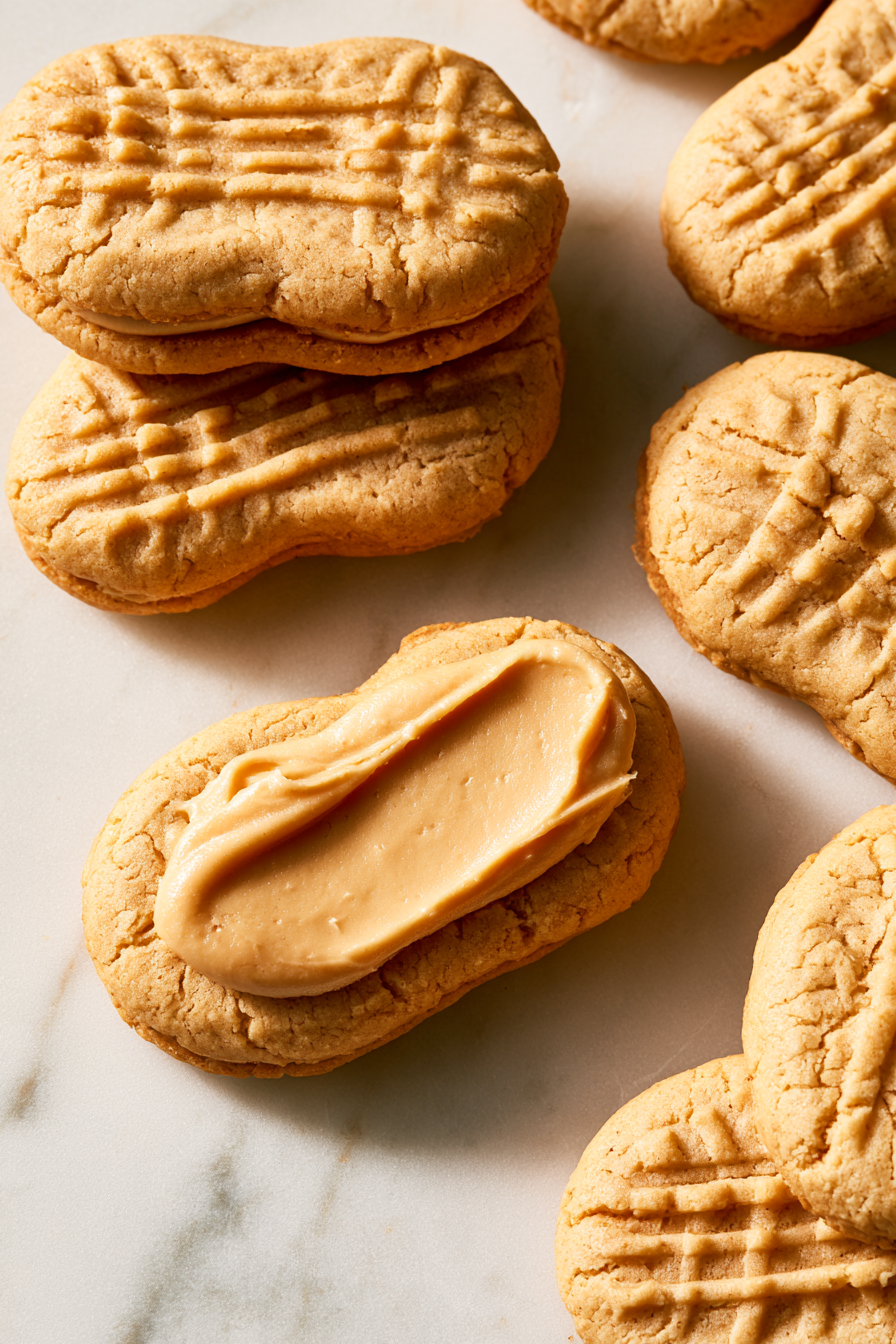
There’s something special about homemade peanut butter cookies, especially when you turn them into little sandwich cookies with a creamy filling. These Homemade Nutter Butters have soft, chewy peanut butter cookies with lightly crisp edges and that familiar crisscross pattern. They’re shaped like peanuts to give them the classic look.
The best part is the sweet peanut butter filling tucked between two cookies. It has just enough creaminess to balance the salty-sweet cookie dough, making every bite rich and satisfying. They’re perfect for afternoon treats, holiday cookie boxes, or whenever a peanut butter craving hits.
How to Get That Classic Peanut-Shaped Cookie Look
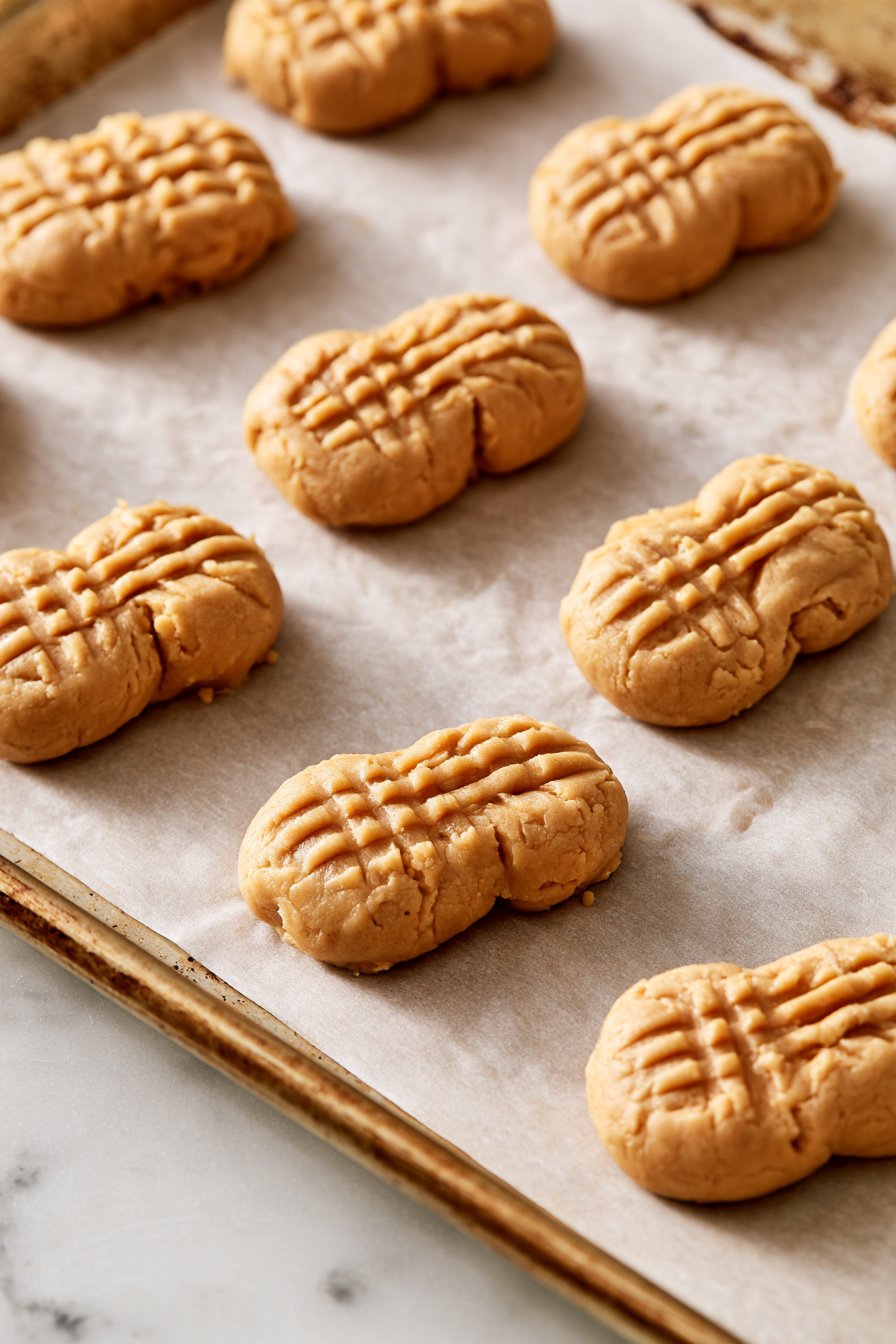
The shape is what makes these cookies instantly recognizable. Instead of leaving the dough as ordinary round cookies, roll each portion into a ball, flatten it slightly, and pinch the middle to create two rounded ends.
Use a fork to press a crosshatch pattern into both ends. This gives the cookies their familiar peanut-shaped appearance and adds a little texture to the surface. Try to keep the cookies similar in size so they pair up neatly when it’s time to assemble the sandwiches.
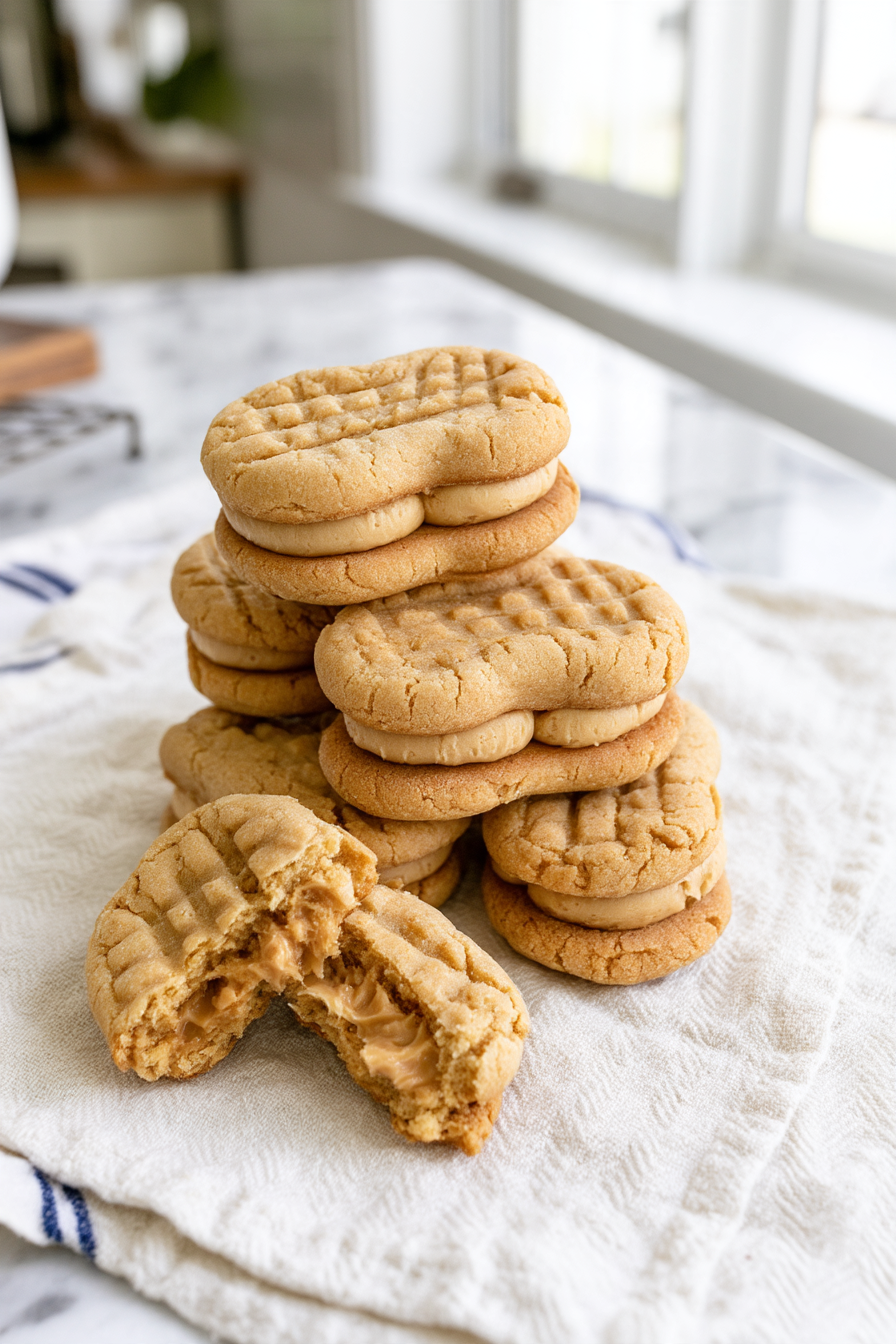
Homemade Nutter Butters
Equipment
- Large mixing bowl or stand mixer
- Cookie Scoop
- Fork
- Wire rack
- Piping bag or zip-top bag
Ingredients
For the Cookies
- ¾ cup creamy peanut butter
- ¼ cup unsalted butter softened
- 1 cup packed light brown sugar
- 1 large egg room temperature
- 1 teaspoon pure vanilla extract
- 1 cup all-purpose flour
- 2 tablespoons cornstarch
- ¼ teaspoon baking soda
- ½ teaspoon salt
For the Peanut Butter Filling
- ½ cup creamy peanut butter
- ⅔ cup powdered sugar
- 3 tablespoons heavy cream
- ½ teaspoon vanilla extract
Instructions
- Prepare the oven: Preheat the oven to 350°F and line a baking sheet with parchment paper.

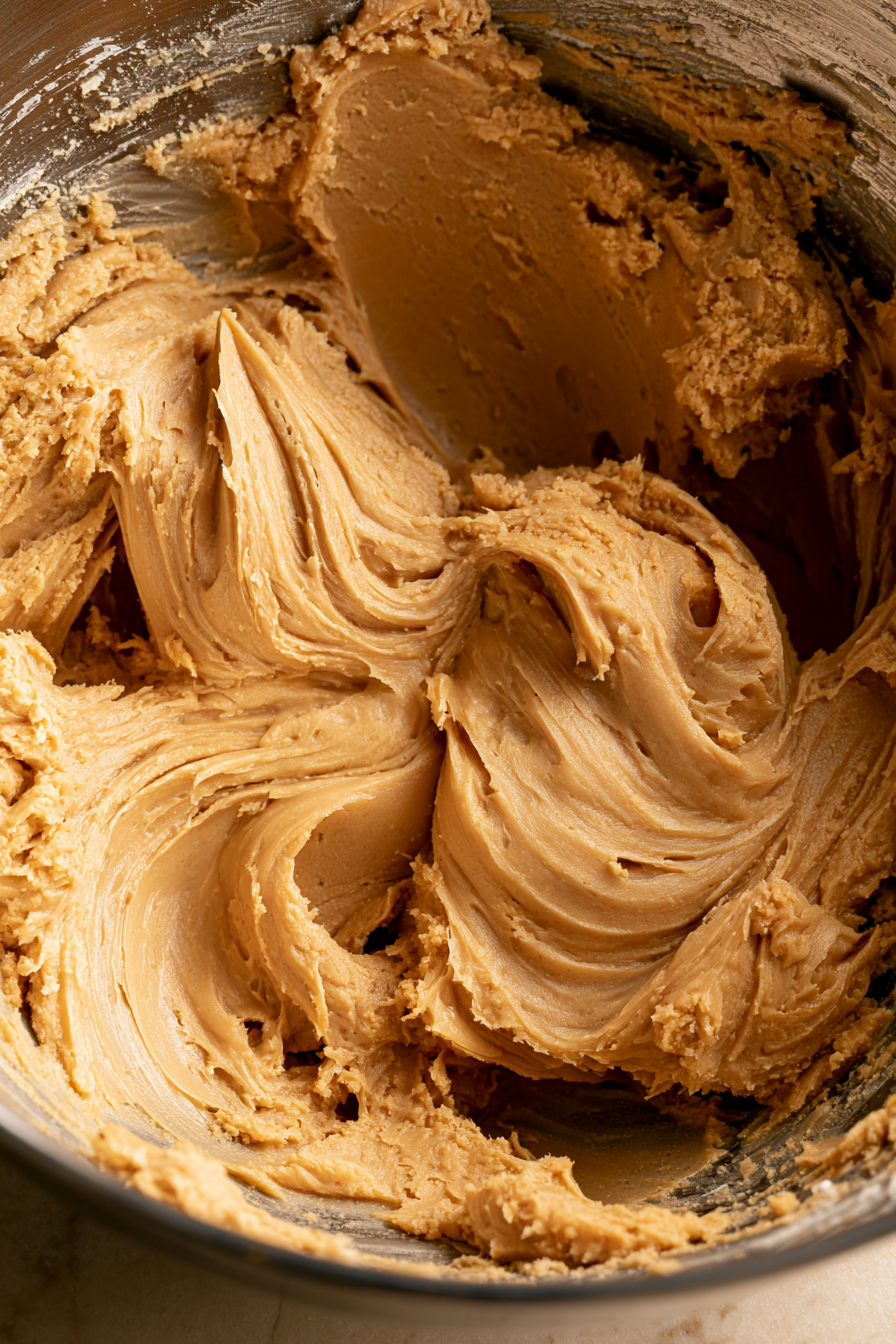
- Make the dough: Beat the peanut butter, softened butter, and brown sugar until light and fluffy. Mix in the egg and vanilla until smooth.
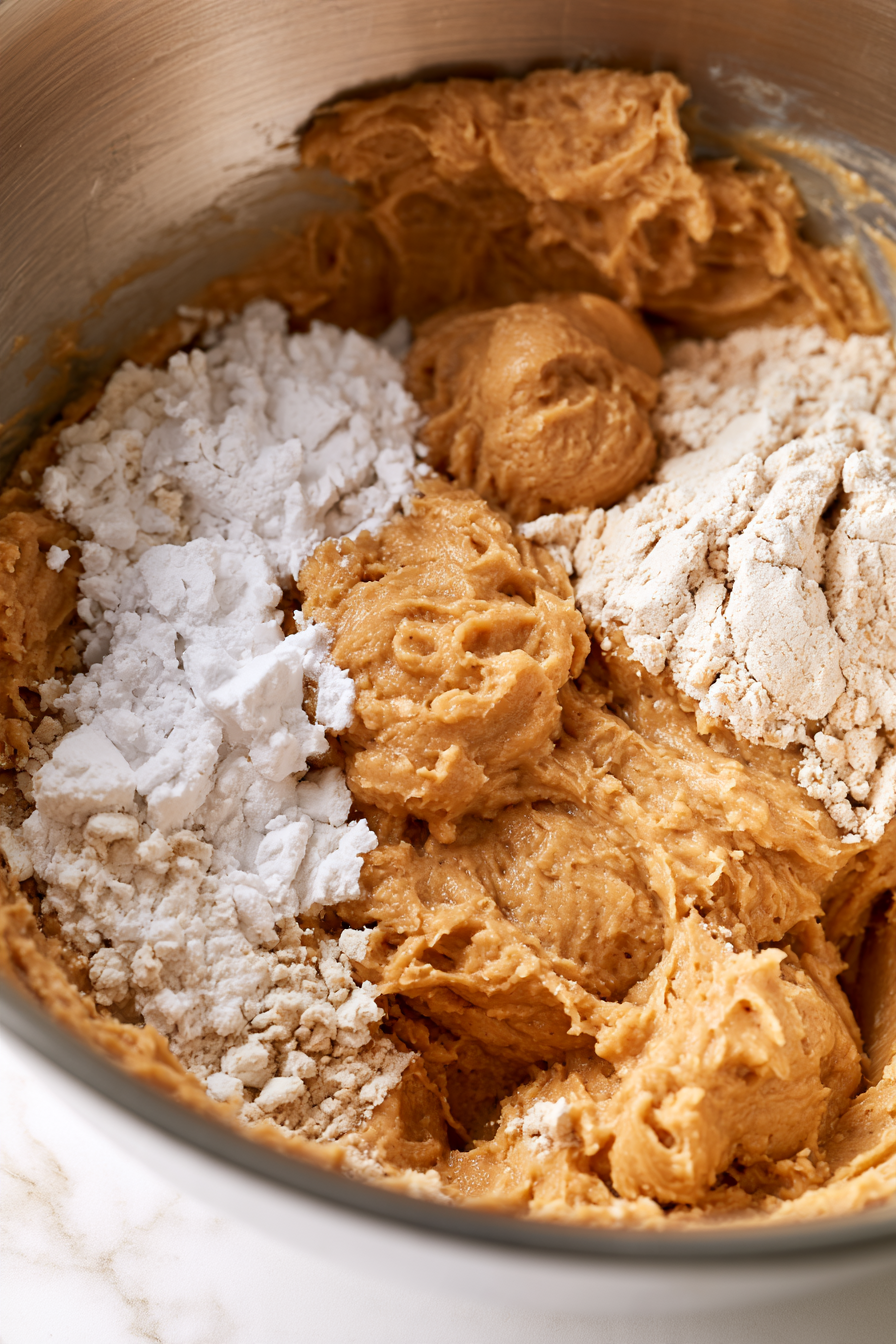
- Add the dry ingredients: Add the flour, cornstarch, baking soda, and salt. Mix just until no dry streaks remain.
- Shape the cookies: Scoop the dough into equal portions. Roll into balls, then flatten and pinch the center slightly to create a peanut shape. Arrange on the baking sheet and press crosshatches into both rounded ends with a fork.
- Bake: Bake for 9–10 minutes, until the cookies are set around the edges but still soft in the center. Cool completely on a wire rack.
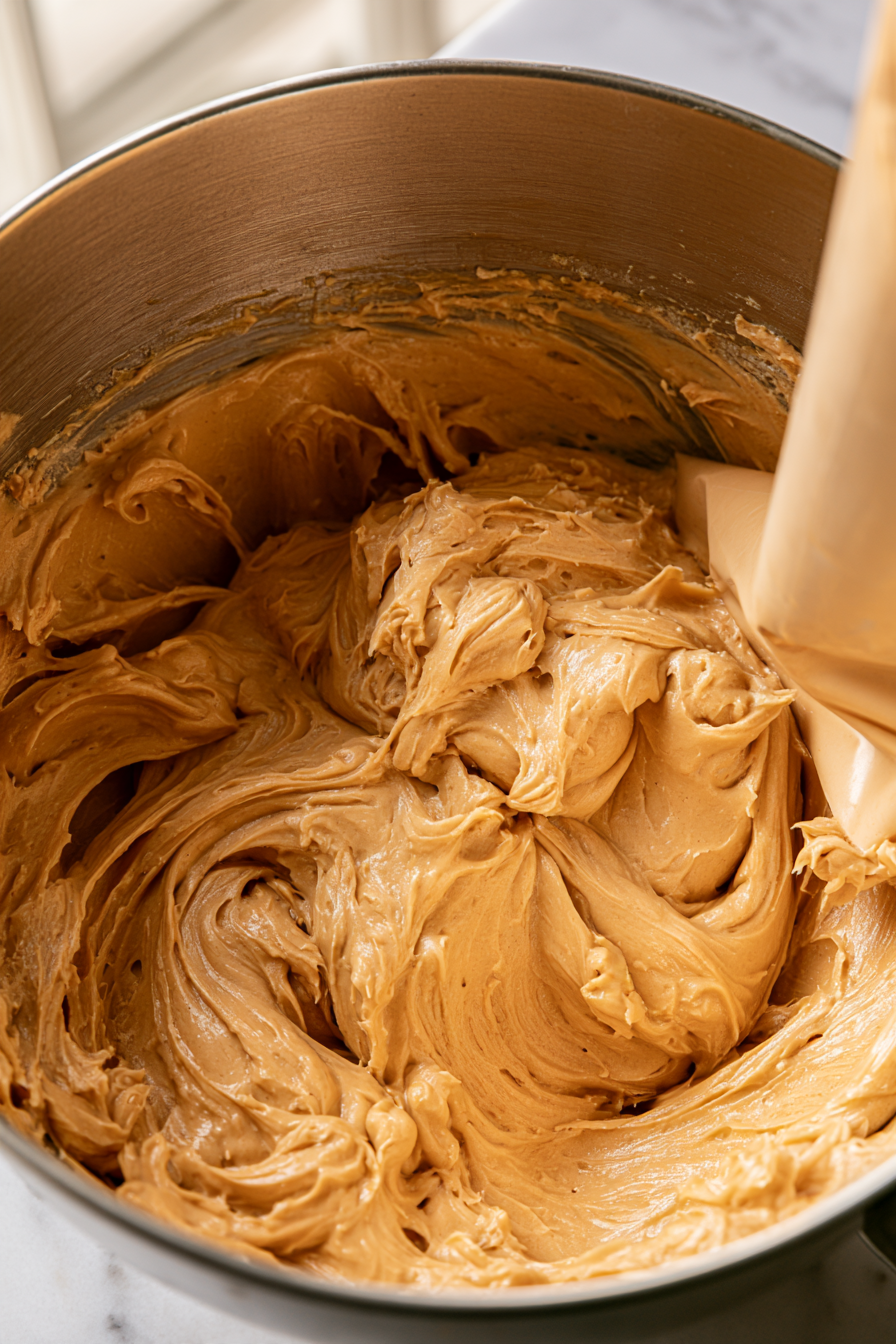
- Make the filling: Beat the peanut butter, powdered sugar, heavy cream, and vanilla until smooth and creamy. Transfer to a piping bag.
- Assemble: Pair up the cooled cookies. Pipe about 2 teaspoons of filling onto the flat side of one cookie and gently sandwich with the second cookie.
Notes
- Use creamy peanut butter for the smoothest dough and filling.
- Don’t overbake the cookies; they should remain slightly soft in the center.
- For a crunchier texture, bake the cookies for an additional 2–3 minutes until the edges are lightly golden.
- Make sure the cookies are completely cool before adding the filling.
Nutrition
Per sandwich cookie:
| Nutrient | Amount |
|---|---|
| Calories | 260 kcal |
| Carbohydrates | 30g |
| Protein | 6g |
| Fat | 14g |
| Fiber | 2g |
| Sugar | 20g |
| Sodium | 230mg |
Troubleshooting
- Dough feels too sticky: Make sure your butter is softened rather than melted, and use a cookie scoop to portion the dough evenly.
- Cookies spread too much: Check that you’re using the listed quantities and that the baking sheet isn’t warm when you place the next batch on it.
- Cookies turn out dry: Avoid overmixing after adding the flour and don’t bake longer than necessary.
- Peanut shape disappears: Pinch the center a little more clearly before baking and avoid flattening the dough too much.
- Filling is too thick: Mix thoroughly to incorporate the heavy cream and create a smoother consistency.
- Filling is too soft: Add a little more powdered sugar to help thicken it before piping.
- Sandwiches slide apart: Let the cookies cool completely and use a moderate amount of filling so it doesn’t squeeze out when pressed together.
Variations
- Crunchy peanut butter cookies: Use crunchy peanut butter in the cookie dough for extra nutty texture, although the cookies and filling will be less smooth.
- Chocolate peanut butter Nutter Butters: Dip half of each assembled cookie in melted chocolate and let it set before serving.
- Chocolate filling: Add a little cocoa powder to the filling for a chocolate-peanut butter combination.
- Honey peanut butter filling: Replace a small portion of the powdered sugar with honey for a different sweetness, adjusting the consistency as needed.
- Extra vanilla flavor: Add a little more vanilla to the filling for a warmer, sweeter aroma.
- Mini sandwich cookies: Make smaller dough portions for bite-sized cookies, checking them early because they may bake faster.
More Cookies You Might Like
- Cookies and Cream Cookie
- Strawberry Cheesecake Cookie
- Caramel Choco Chip Cookie
- Pumpkin Cookies
- Red Velvet Cookies
Storage
- Refrigerator: Store assembled cookies in an airtight container in the refrigerator for up to 7 days.
- Room temperature before serving: Let refrigerated cookies sit briefly at room temperature before serving for a softer bite.
- Freeze assembled cookies: Freeze the finished sandwich cookies for up to 3 months in a freezer-safe container.
- Freeze unfilled cookies: You can also freeze the baked cookies separately and add the filling after thawing.
- Prevent sticking: Place parchment paper between layers when storing or freezing the sandwich cookies.
Frequently Asked Questions
1. Why are my homemade Nutter Butters soft instead of crunchy?
This recipe is designed to make soft, chewy sandwich cookies rather than a crisp copy of the packaged version. The brown sugar, peanut butter, and shorter baking time help keep the centers tender.
2. Do I need to chill the cookie dough before shaping?
The provided recipe doesn’t require chilling. The dough can be scooped and shaped after mixing. If it becomes difficult to handle, a short rest in the refrigerator may make shaping easier.
3. How do I get the fork pattern on the cookies?
Press the tines of a fork gently into both rounded ends of each shaped cookie. This creates the classic crosshatch pattern without flattening the entire cookie.
4. Can I use natural peanut butter for this recipe?
Conventional creamy peanut butter is recommended because it has a more consistent texture. Natural peanut butter can separate, which may affect the dough and filling consistency.
5. How much filling should I put between each pair of cookies?
The recipe calls for approximately 2 teaspoons of filling per sandwich. Pipe it onto the flat side of one cookie and gently press the second cookie on top.
6. Why did my cookies become hard after baking?
Overbaking is a common reason. Remove the cookies when the edges are set but the centers still look slightly soft. They’ll continue to firm up as they cool.
7. Can I make the peanut butter filling ahead of time?
Yes. Prepare the filling in advance and keep it covered in the refrigerator. Let it soften enough to pipe smoothly before assembling the cookies.
8. Can I make these cookies without a piping bag?
Absolutely. Use a zip-top bag with a small corner snipped off, or spread the filling onto the cookies with a small spoon or offset spatula.

hi there,
I have always believed that good food is about more than just ingredients…
know more