Honeycomb Marshmallow Treats Recipe
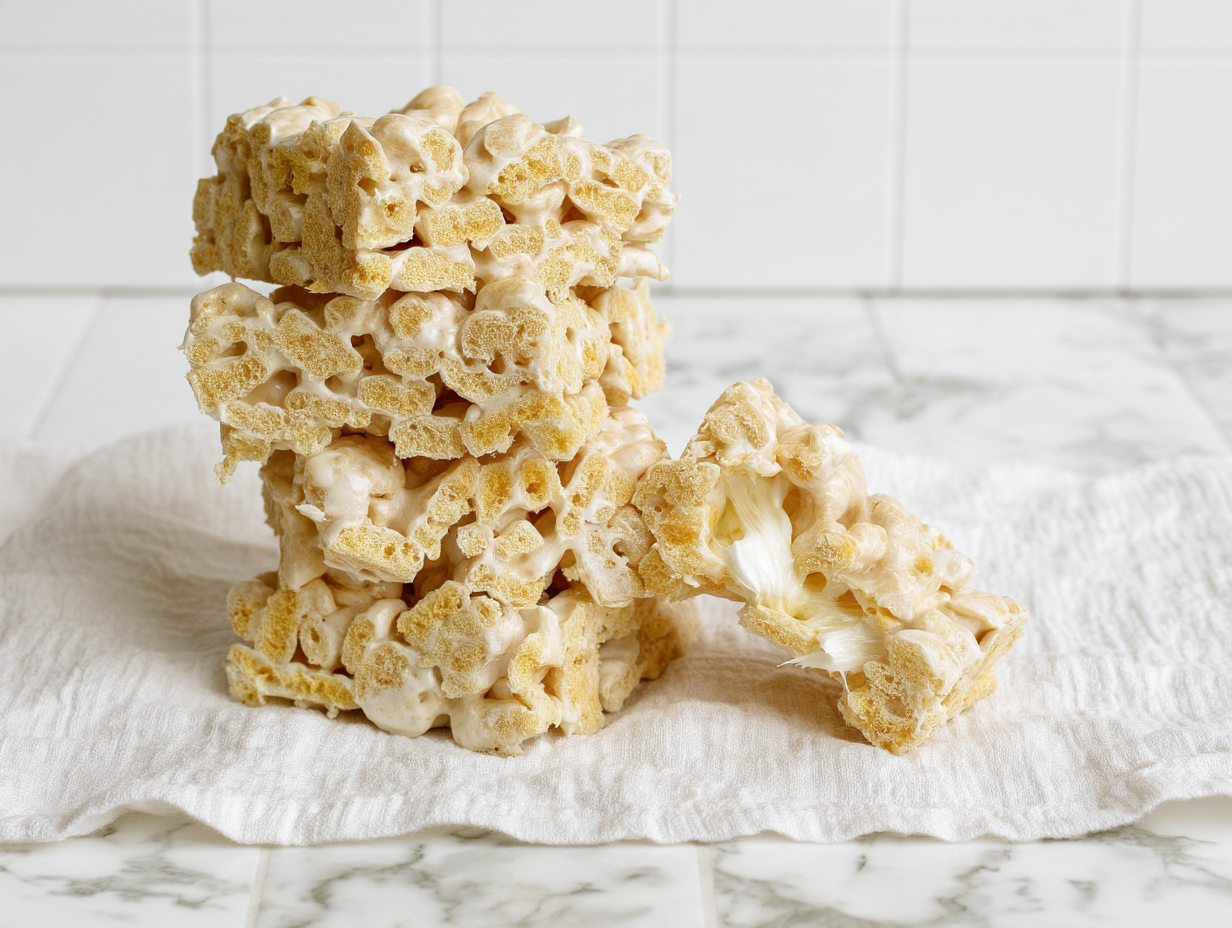
These Honeycomb Marshmallow Treats bring together everything I love in an easy no-bake dessert: crunchy cereal, soft marshmallows, roasted peanuts, and a little honey. Every bite has a lovely mix of chewy, crispy, sweet, and salty flavors.
They’re quick to prepare, need just five main ingredients, and don’t require an oven. I like making these for family snacks, parties, or whenever I want something sweet without spending much time in the kitchen.
What Makes These Honeycomb Marshmallow Treats So Good?
- Crunchy and chewy texture: Honeycomb cereal stays crisp in the gooey marshmallow mixture, giving every bite a satisfying crunch.
- Sweet and salty flavor: Roasted salted peanuts balance the sweetness of the marshmallows and honey.
- No baking required: Everything comes together on the stovetop before setting in the pan.
- Only five ingredients: You don’t need a long shopping list or complicated preparation.
- Easy to cut and share: Once cooled, the mixture slices into neat squares for serving.
- Kid-friendly treat: These bars are fun to make and work well for lunchboxes, parties, and afternoon snacks.
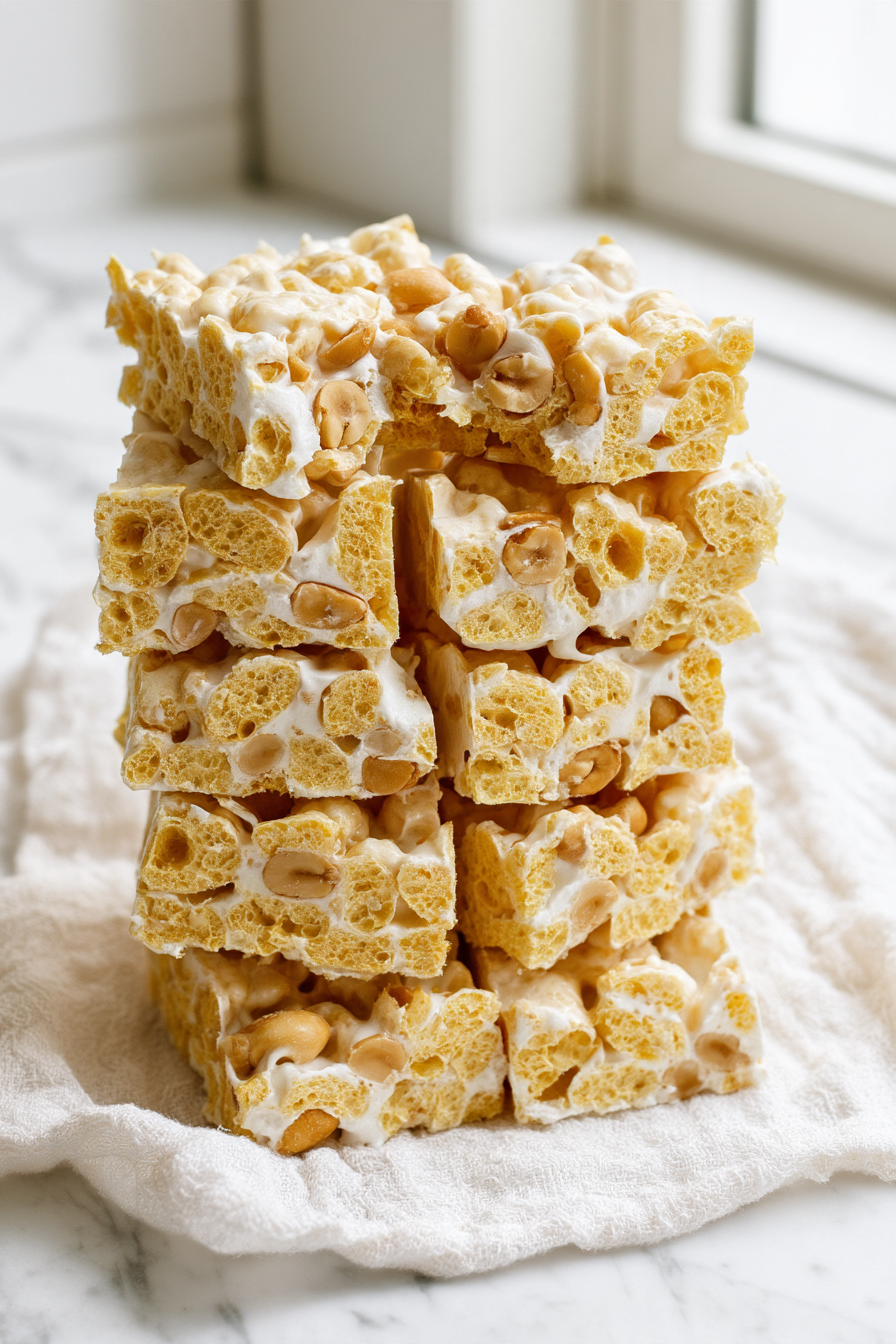
Honeycomb Marshmallow Treats
Equipment
- Large saucepan
- 8×8-inch Baking Pan
- Parchment paper or nonstick spray
- Sharp Knife
Ingredients
- 4½ cups Honeycomb cereal
- 1 10-ounce bag mini marshmallows
- 1 cup roasted salted peanuts
- ¼ cup unsalted butter
- 2 tablespoons honey
Instructions
- Prepare the pan: Line an 8×8-inch baking pan with parchment paper, or lightly coat it with nonstick spray.
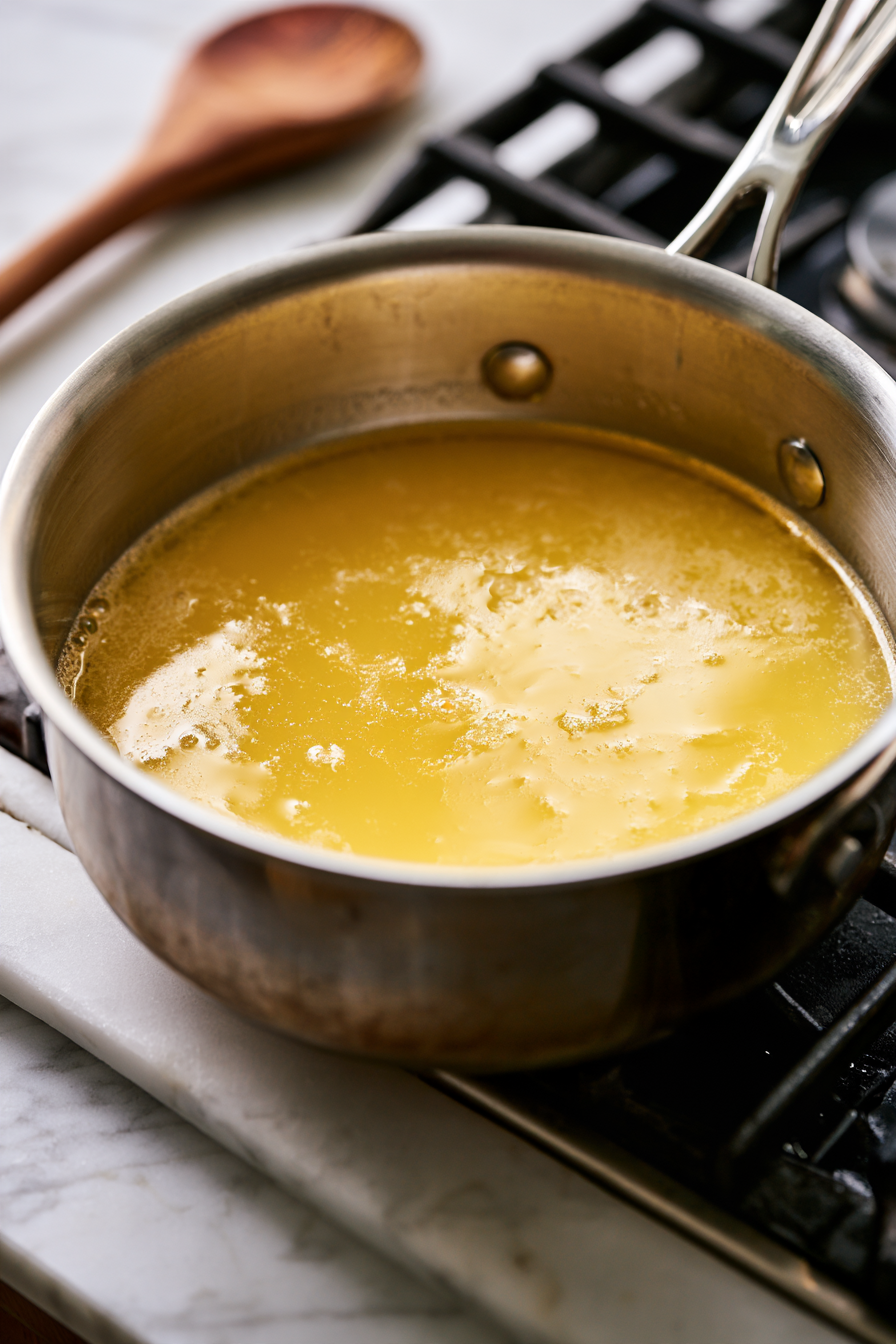
- Melt the butter: Melt the butter in a large saucepan over low heat.
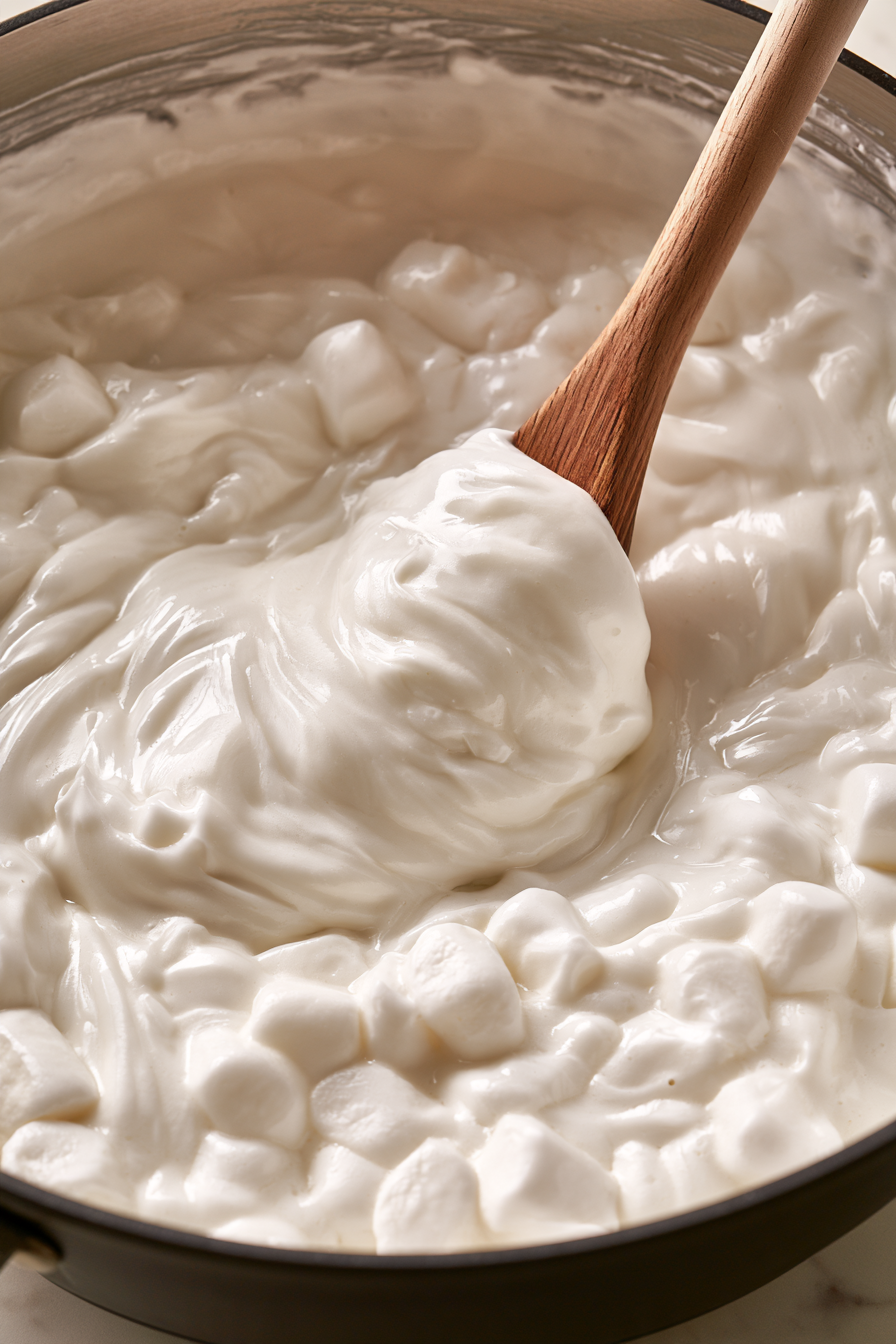
- Melt the marshmallows: Add the marshmallows and stir continuously until completely melted and smooth.
- Add the flavor: Stir in the peanuts and honey until evenly combined.
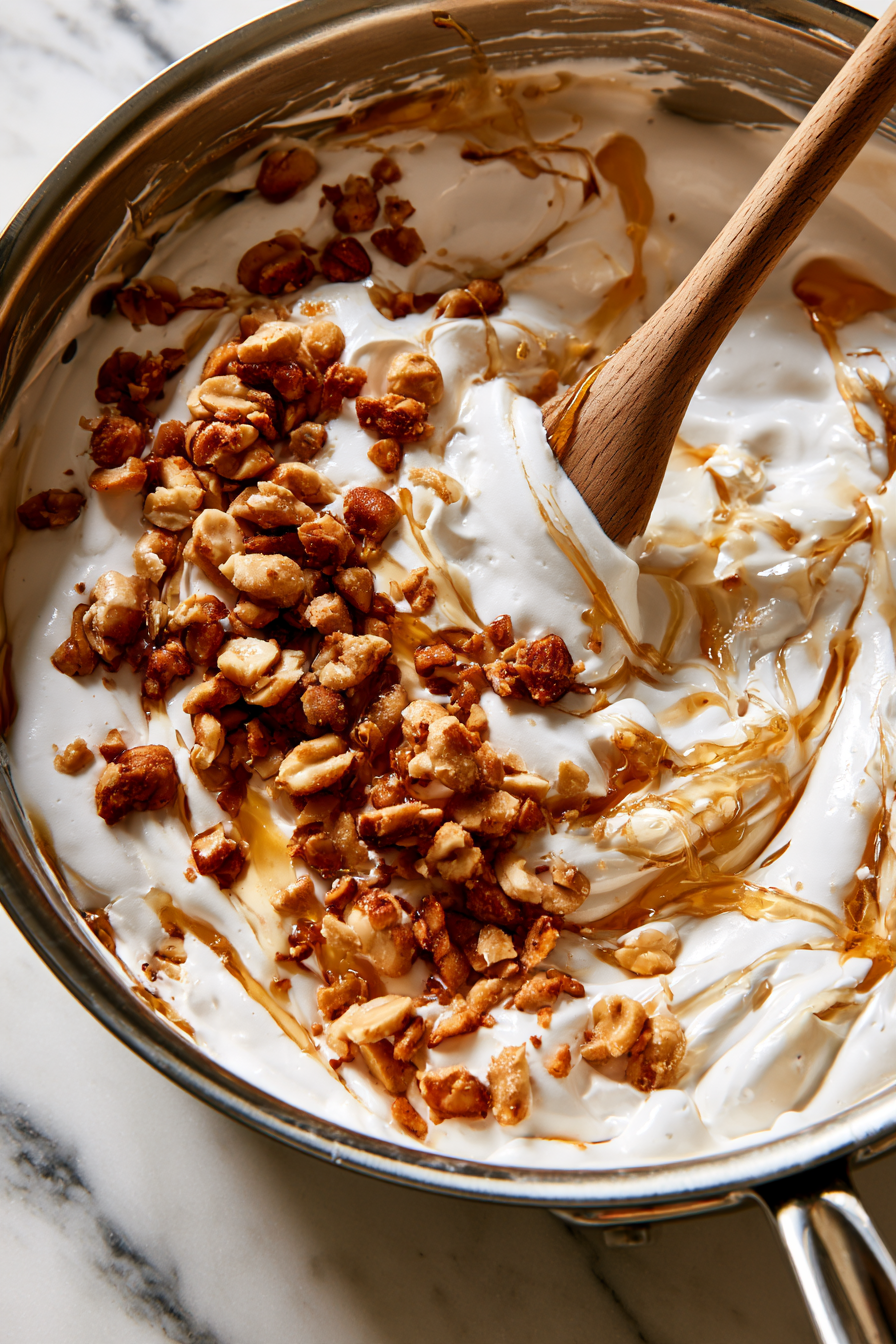
- Add the cereal: Quickly fold in the Honeycomb cereal, stirring gently until all the cereal is coated.
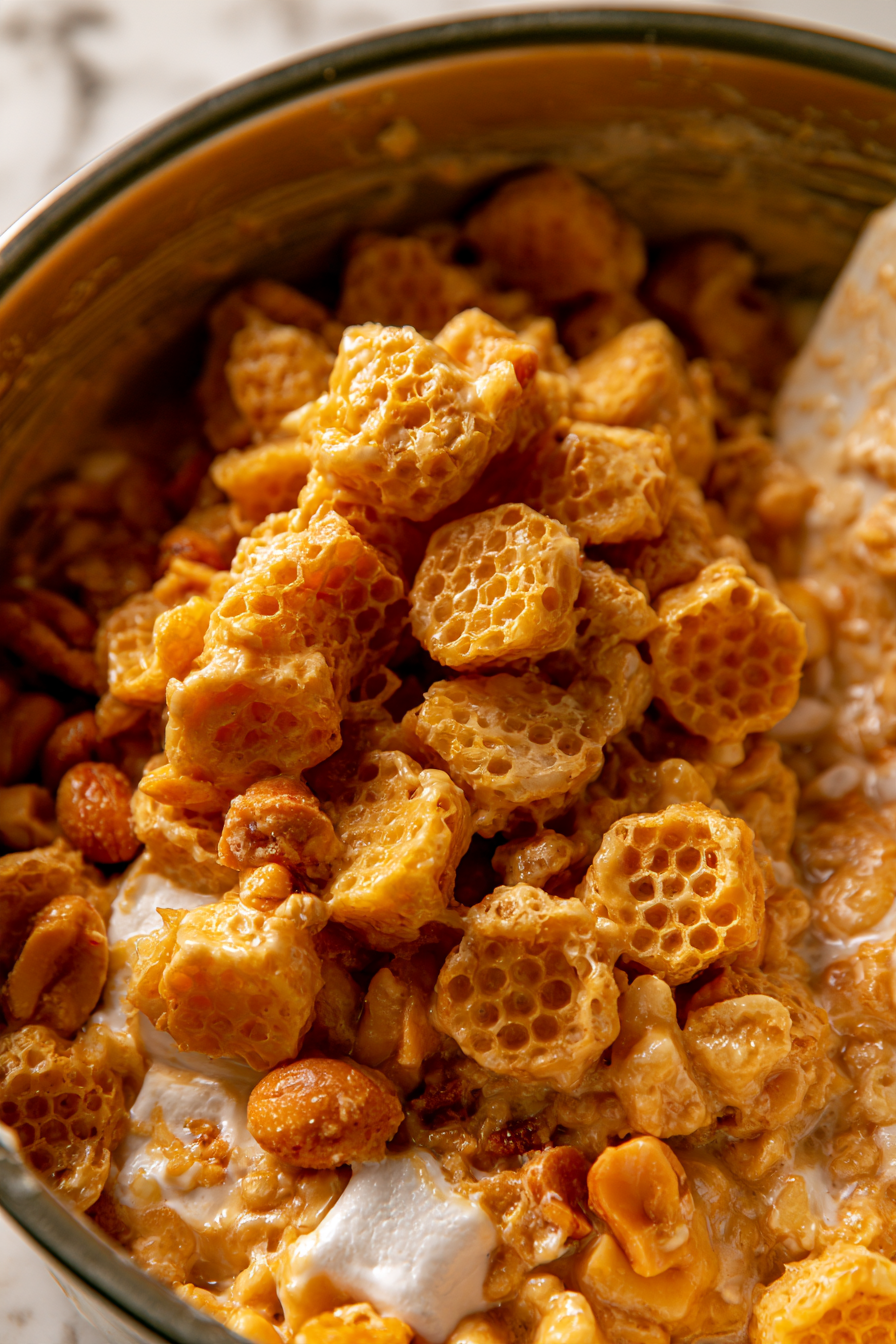
- Press into the pan: Immediately transfer the mixture to the prepared pan and press it firmly into an even layer.
- Cool and cut: Let the treats cool and set completely, then cut into squares and serve.
Notes
- Work quickly once the cereal is added because the marshmallow mixture firms up as it cools.
- Lightly grease your spatula or hands if the mixture is difficult to press into the pan.
- Use roasted salted peanuts for the best sweet-and-salty contrast.
- For a stronger honey flavor, add a little extra honey to taste.
Nutrition
What to Do If Something Goes Wrong
- Treats are too hard: The marshmallow mixture may have been overheated. Melt everything gently over low heat next time.
- Cereal is crushed: Fold it in gently instead of stirring aggressively.
- Mixture sticks to your hands: Lightly grease your hands or spatula before pressing it into the pan.
- Treats won’t hold together: Make sure the cereal is evenly coated with the marshmallow mixture and press it into the pan while still warm.
- Mixture sets too quickly: Work faster after adding the cereal, as the marshmallow mixture firms up as it cools.
- Squares are difficult to cut: Allow the treats to cool completely and lightly grease your knife before slicing.
Make It Your Own
- Chocolate drizzle: Drizzle melted chocolate over the cooled treats for an extra sweet finish.
- Extra peanut crunch: Add a little more chopped roasted peanuts for a nuttier texture.
- Peanut butter flavor: Stir a small amount of peanut butter into the melted marshmallow mixture.
- Chocolate chips: Fold in chocolate chips after the mixture has cooled slightly so they don’t melt completely.
- Mixed nuts: Replace some of the peanuts with chopped almonds or cashews.
- Festive treats: Add colorful sprinkles to make these bars more fun for birthdays and holiday gatherings.
What to Serve with Honeycomb Marshmallow Treats
How to Keep Them Fresh and Crunchy
- Room temperature: Store the treats in an airtight container at room temperature for up to 3 days.
- Keep them covered: Avoid leaving the bars uncovered, as the marshmallow mixture can become dry and firm.
- Separate layers: Place parchment paper between layers to prevent the treats from sticking together.
- Avoid moisture: Keep the container away from heat and humidity to help maintain the cereal’s crunch.
- Serving leftovers: If the treats become slightly firm, let them sit at room temperature briefly before serving.
Frequently Asked Questions
1. Can I use regular marshmallows instead of mini marshmallows?
Yes. Regular marshmallows can be used, but they may take a little longer to melt. Stir continuously over low heat until the mixture becomes smooth.
2. Why do my Honeycomb Marshmallow Treats become hard?
Overheating the marshmallows is one common reason. Keep the heat low and remove the mixture from the stove once the marshmallows have melted.
3. Can I make these treats without peanuts?
Yes. You can leave out the peanuts if needed, although the treats will lose some of their crunchy, salty texture.
4. Can I use a different cereal?
You can experiment with another crunchy cereal, but the flavor and texture will change. Honeycomb cereal gives this recipe its distinctive honey-sweet taste.
5. How do I prevent the mixture from sticking to the pan?
Line the pan with parchment paper or lightly coat it with nonstick spray before adding the mixture.
6. How long do the treats need to cool before cutting?
Let them cool completely and set before slicing. The exact time will depend on the temperature of your kitchen.
7. Can I prepare these treats ahead of time?
Yes. You can make them a day ahead and keep them in an airtight container at room temperature until you’re ready to serve.