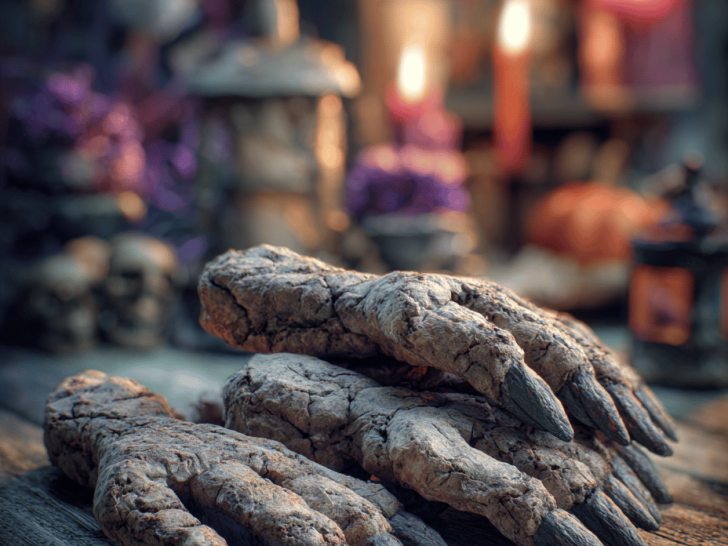
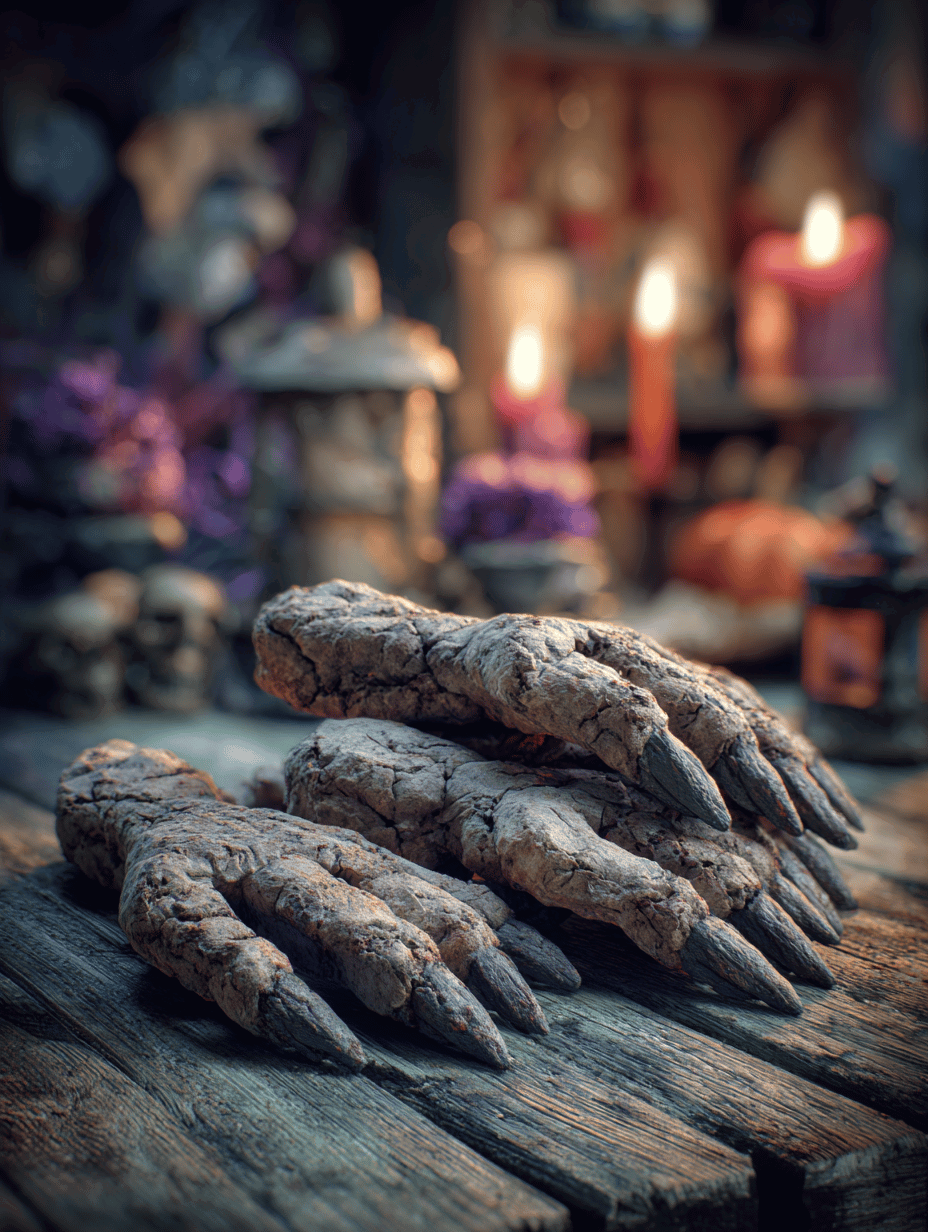
Ever since I stumbled on the idea of making creepy, realistic finger cookies, I couldn’t stop thinking about how perfectly unsettling they look but surprisingly simple to pull off. These cookies are more than just treats—they’re conversation starters, a little spooky art that’s fun to make and even more fun to serve. Plus, they satisfy that weird craving for something sweet with a touch of gross-out charm.
What I love most about these cookies is how they turn a basic sugar cookie dough into tiny, eerie fingers with just a few tweaks. It’s a great project when you want to impress guests or just get a little creepy with the kids. Honestly, I find the process oddly satisfying—the way the dough cracks, the way the almonds look like knuckles, and the smell of baked sugar and butter filling the house.
Why I Love Making These Spooky Fingers
- Getting my hands dirty shaping tiny, creepy fingers is oddly calming after a long day.
- The reactions from friends and family seeing these tiny horrors always crack me up.
- I love how forgiving the dough is—easy to patch up if a finger cracks or bends.
- They remind me of childhood Halloweens, full of mischief and sweet, spooky fun.
- Nothing beats the smell of baking sugar and almonds wafting through the house in October.
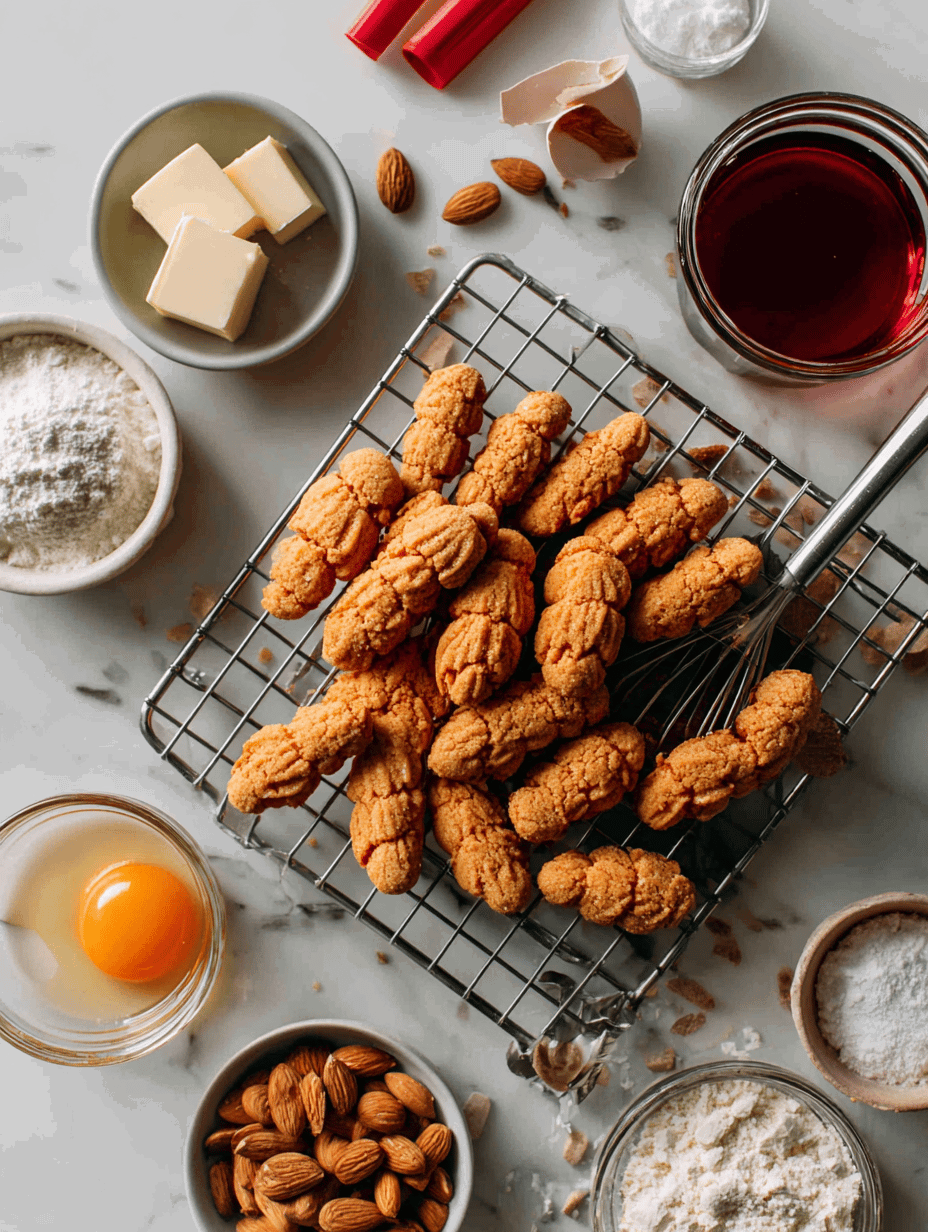
Ingredient Breakdown: What Makes These Fingers So Creepy-Delicious
- Sugar: I use superfine granulated sugar for a smooth dough that’s easy to roll and cut. Swap it for coconut sugar if you want a deeper caramel note, but the sweetness might be a tad richer.
- Butter: Unsalted, softened butter makes the dough tender and rich, almost melt-in-your-mouth. Margarine works in a pinch, but the flavor won’t be quite the same.
- Almonds: Whole almonds make perfect knuckles—just press them in before baking. If you’re allergic, mini pecans or cashews mimic the knuckles’ shape.
- Egg: Adds structure and helps everything hold together. Flaxseed or chia eggs can replace it for a vegan version, but the texture will be a bit denser.
- Flavor Extracts: A splash of almond or vanilla extract brings out that sweet, nutty aroma. Lemon zest is a surprise—brightens and cuts through the richness.
- Food Coloring (Optional): I like a hint of red gel for bloody tips, but leave it out for a more subtle, pale finger.
Step-by-Step: How to Make These Eerie Little Fingers
Equipment & Tools
- Mixing bowls: For combining ingredients smoothly.
- Measuring spoons & cups: Precision matters when shaping tiny fingers.
- Rolling pin: To get an even dough thickness.
- Small knife or toothpick: For carving knuckles and details.
- Almonds: For knuckles.
- Baking sheet & parchment paper: To keep fingers from sticking.
- Cooling rack: For crisping up after baking.
Steps
- Preheat your oven to 180°C (350°F). Line a baking sheet with parchment.
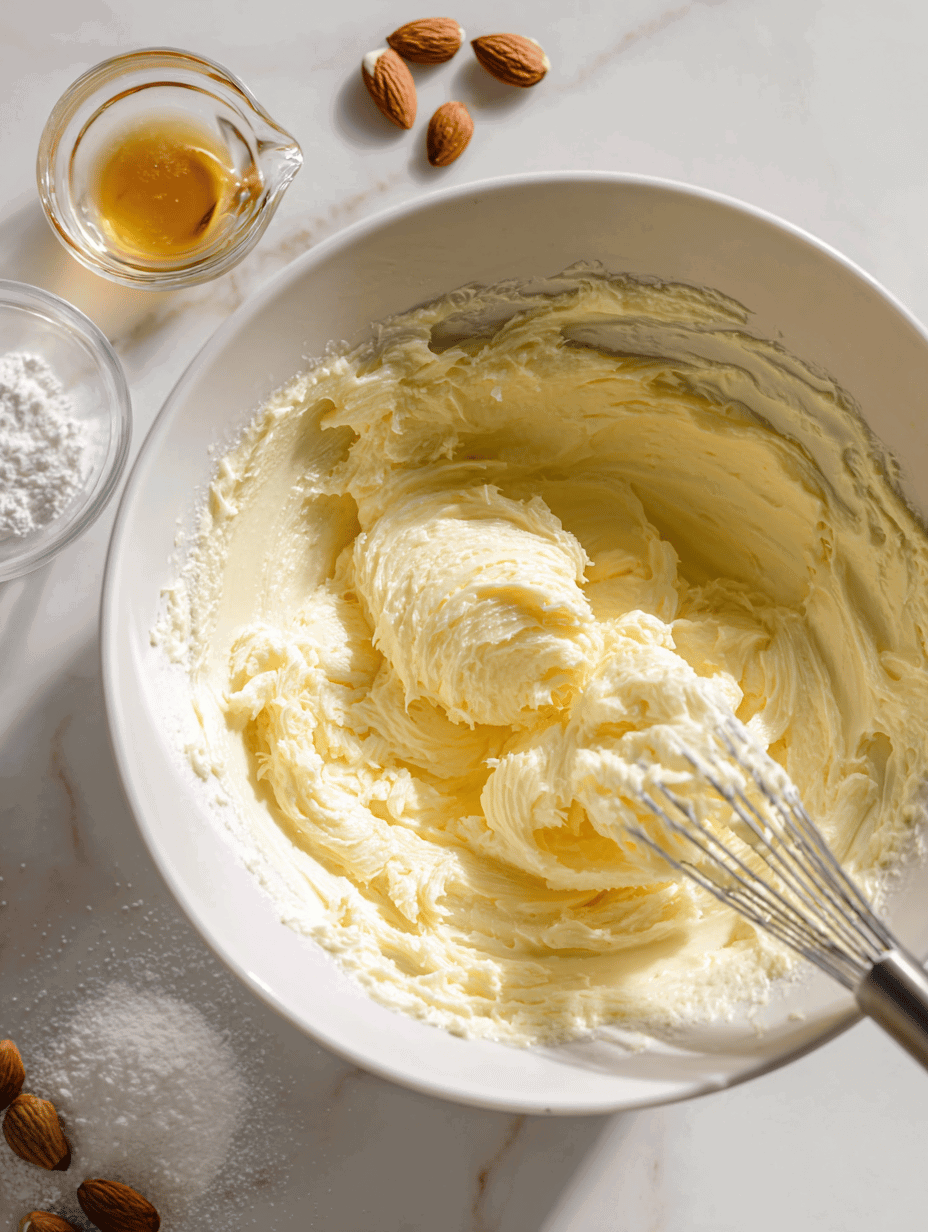
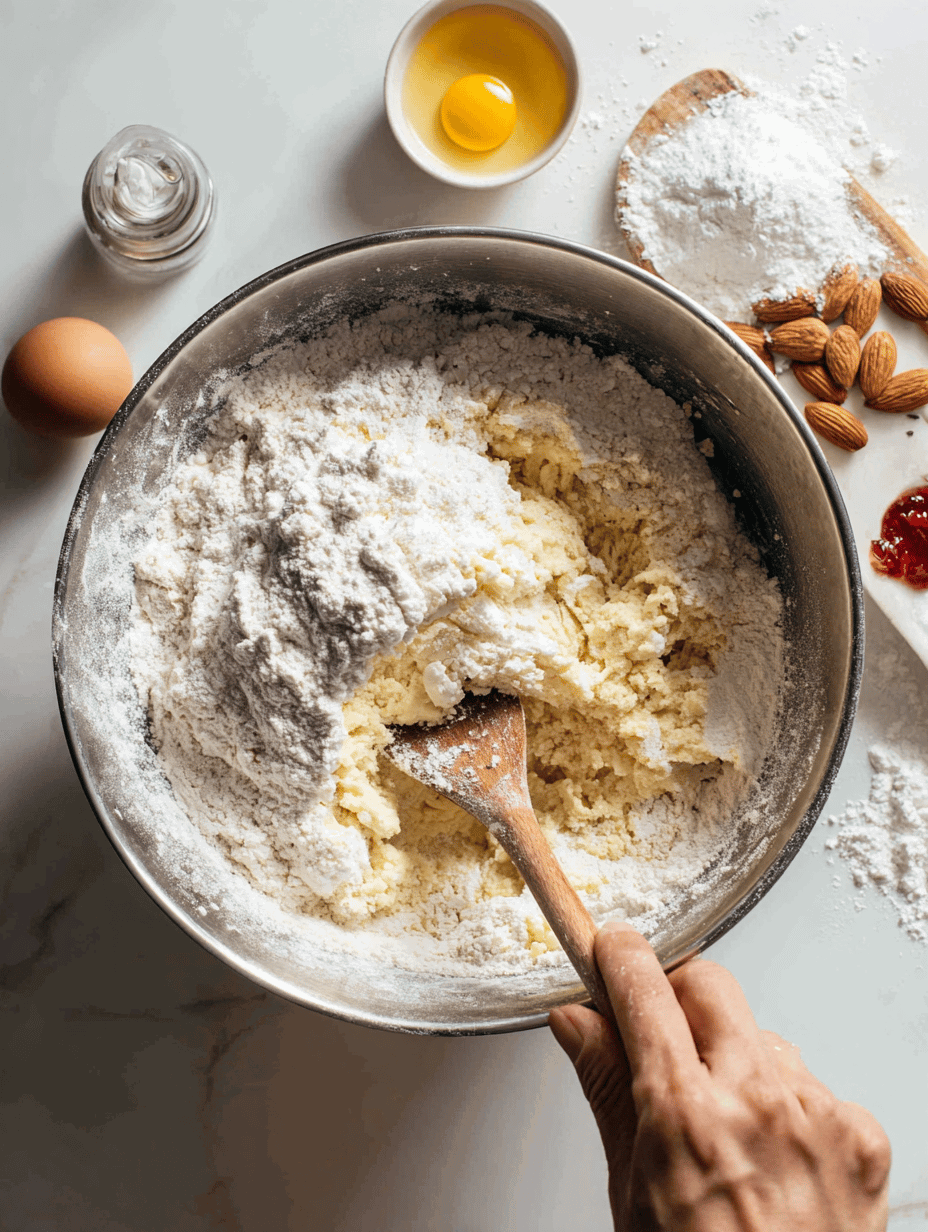
- Mix softened butter and sugar until creamy—about 2 minutes, smell that sweet, buttery aroma.
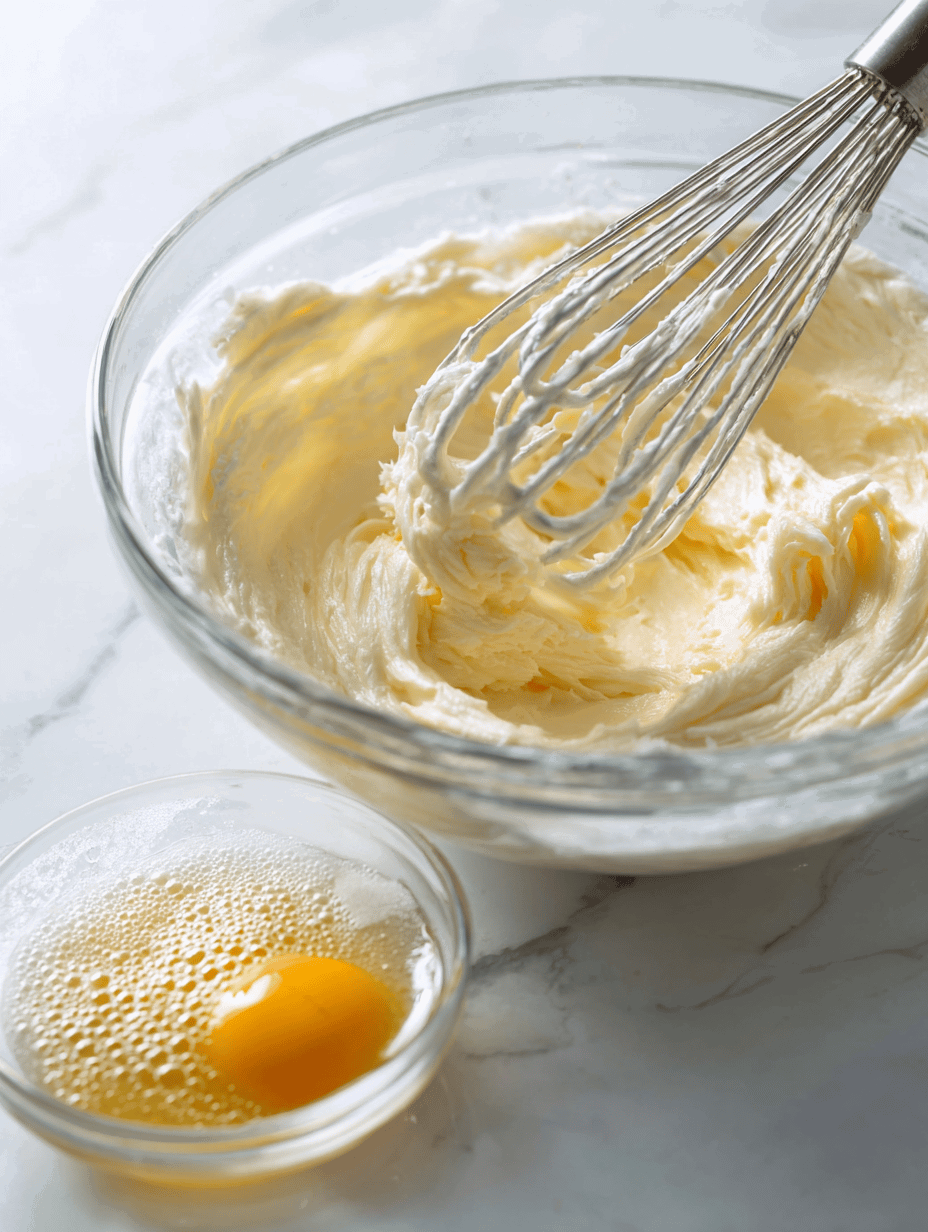
- Add the egg and vanilla or almond extract. Mix until combined. The dough should be smooth but firm.
- Gradually stir in flour until it forms a stiff dough. If it’s too sticky, dust with a bit more flour.
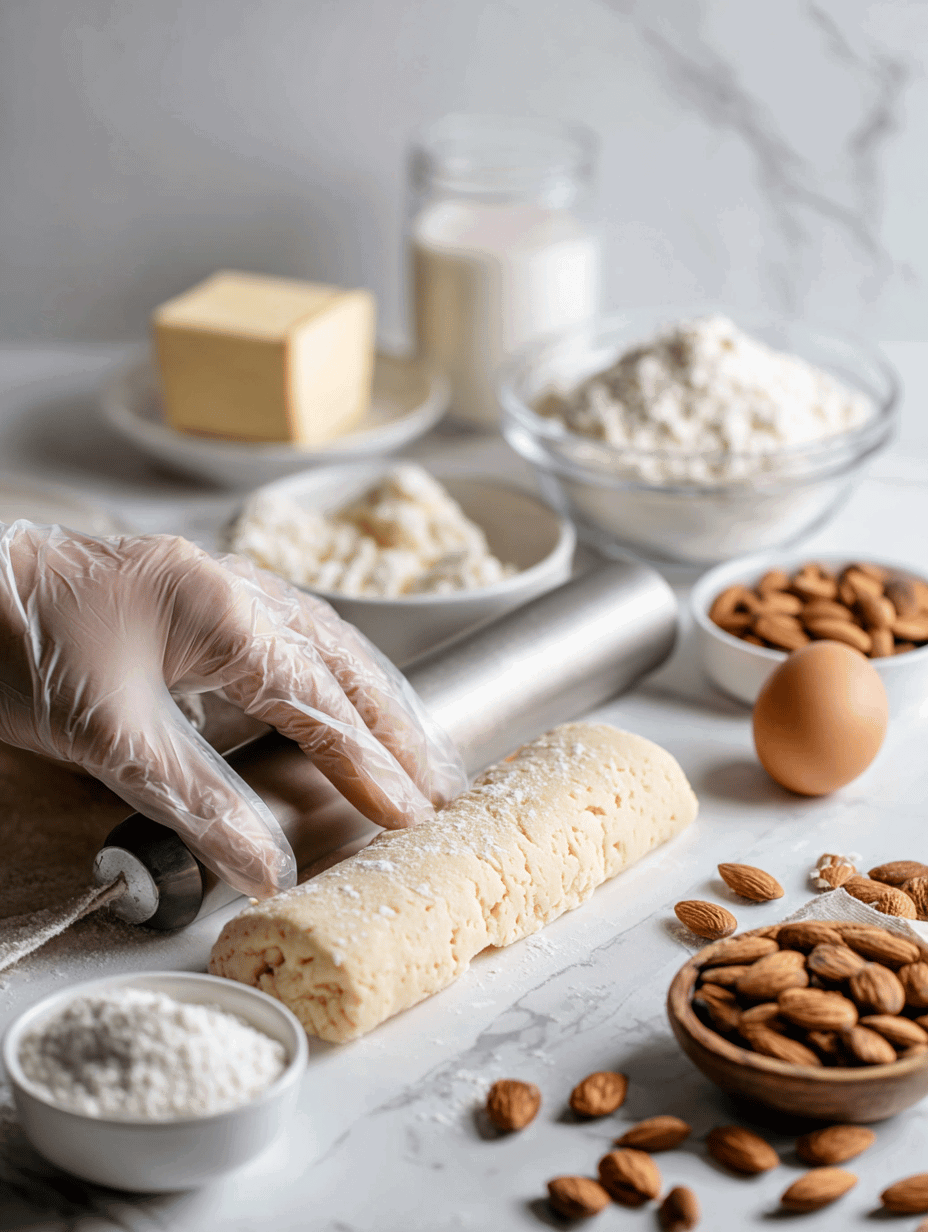
- Divide dough into small portions—roll each into a thin, finger-length log, about 1 cm wide.
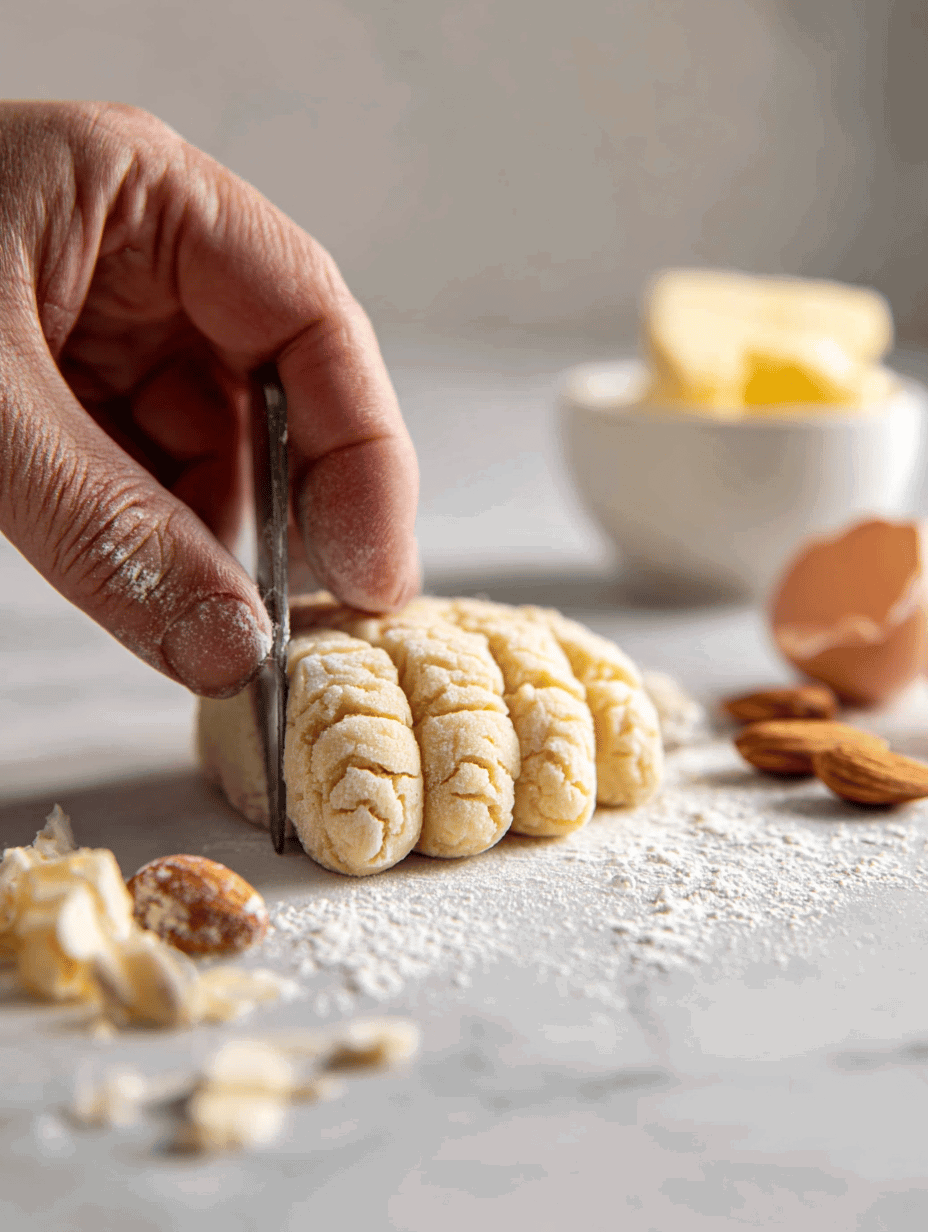
- Using a small knife, score knuckles and creases. Press an almond at the tip for a fingernail.
- Place fingers on the prepared baking sheet. Bake for 12-15 minutes, until lightly golden and cracked at the edges.
- Let cool on a rack. The cookies will firm up, but still have a slight bend.
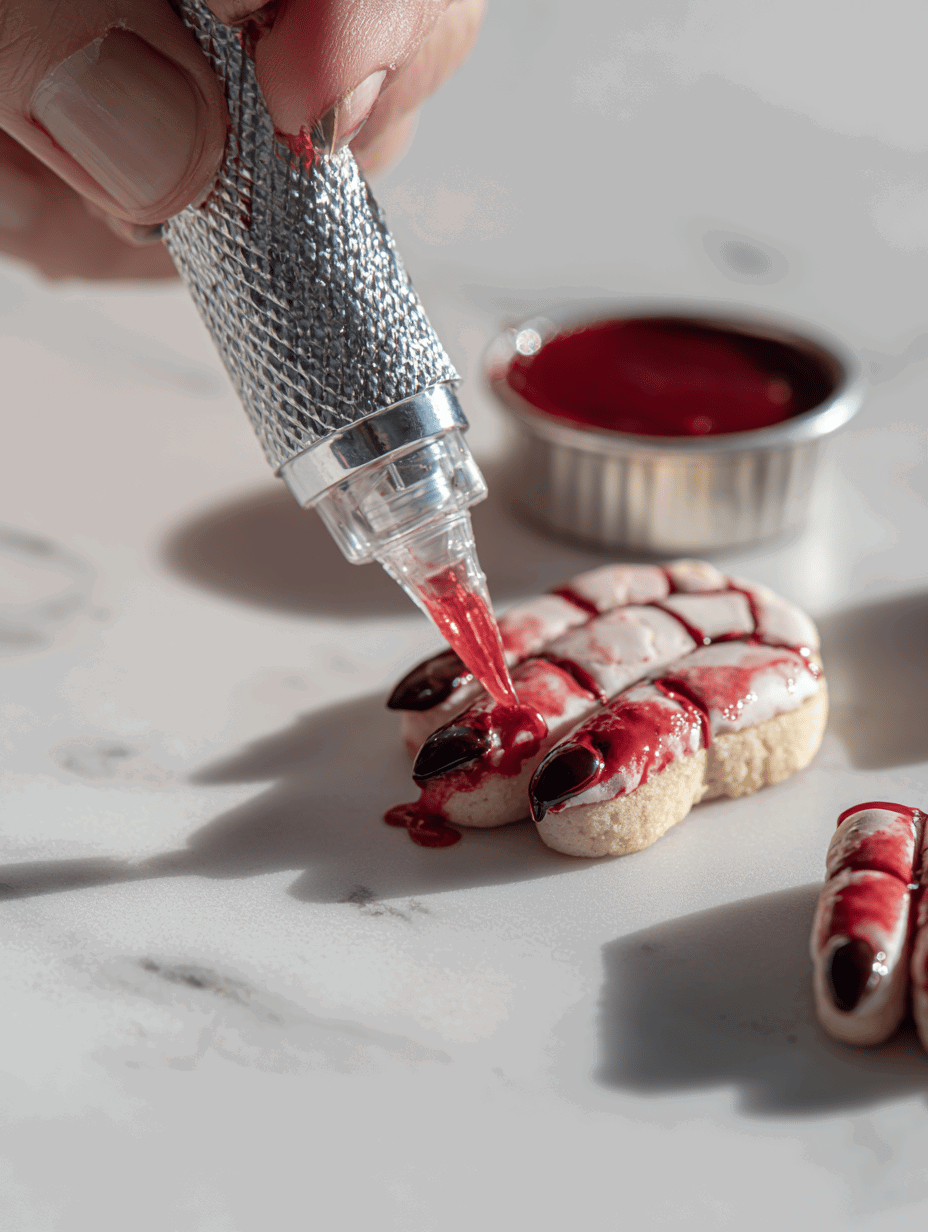
- Optional: Use red gel or icing to add “blood” around the nails or knuckles.
a. For extra realism, gently crack the almond for a gnarly nail look.
b. Use the toothpick to add tiny veins or cracks if you want extra horror detail.
Rest & Finish
Let the fingers cool completely before handling. Place them on a platter or creepy tray, and keep in a sealed container if not serving immediately. They’re best eaten within 2 days for that perfect snap and crunch.
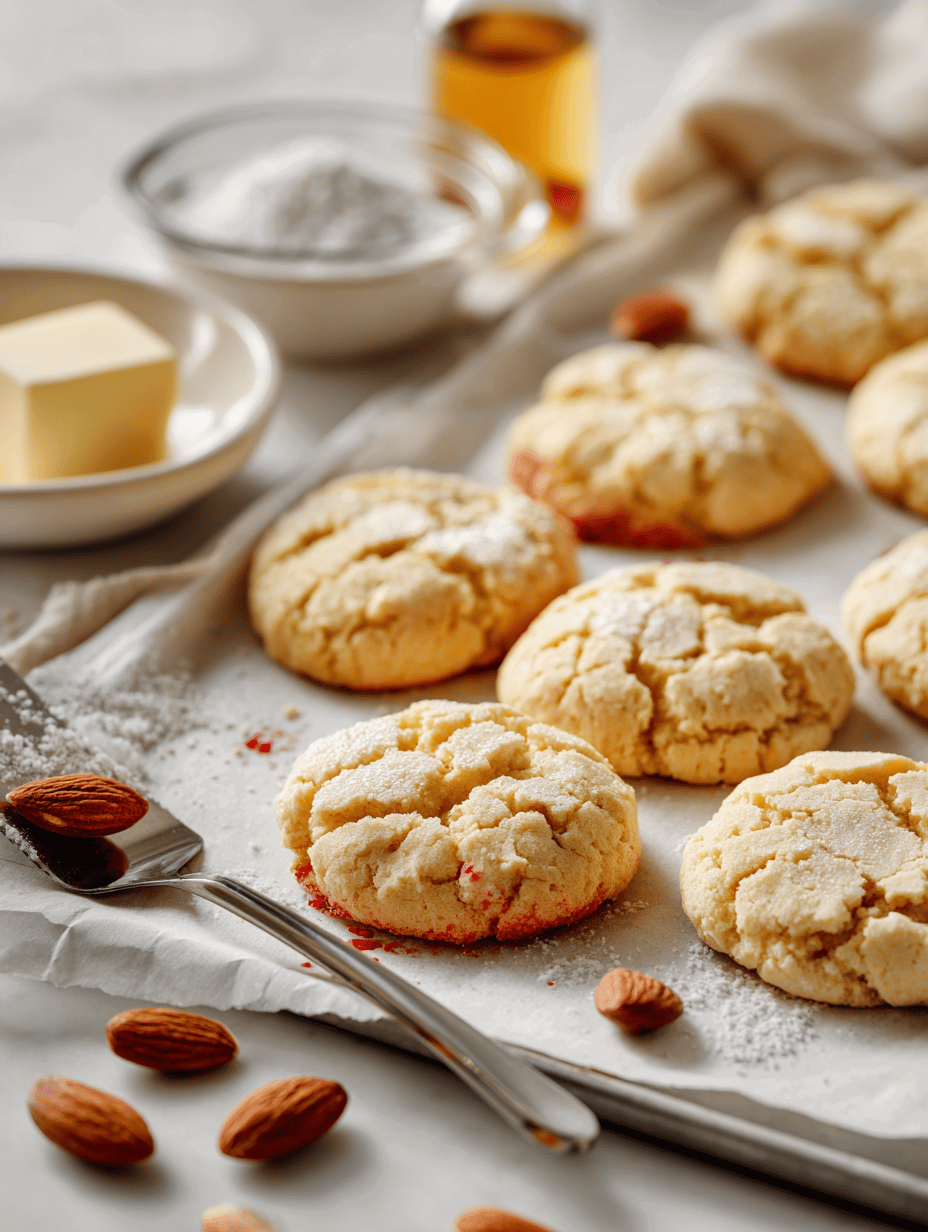
How to Know They’re Done
- The cookies are golden-brown at the edges but still pale at the center.
- They crack slightly at the surface but hold their shape without sagging.
- They have a faint, sweet aroma and feel firm but not hard to bite through.
Mistakes and Fixes for Your Creepy Fingers
- FORGOT to score the knuckles? Use a toothpick or skewer to add cracks after baking, while still warm.
- DUMPED too much flour? Lightly spray with water or milk and knead gently, then reshape.
- OVER-TORCHED edges? Lower the oven temp by 10°C (20°F) and bake a little longer for even color.
- Fingers cracked too much? Chill the dough before shaping to reduce cracking during baking.
Quick Kitchen Fixes for Last-Minute Spookiness
- When cookies are too soft, pop them back in the oven for 2-3 minutes to firm up.
- Splash a tiny bit of lemon juice onto the nails for a fresh, zesty look.
- Patch cracks with a dab of royal icing—adds creepy texture and hides imperfections.
- When almond nails fall off, glue them back with a dab of icing or frosting.
- If the dough feels too sticky, dust your hands and work surface with more flour before shaping.
Creepy Finger Cookies
Equipment
- Measuring spoons & cups
- Small knife or toothpick
- Baking sheet Parchment paper
- Cooling Rack
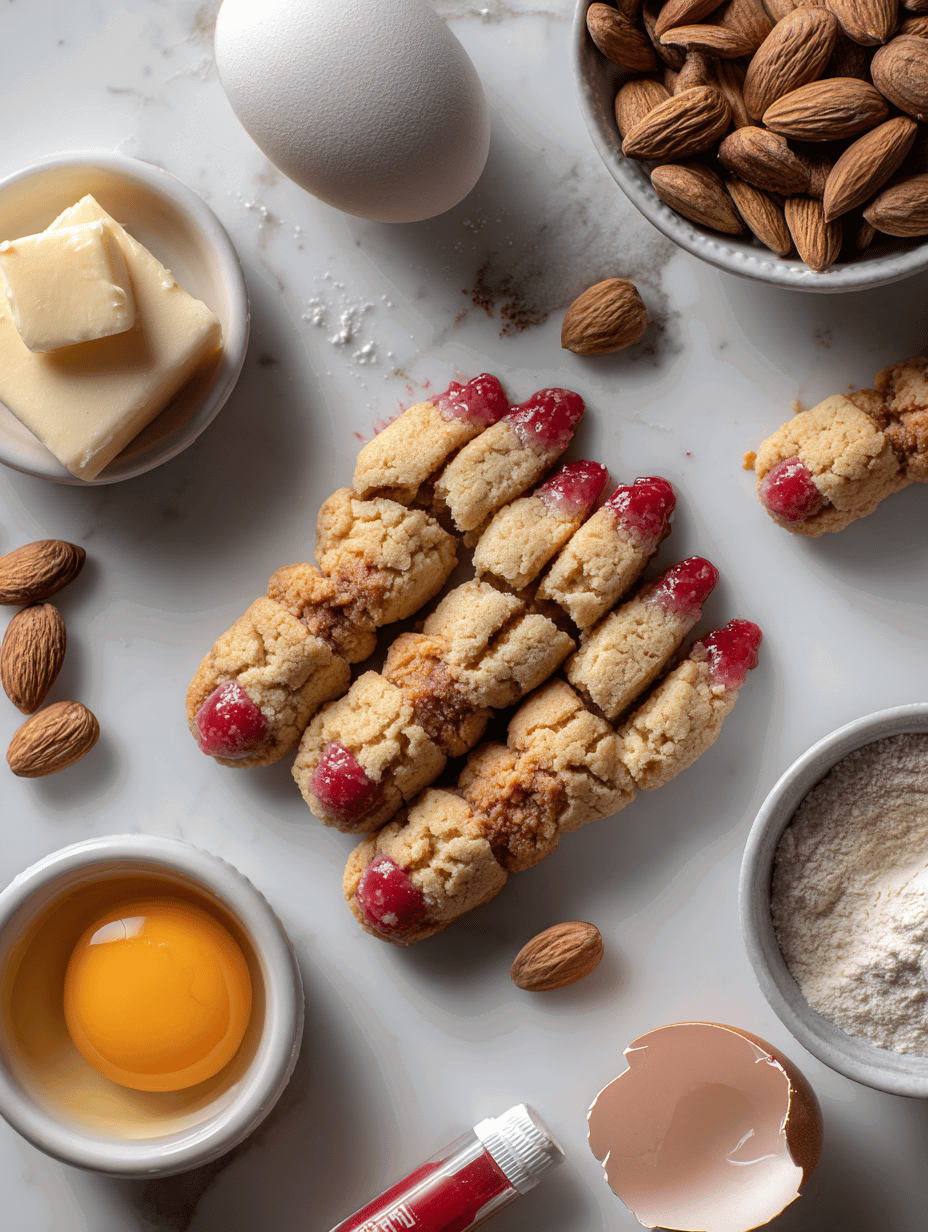
Ingredients
- 1 cup unsalted butter softened
- 1 cup superfine granulated sugar
- 1 large egg beaten
- 1 teaspoon vanilla extract
- 2 1/2 cups all-purpose flour plus more for dusting
- 12 each whole almonds for knuckles and nails
- optional red gel or icing for bloody tips
Instructions
- Preheat your oven to 180°C (350°F) and line a baking sheet with parchment paper.
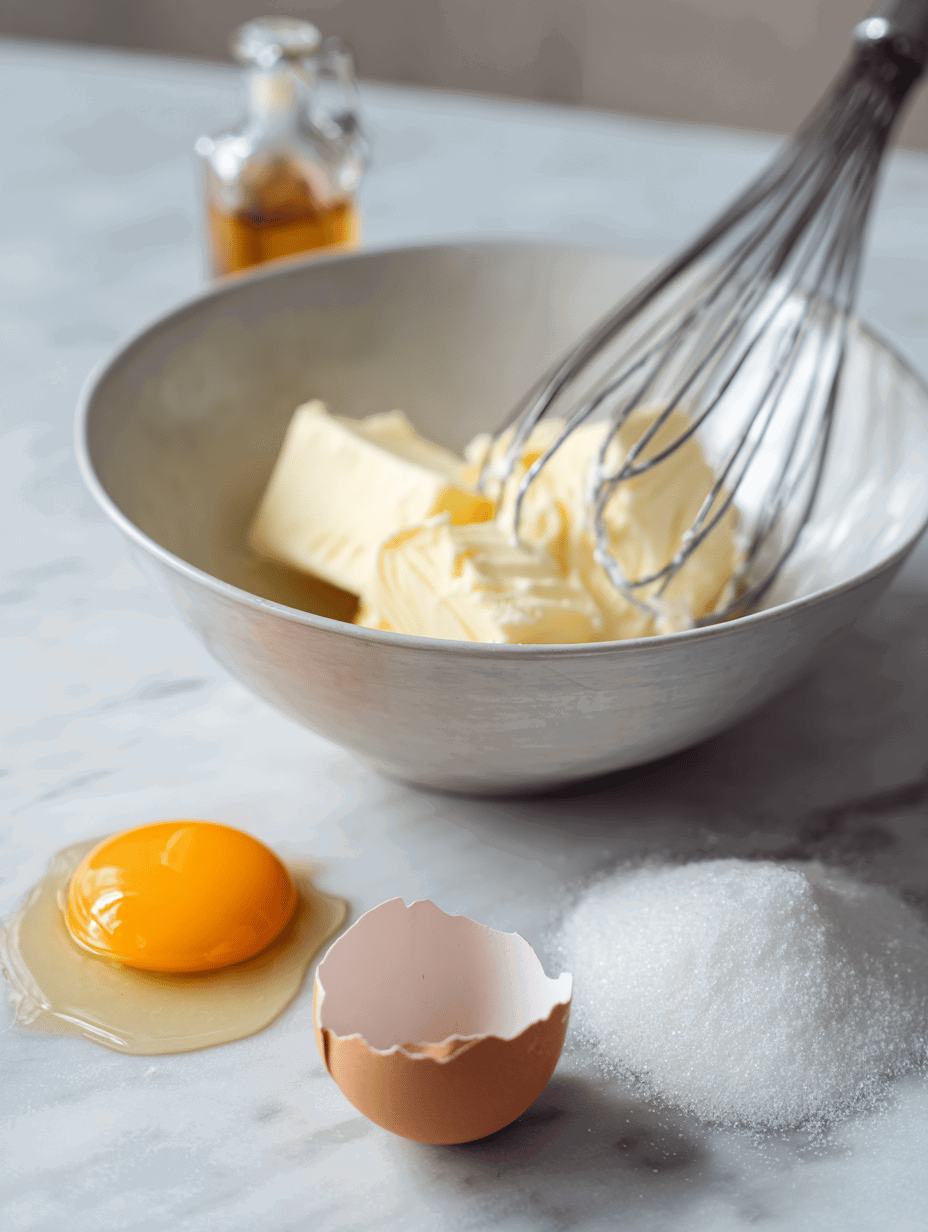
- In a mixing bowl, beat the softened butter and sugar together until the mixture is light, fluffy, and smells sweet and buttery, about 2 minutes.
- Add the beaten egg and vanilla extract to the creamed mixture, mixing until fully incorporated and smooth.
- Gradually stir in the flour, a little at a time, until the dough becomes stiff and easy to handle. If it feels sticky, dust your hands with a bit of flour.
- Divide the dough into small portions and roll each into a thin, finger-length log about 1 cm wide. Place them on the prepared baking sheet.
- Use a small knife or toothpick to score knuckles and creases along each finger for a realistic cracked appearance. Press an almond at the tip for a fingernail, gently cracking it for a gnarly look if desired.
- Bake the fingers in the oven for 12-15 minutes, until they are lightly golden at the edges and crack slightly on the surface.
- Remove the cookies from the oven and transfer them to a cooling rack. Let them cool completely, during which they will firm up but still retain a slight bend.
- If desired, use red gel or icing to add blood around the nails or knuckles for extra spooky effect.
- Arrange the creepy fingers on a serving platter or tray. They are best enjoyed within two days for optimal crunch and freshness.
Notes
Nutrition

hi there,
i’m James
The home cook and food blogger behind Beyond the Bayou Blog. Cooking has always been my happy place.
know more