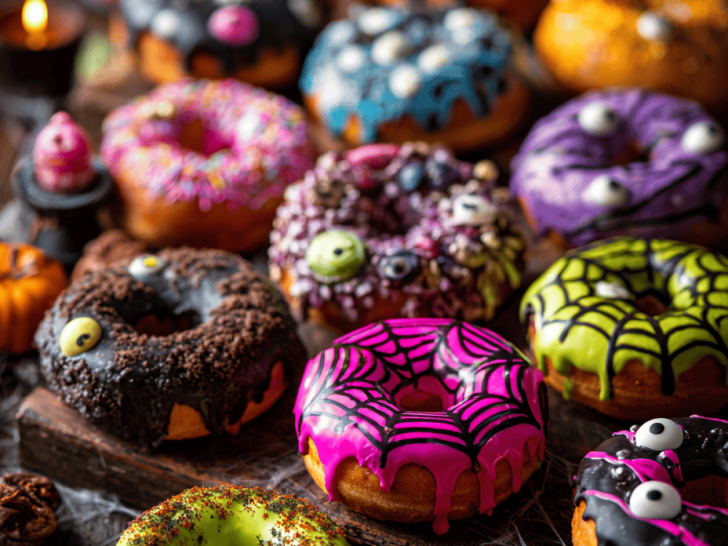
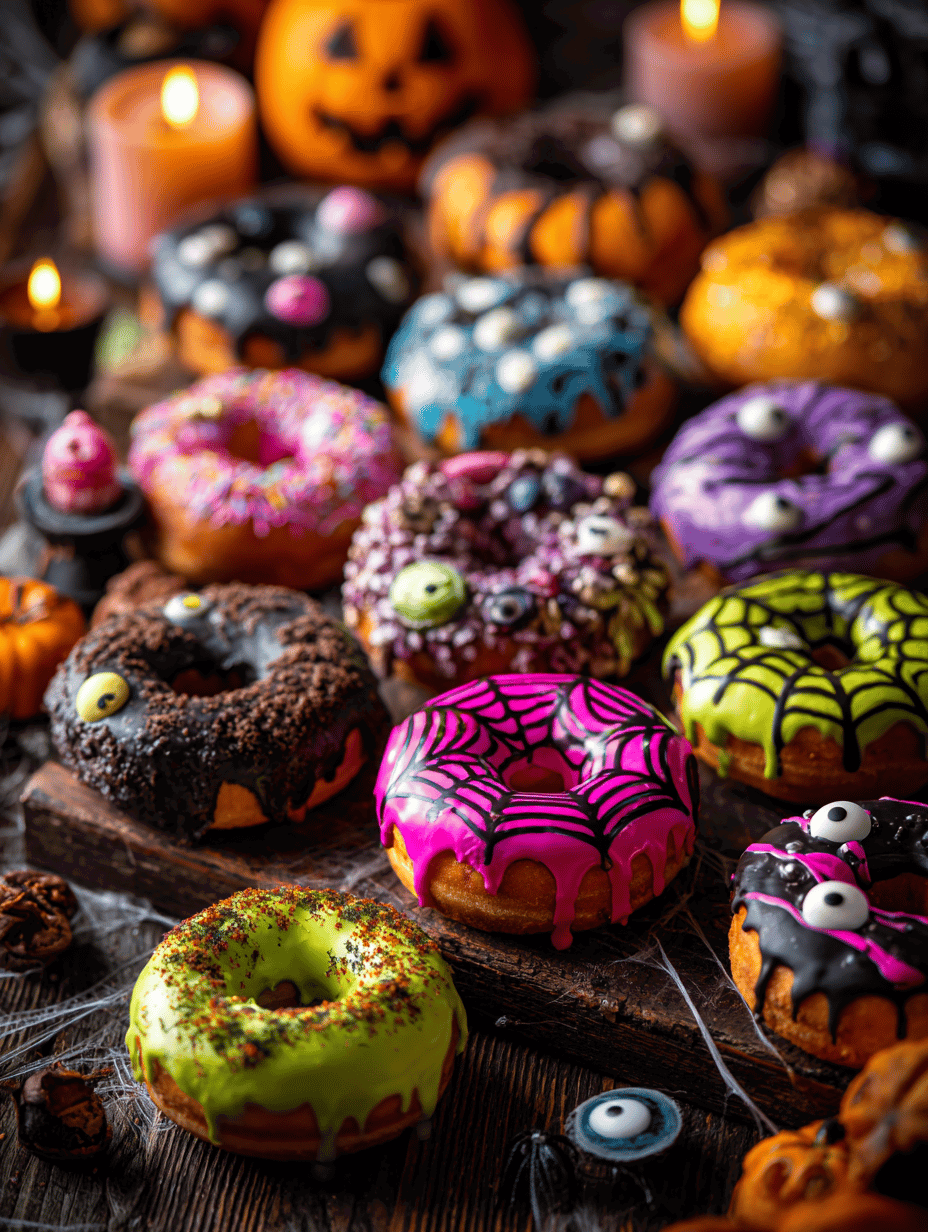
The idea of making Halloween donuts came from wanting something both creepy and sweet, with a little homemade charm. It’s a messy, joyful process that lets you play with shapes and colors, not just follow a recipe. This isn’t about perfection but about creating something fun and slightly spooky.
Why These Halloween Donuts Keep Calling Me Back
It’s the contrast—the crackle of frying dough, the sight of colorful glazes, the smell of warm sugar—that makes me crave these. They’re imperfect, chaotic, and utterly satisfying. Making them every year feels like a small rebellion against plain treats and a quiet celebration of creativity.
Inside the Sweet and Spooky Ingredient List
- All-purpose flour: The base of your dough—sub with gluten-free flour if needed, but expect different texture.
- Yeast: Gives the donuts their lightness and slight chew, like a soft cloud.
- Sugar: Adds sweetness and helps with browning, giving that caramelized exterior.
- Eggs: Bind the dough together, making handling easier, and enrich flavor.
- Oil for frying: Choose neutral oil; it creates that crispy, satisfying exterior.
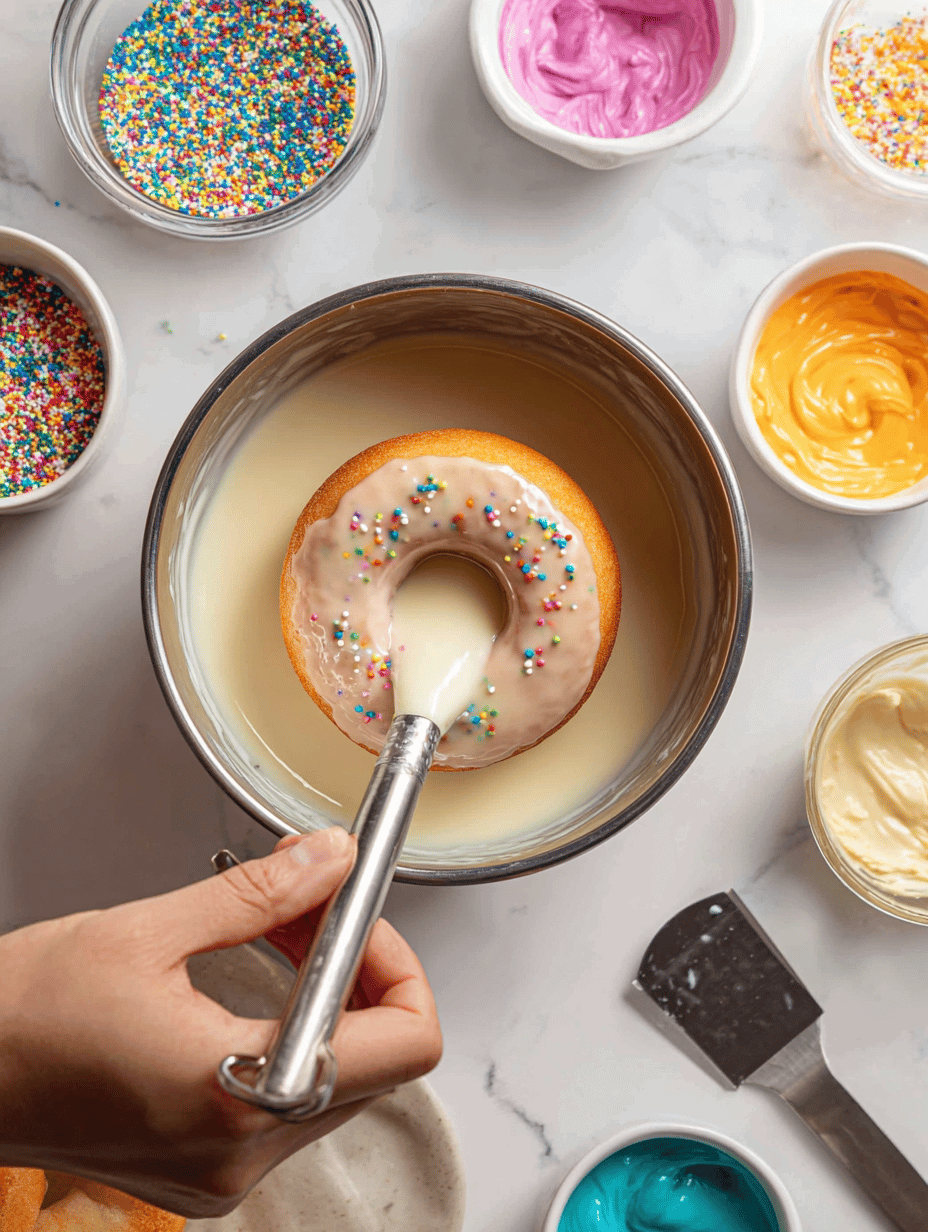
- Food coloring and toppings: Bright, bold, and fun—think neon gels or edible glitter for that spooky flair.
- Glaze or icing: A sweet, sticky finish—pale or dark, flavored with vanilla, chocolate, or lemon.
Tools of the Spooky Trade
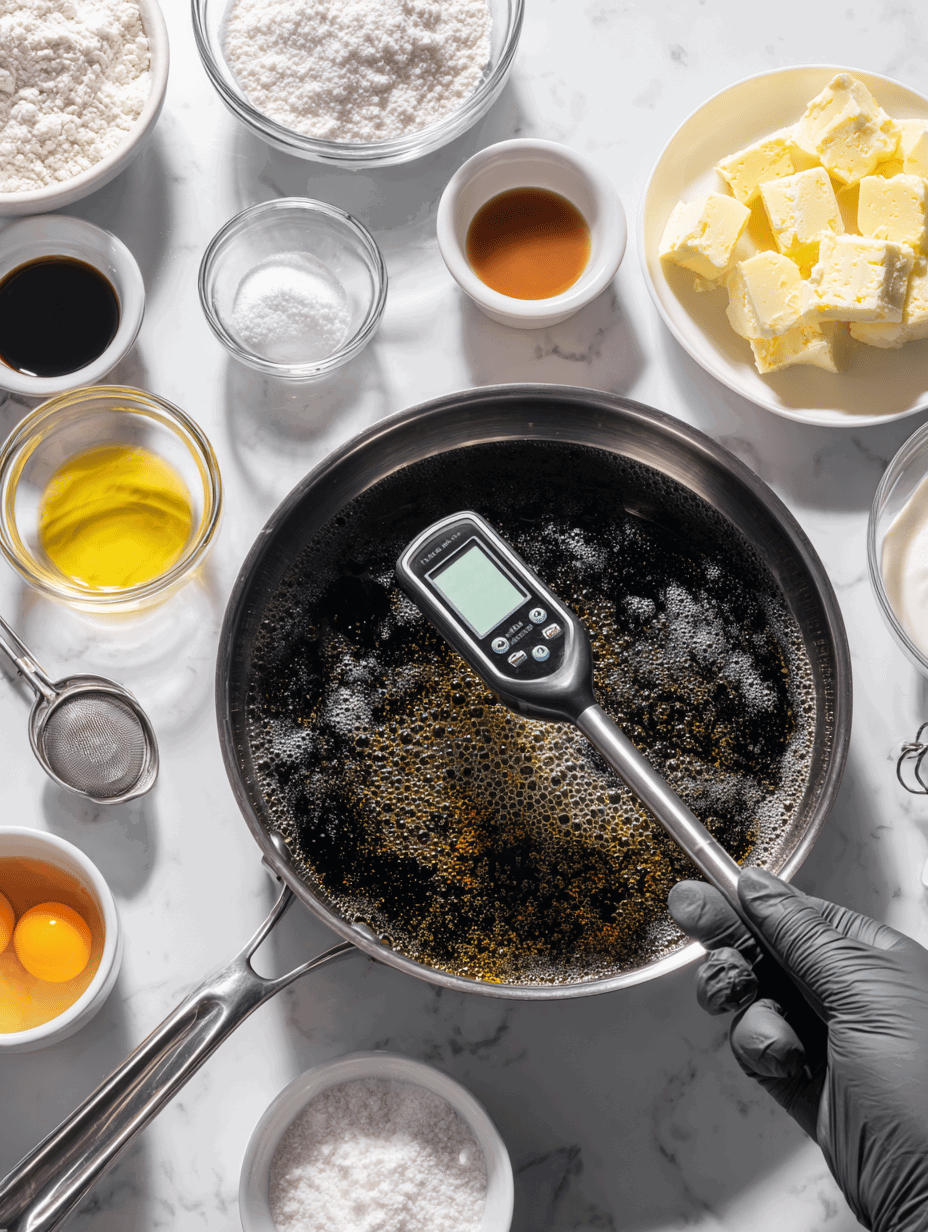
- Deep-fry thermometer: Keeps your oil at the perfect temp, so donuts don’t soak or burn.
- Piping bag or spoon: Helps shape the batter into spooky forms or classic rings.
- Slotted spoon: Lifts donuts out of hot oil safely and efficiently.
- Paper towels: Absorbs excess oil, keeping your donuts crisp.
Crafting the Perfect Halloween Donuts: A Step-by-Step
Step 1: Start by heating your oil in a deep pan to 180°C (350°F).
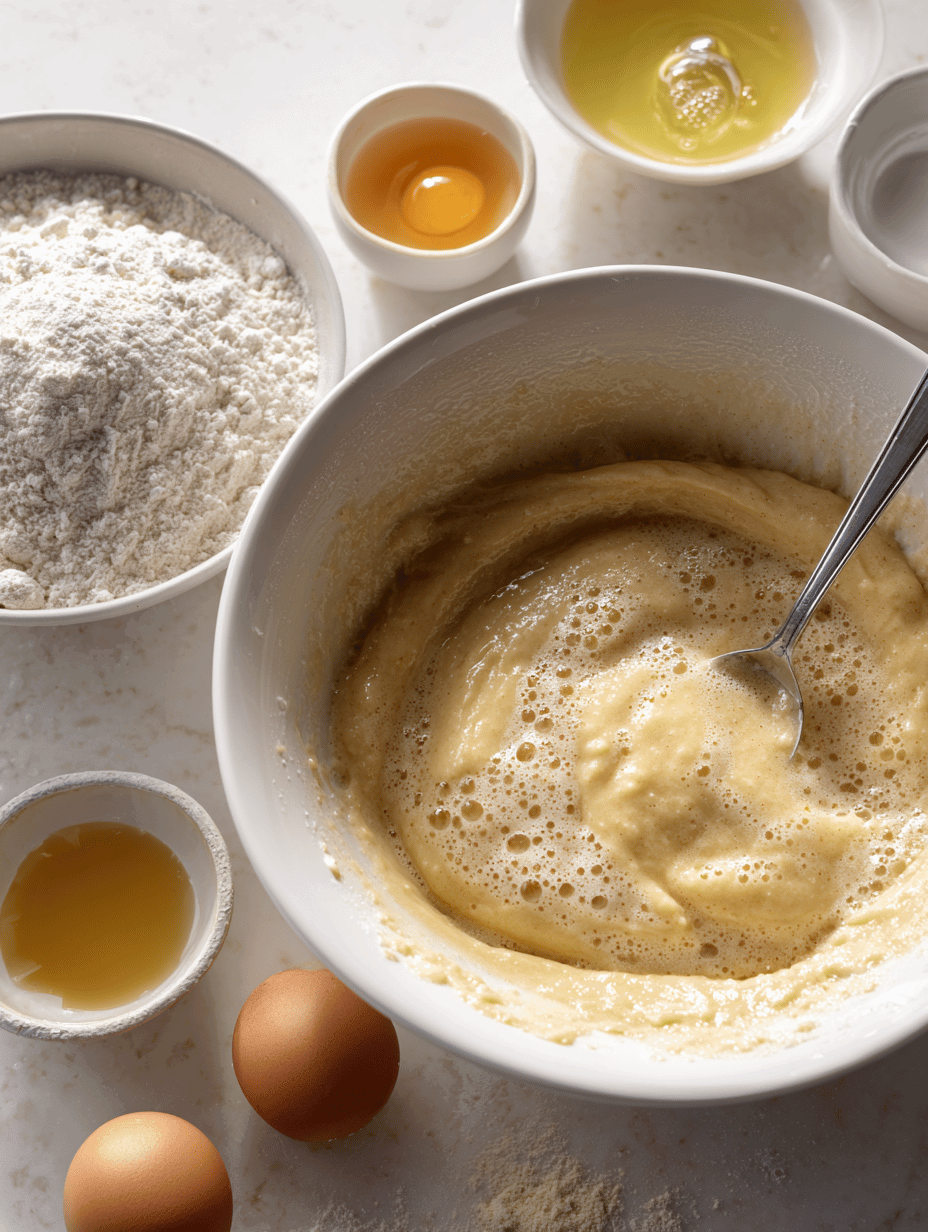
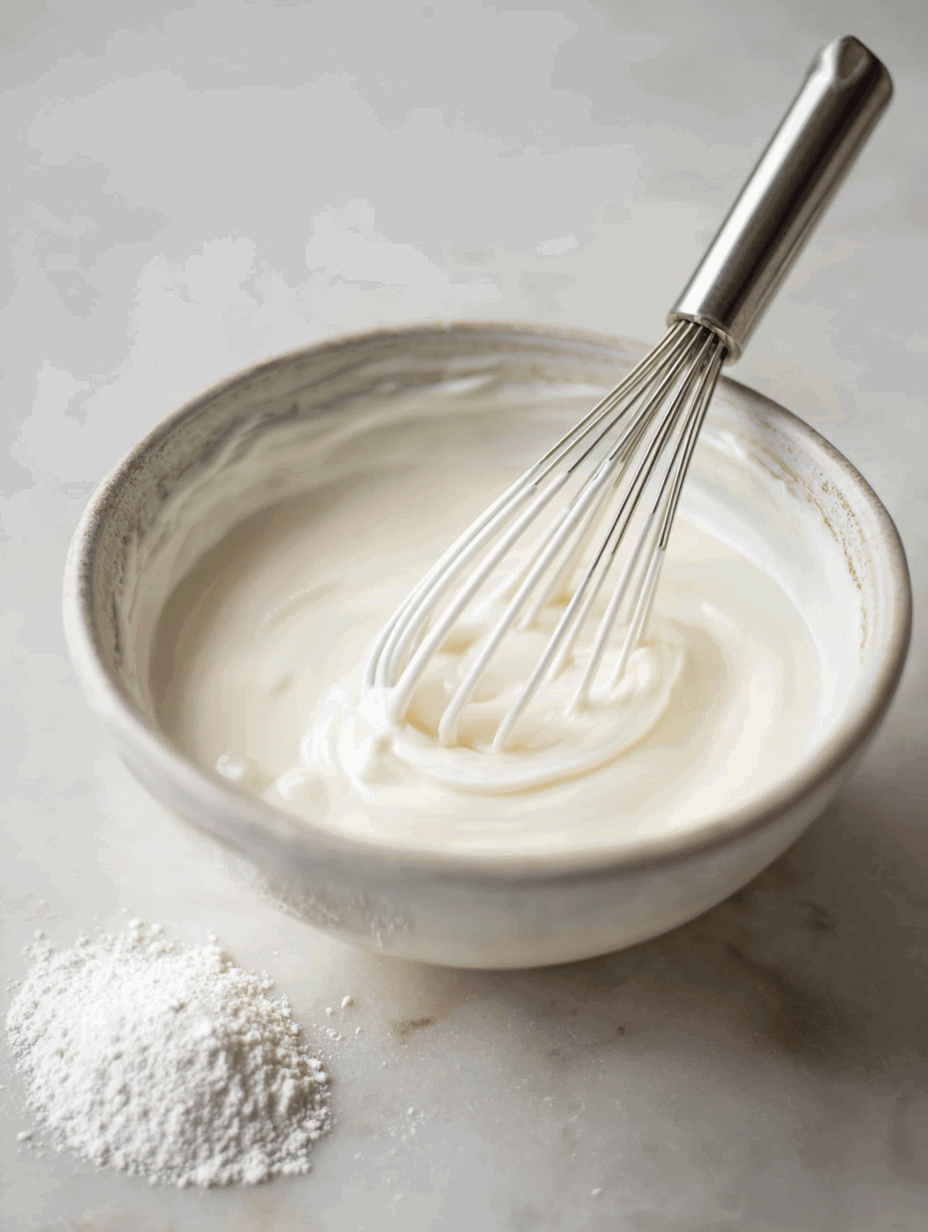
Step 2: Mix your donut batter until smooth; it should be thick but pourable.
Step 3: Pipe or spoon the batter into hot oil, forming small circles or spooky shapes.
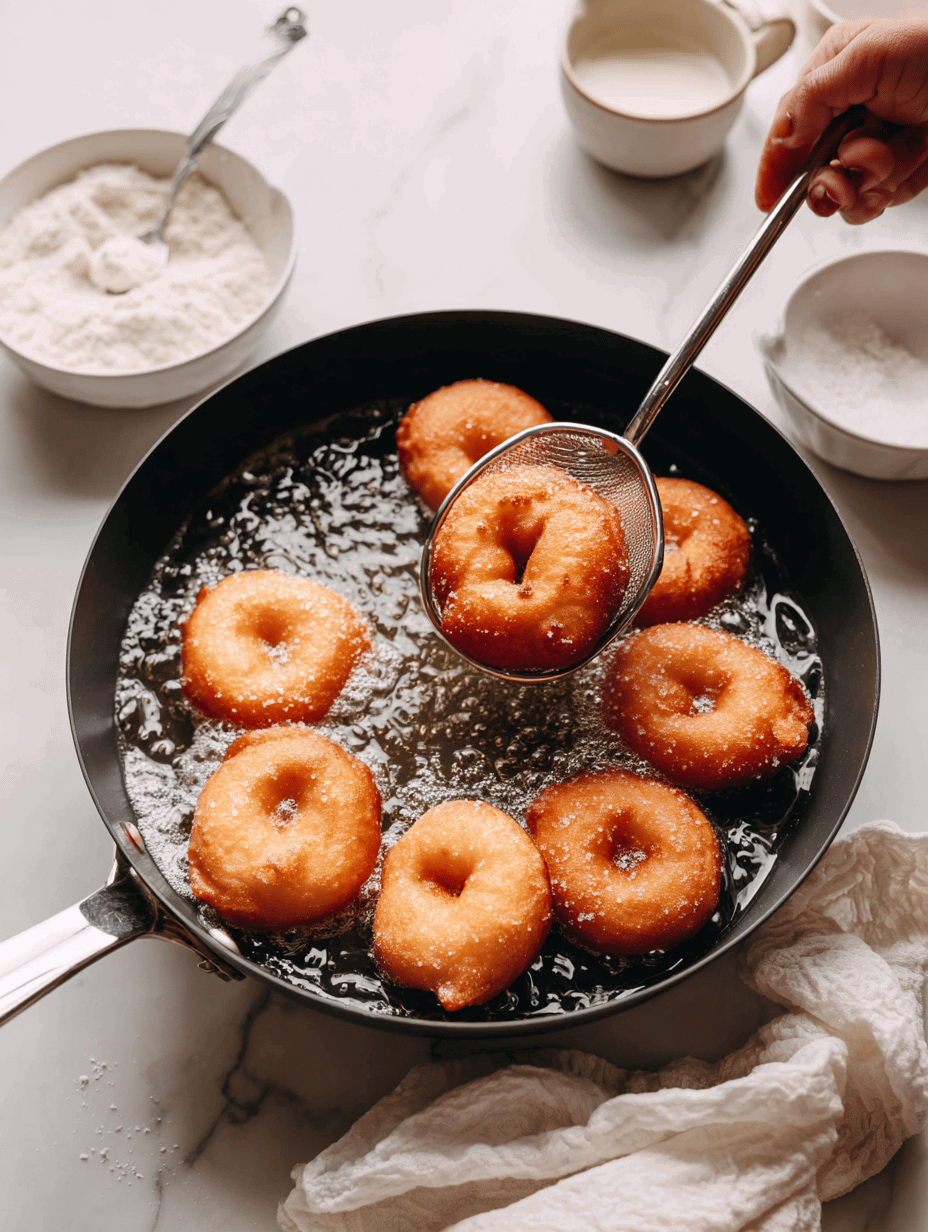
Step 4: Fry the donuts until golden brown, about 2-3 minutes per side.
Step 5: Remove with a slotted spoon, drain on paper towels, and let cool slightly.
Key Moments to Watch for Perfect Donuts
- Oil temperature should be steady at 180°C (350°F).
- Donuts should turn golden within 2-3 minutes per side.
- Batter should hold its shape without spreading too much.
- Listen for a consistent crackling sound to indicate readiness.
Avoid These Halloween Cooking Disasters
- Oil too hot, donuts burn outside before cooking inside.? Keep oil temp steady, or donuts will be greasy or undercooked.
- Donuts turn dark quickly, indicating over-torching.? Use a thermometer to monitor oil, ensuring even frying.
- Crowding causes uneven cooking and greasy results.? Don’t overcrowd the pan, or temperature drops and donuts become soggy.
- Too runny or too stiff batter ruins shape.? Adjust batter thickness if donuts sink or spread.
Halloween Donuts
Equipment
- Deep-fry thermometer
- Piping bag or spoon
- Paper Towels
Ingredients
- 2 1/4 cups all-purpose flour sifted
- 1 packet active dry yeast about 2 1/4 teaspoons
- 1/4 cup granulated sugar
- 2 large eggs room temperature
- 1/2 cup warm milk about 110°F / 43°C
- 2 tablespoons unsalted butter melted
- 1 quart neutral oil for frying
- various colors food coloring and toppings neon gels, edible glitter, sprinkles
- 1 cup powdered sugar for glaze
- 2-3 tablespoons milk or water to thin glaze
- 1 teaspoon vanilla extract optional
Instructions
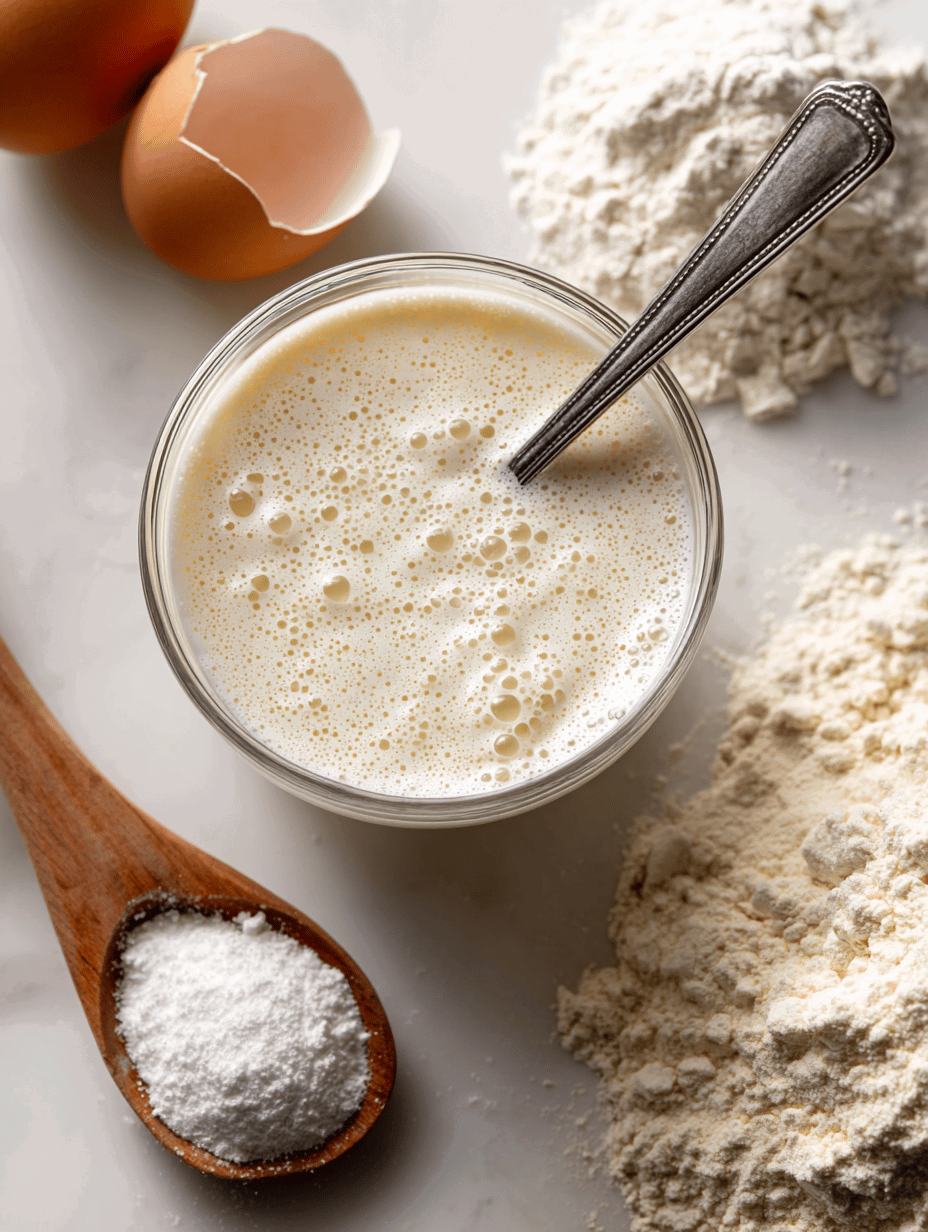
- In a small bowl, sprinkle the yeast over warm milk and let it sit until frothy, about 5 minutes.
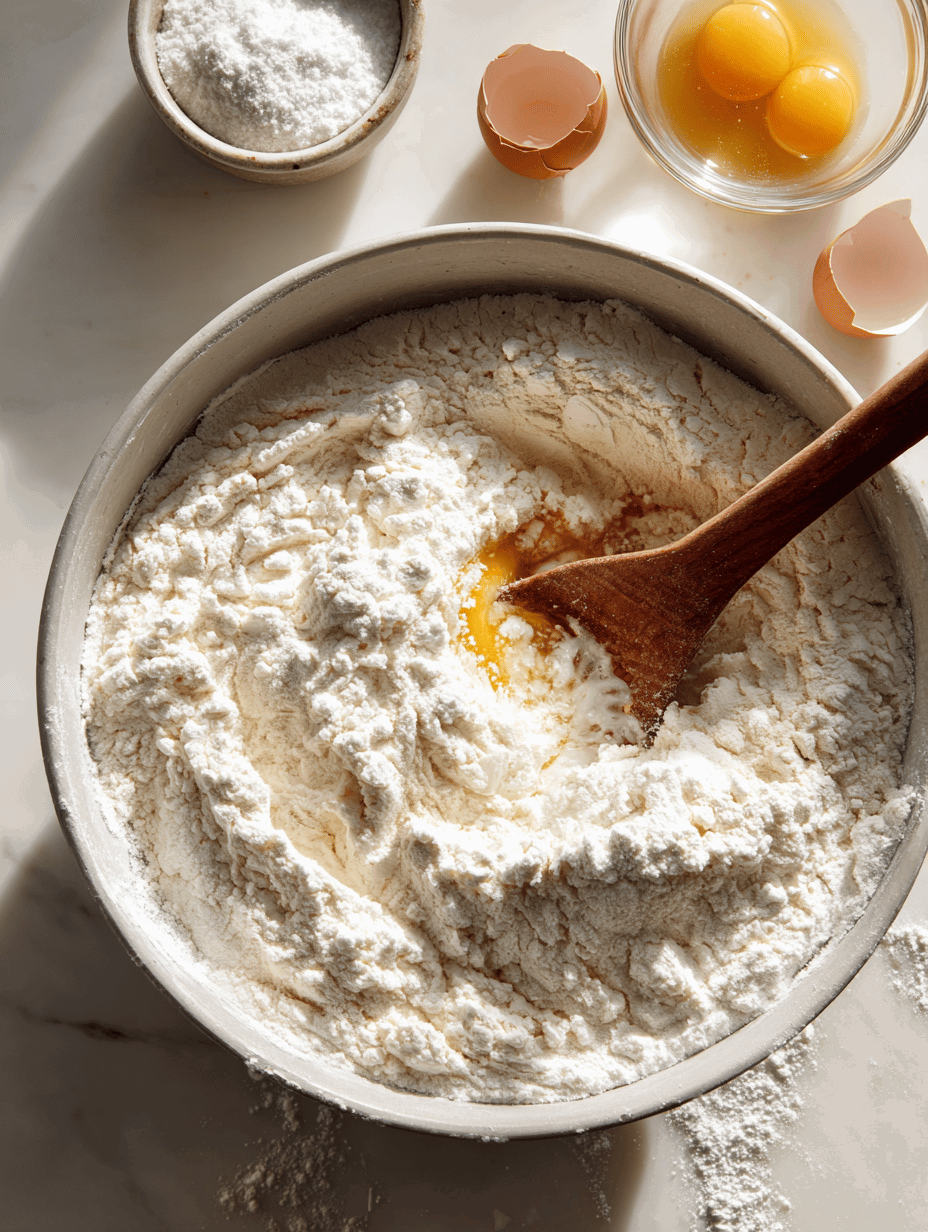
- In a large mixing bowl, combine sifted flour, sugar, and eggs. Mix until well incorporated and the dough starts to come together.
- Add the activated yeast mixture and melted butter to the dough. Mix with a spoon or dough hook until a sticky, smooth dough forms, about 5 minutes.
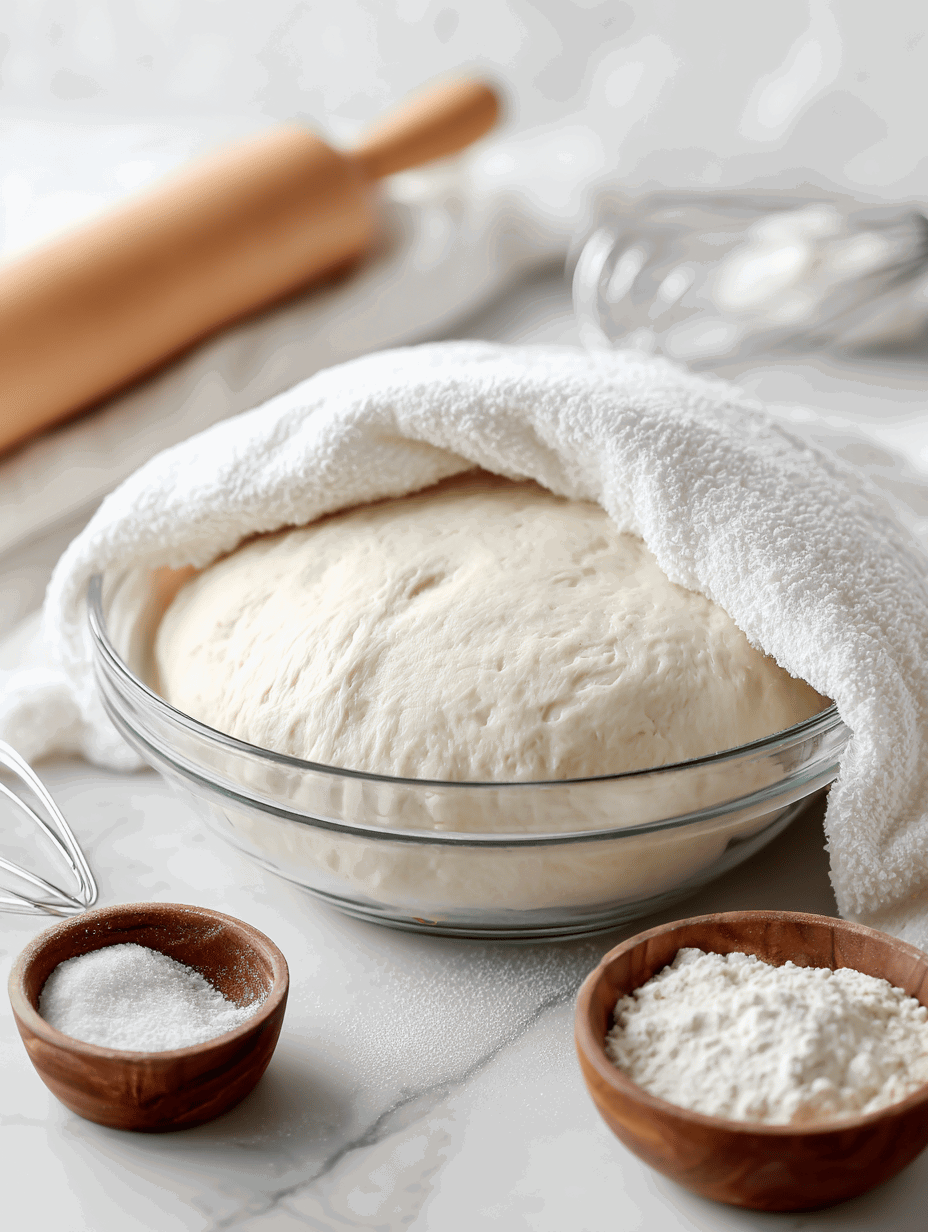
- Cover the bowl with a clean towel and let the dough rise in a warm place until doubled in size, about 1 hour. It will feel puffy and slightly springy when touched.
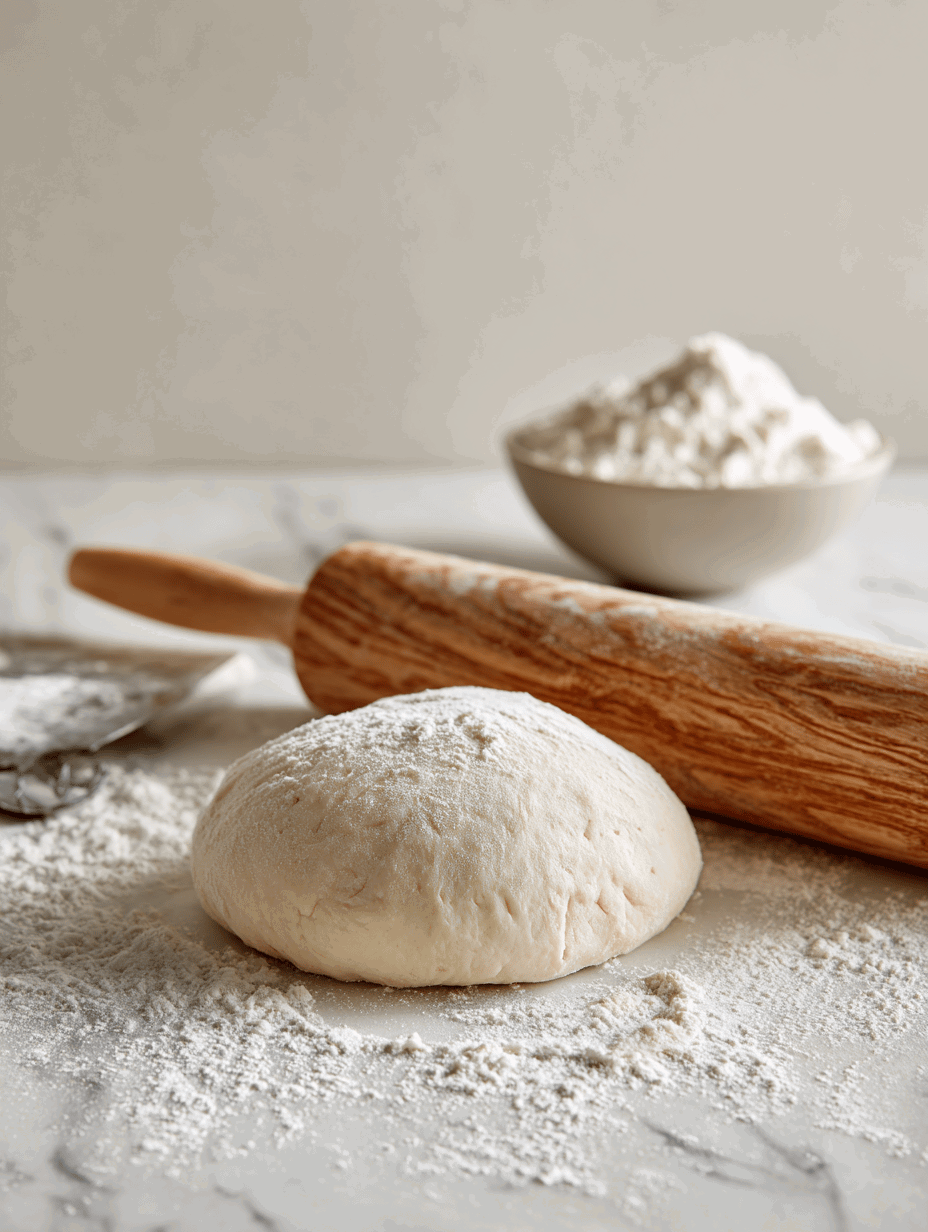
- Once risen, lightly flour a work surface. Turn out the dough and gently knead it a few times to deflate. Roll it out to about 1/2 inch thickness.
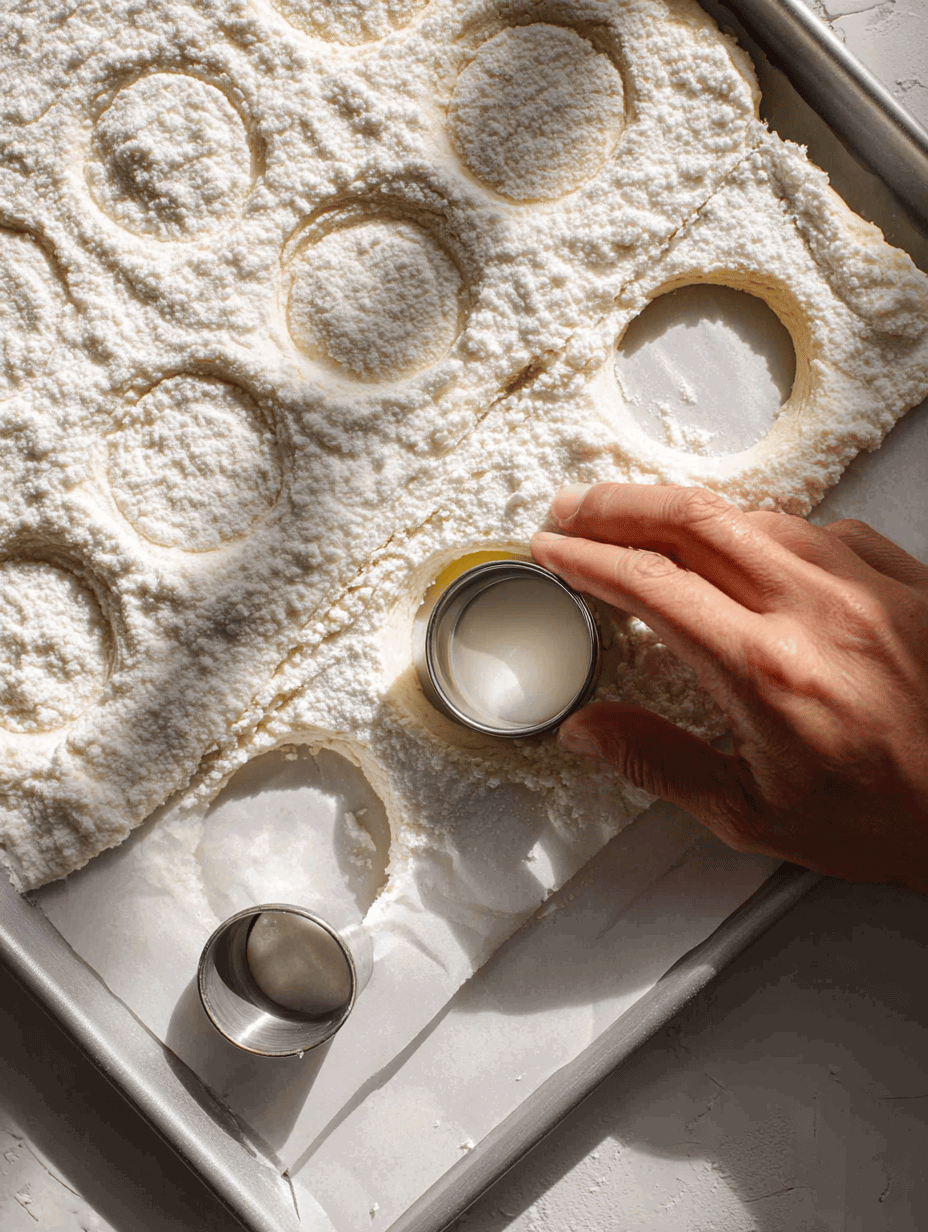
- Use a donut cutter or two round cutters to shape the dough into rings or spooky shapes. Place the cut shapes on a parchment-lined tray.
- Heat the oil in a deep pan to 180°C (350°F). Use a thermometer to maintain a steady temperature.
- Carefully lower a few donuts into the hot oil using a slotted spoon. Fry until golden brown, about 2-3 minutes per side, listening for a consistent crackling sound.
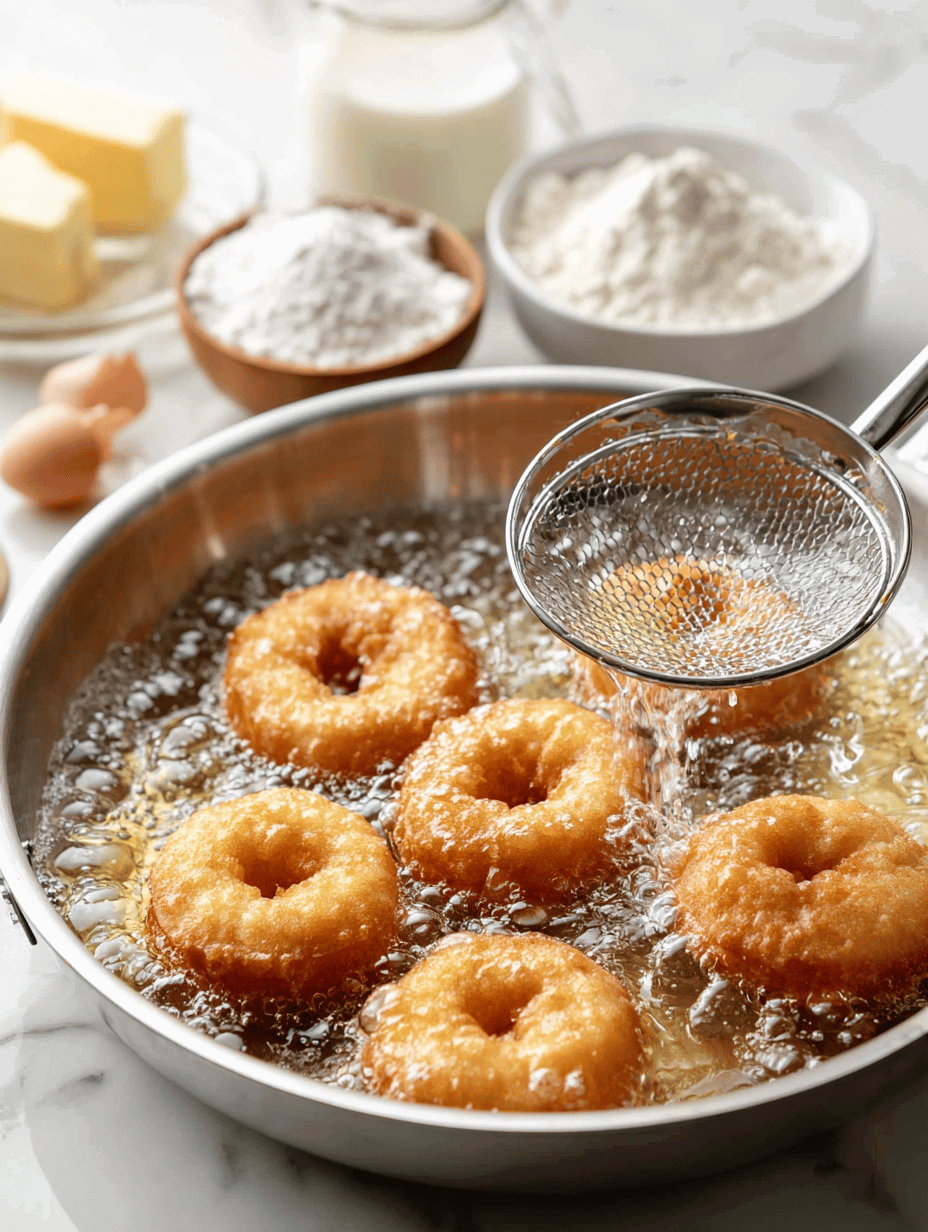
- Use a slotted spoon to remove the donuts from the oil and drain on paper towels. Allow them to cool slightly before glazing.
- Prepare the glaze by mixing powdered sugar with milk or water until smooth and desired consistency. Add vanilla if using.
- Dip each donut into the glaze, then decorate with colorful toppings, sprinkles, or edible glitter to create spooky designs. Let the glaze set for a few minutes before serving.
Nutrition

hi there,
i’m Austin
A photographer who loves to cook. During the day, I take pictures, but at night, I dive into the world of flavors and recipes.
know more