Kombucha Recipe: Fizz, Flavor, Fun

Hit the Rating button
Kombucha Recipe
Discover how to make kombucha and the 'scoby', or 'symbiotic culture of bacteria and yeast' that forms the base of this fermented drink – then try a secondary fermentation with added flavours.

Hey, welcome back to Beyond the Bayou Blog. Today I will tell you about Kombucha Recipe. So, let me tell you about my journey with kombucha. It all started when I was looking for a way to boost my energy without relying on those sugary drinks that left me crashing later.

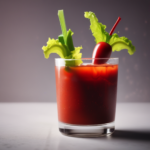
One day, my friend introduced me to kombucha, a fizzy, tangy drink packed with probiotics. Skeptical at first, I gave it a try, and oh boy, was I surprised! Not only did it give me a natural energy lift, but it also improved my digestion and overall well-being. Then I decided to learn how to make it myself. After a bit of research, I found a simple kombucha recipe online that promised delicious results.

With my trusty SCOBY in hand, I embarked on my homemade kombucha adventure. And let me tell you, the satisfaction of crafting my own batch of bubbly goodness was unbeatable. Now, I’m hooked on brewing my own kombucha, experimenting with different flavors like fruity raspberry or zesty ginger. Trust me, it’s simpler than you think.

What is Kombucha?

Kombucha is a fizzy drink made from tea, sugar, and a special mix of bacteria and yeast. It’s known for being really good for you. People make it by mixing tea, sugar, and water, then adding the special mix of bacteria and yeast. This mix ferments the tea, making alcohol and organic acids. After that, they filter the drink and add different flavors like fruits or herbs.

Kombucha is full of good stuff like nutrients and helpful bacteria that are good for your tummy. It can help your tummy feel good and boost your immune system. Some people say it also helps fight things like damage from bad stuff in your body and swelling.

But even though it’s healthy, you should be careful because it has a bit of alcohol in it. Some people, like pregnant folks or those with tummy problems, might want to avoid it.

How to make Kombucha Recipe?

Step 1: Prepare the Tea Mixture:

  • Start by boiling 4 cups of filtered water. You want to remove any impurities from the water to ensure a healthy fermentation process.
  • Once the water reaches a boil, turn off the heat and add your choice of tea bags or loose tea to the hot water. Common options include black tea, green tea, or a mixture of both. Let the tea steep in the hot water for about 10-15 minutes to extract its flavor.
  • After steeping, remove the tea bags or strain out the loose tea leaves to avoid a bitter taste in your kombucha.
Image Source: YouTube (Peepal Farm Products)

Step 2: Add Sugar and Cool the Tea:

  • While the tea is still hot, add 1 cup of sugar to the mixture. The sugar serves as food for the SCOBY and helps kickstart the fermentation process. Stir the tea until the sugar is completely dissolved.
  • Allow the sweetened tea to cool down to room temperature. It’s essential to let it cool before adding the SCOBY, as high temperatures can harm the beneficial bacteria and yeast.
Image Source: YouTube (Peepal Farm Products)

Step 3: Prepare the Fermentation Jar:

Image Source: YouTube (Peepal Farm Products)

  • Once the sweet tea has cooled, transfer it to a clean glass jar. Glass is the best material for brewing kombucha, as it doesn’t react with the acidic nature of the brew.
  • Carefully place the SCOBY (the thick, rubbery disk) into the jar along with the starter liquid from a previous batch of kombucha. The starter liquid helps to lower the pH of the tea and prevent harmful bacteria from growing.

Step 4: Cover and Ferment:

Image Source: YouTube (Peepal Farm Products)

  • Cover the mouth of the jar with a breathable cloth or coffee filter. This allows air to flow in and out of the jar while preventing dust, insects, and other contaminants from entering.
  • Secure the cloth or filter in place with a rubber band or string. Ensure that the cover is tight enough to stay in place but loose enough to allow air circulation.
  • Place the jar in a warm, dark location with a stable temperature, ideally between 75-85°F (24-29°C). This environment encourages the growth of healthy bacteria and yeast, promoting fermentation.
  • Let the kombucha ferment for 7-14 days, depending on your taste preferences. The longer it ferments, the more acidic and tangy it will become.

Step 5: Taste and Monitor Fermentation:

Image Source: YouTube (Peepal Farm Products)

  • After the initial fermentation period, taste the kombucha to gauge its flavor. If it’s too sweet, allow it to ferment for a few more days. If it’s too sour or tart, it’s ready to be bottled.

Step 6: Bottle and Carbonate:

  • Carefully remove the SCOBY from the jar using clean hands or utensils. Set it aside in a clean container with a bit of the kombucha liquid to use as a starter for your next batch.
  • Using a funnel, pour the fermented kombucha into clean glass bottles, leaving some space at the top. This extra space allows for carbonation to occur.
  • Seal the bottles tightly with caps or lids and let them carbonate at room temperature for 1-3 days. During this time, carbon dioxide will build up in the bottles, creating natural carbonation.
  • Once carbonated to your liking, transfer the bottles to the refrigerator to slow down fermentation and chill the kombucha. Chilling also helps improve its taste and carbonation levels.
Image Source: YouTube (Peepal Farm Products)

Step 7: Enjoy and Repeat:

  • Your homemade kombucha is now ready to drink! Serve it cold over ice, or enjoy it straight from the bottle.
  • Remember to save some of the finished kombucha as starter liquid for your next batch. With proper care and attention, you can continue brewing delicious kombucha at home for weeks or even months to come.
Image Source: YouTube (Peepal Farm Products)

Kombucha Recipe

Discover how to make kombucha and the 'scoby', or 'symbiotic culture of bacteria and yeast' that forms the base of this fermented drink – then try a secondary fermentation with added flavours.
Hit the Rating button
Print Pin Rate
Course: Drinks
Cuisine: Chinese
Prep Time: 20 minutes
Resting time: 10 days
Total Time: 10 days 20 minutes
Calories: 250kcal
Author: Jacob Allen
Servings: 5 people

Equipment

  • Glass Jar
  • Breathable cloth or coffee filter
  • Rubber band or string
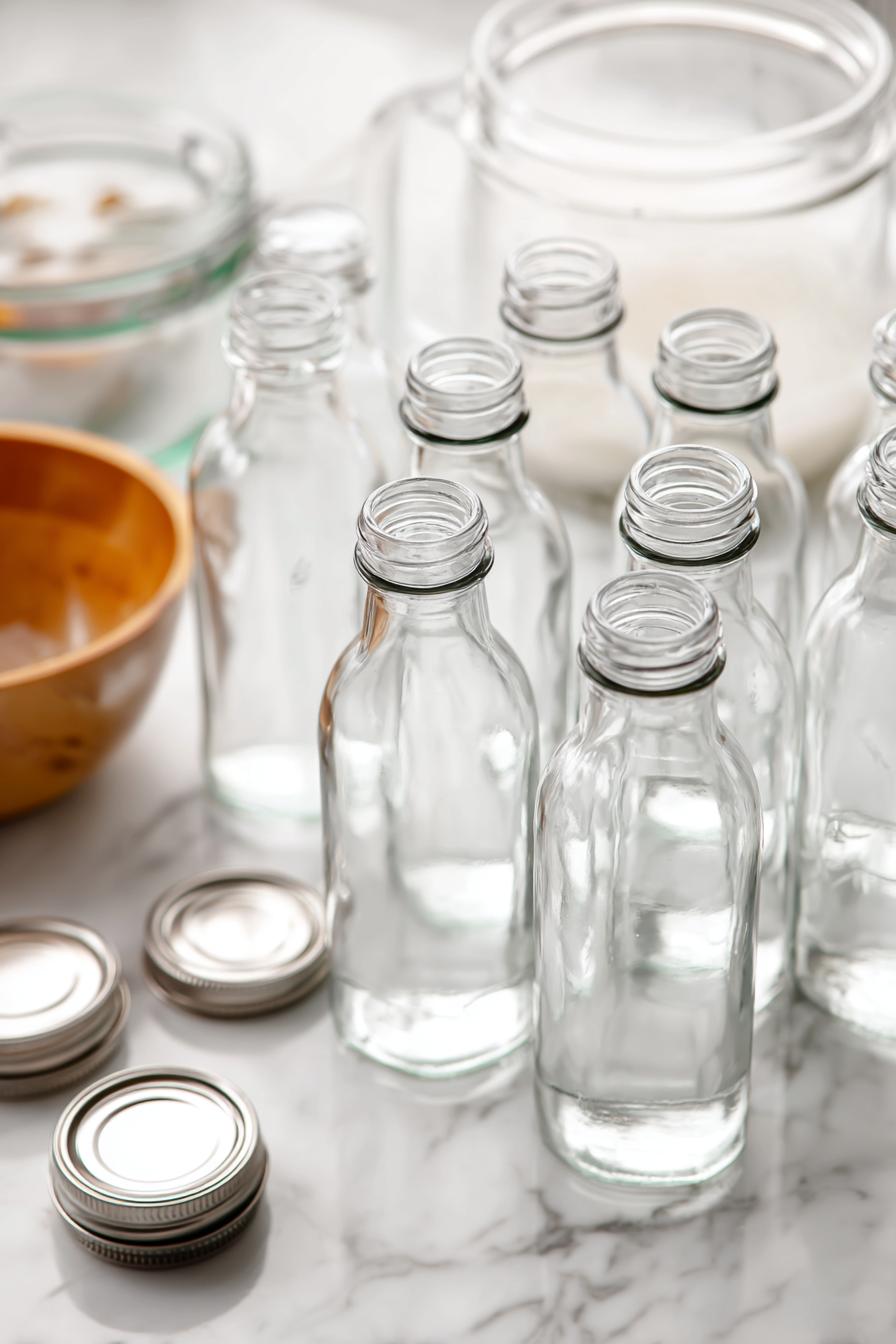
  • Brewing vessel (glass bottles or jars)
  • Funnel

Ingredients

  • 20 cups filtered water
  • 10 tea bags or 10 tablespoons loose tea black, green, or a mix
  • 5 cups sugar white cane sugar or organic cane sugar
  • SCOBY Symbiotic Culture Of Bacteria and Yeast
  • Starter liquid previously brewed kombucha

Instructions

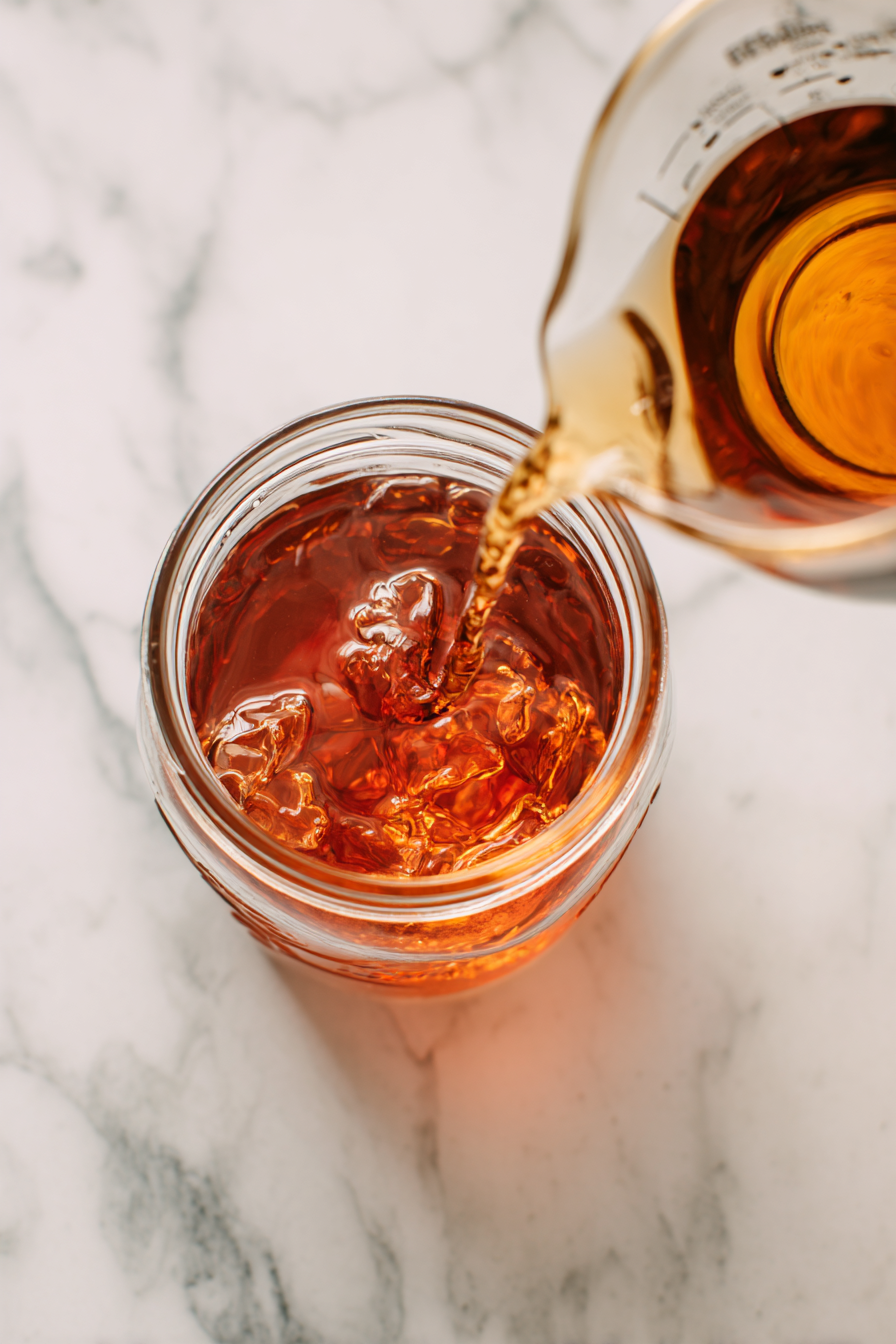
  • Boil 4 cups of filtered water and steep 4-6 tea bags or 4-6 tablespoons of loose tea in the hot water for about 10-15 minutes. Then, remove the tea bags or strain out the loose tea. Add 1 cup of sugar to the hot tea and stir until dissolved. Let the tea cool to room temperature.
  • Once the sweet tea has cooled, pour it into a clean glass jar. Add the SCOBY and starter liquid to the jar.
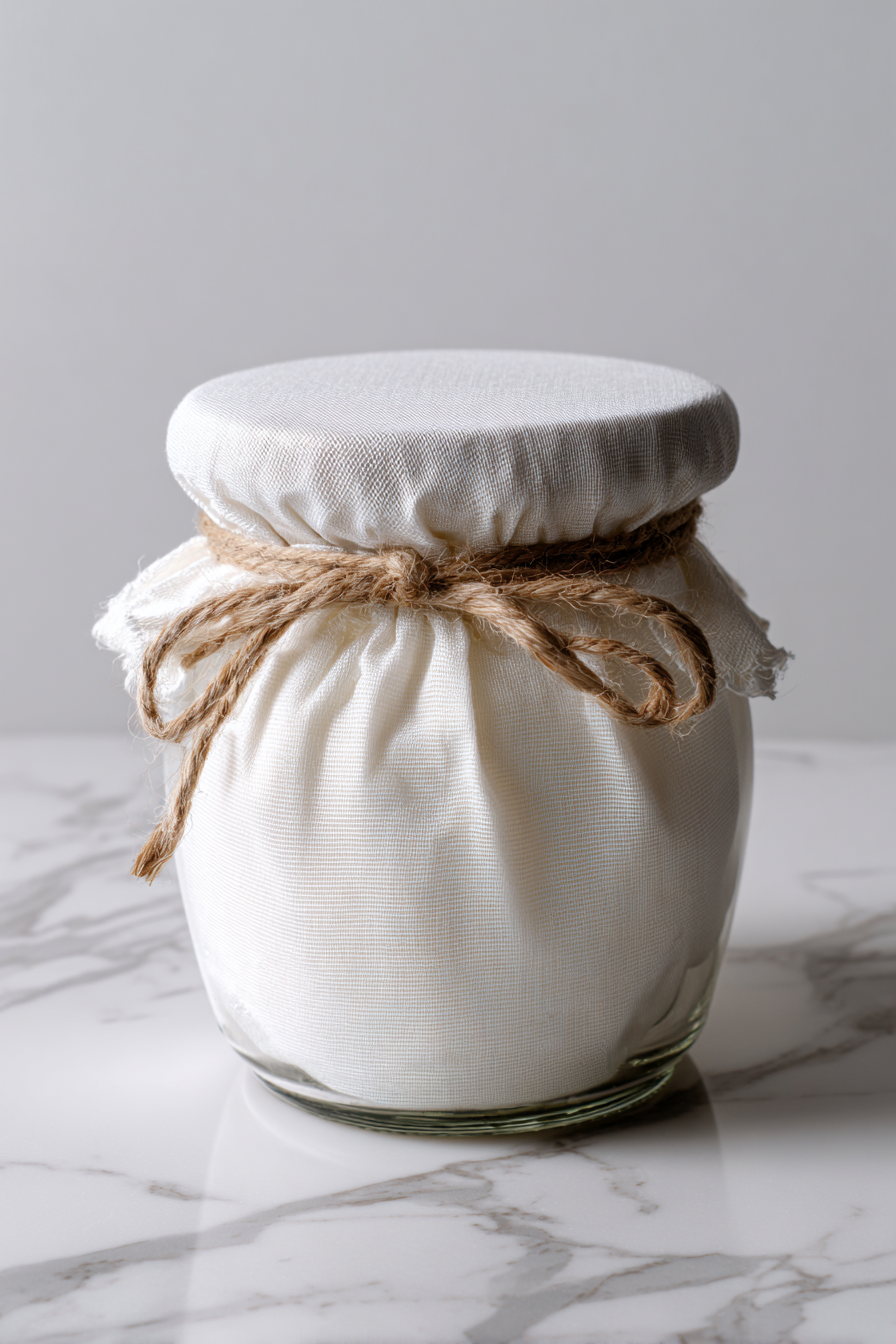
  • Cover the jar with a breathable cloth or coffee filter and secure it with a rubber band or string. This allows airflow while keeping out dust and bugs.
  • Place the jar in a warm, dark place, ideally between 75-85°F (24-29°C). Let it ferment for 7-14 days, depending on your taste preferences. The longer it ferments, the tangier it will become.
  • After the desired fermentation time, taste the kombucha. If it’s too sweet, let it ferment longer. If it’s too sour, it’s ready for the next step.
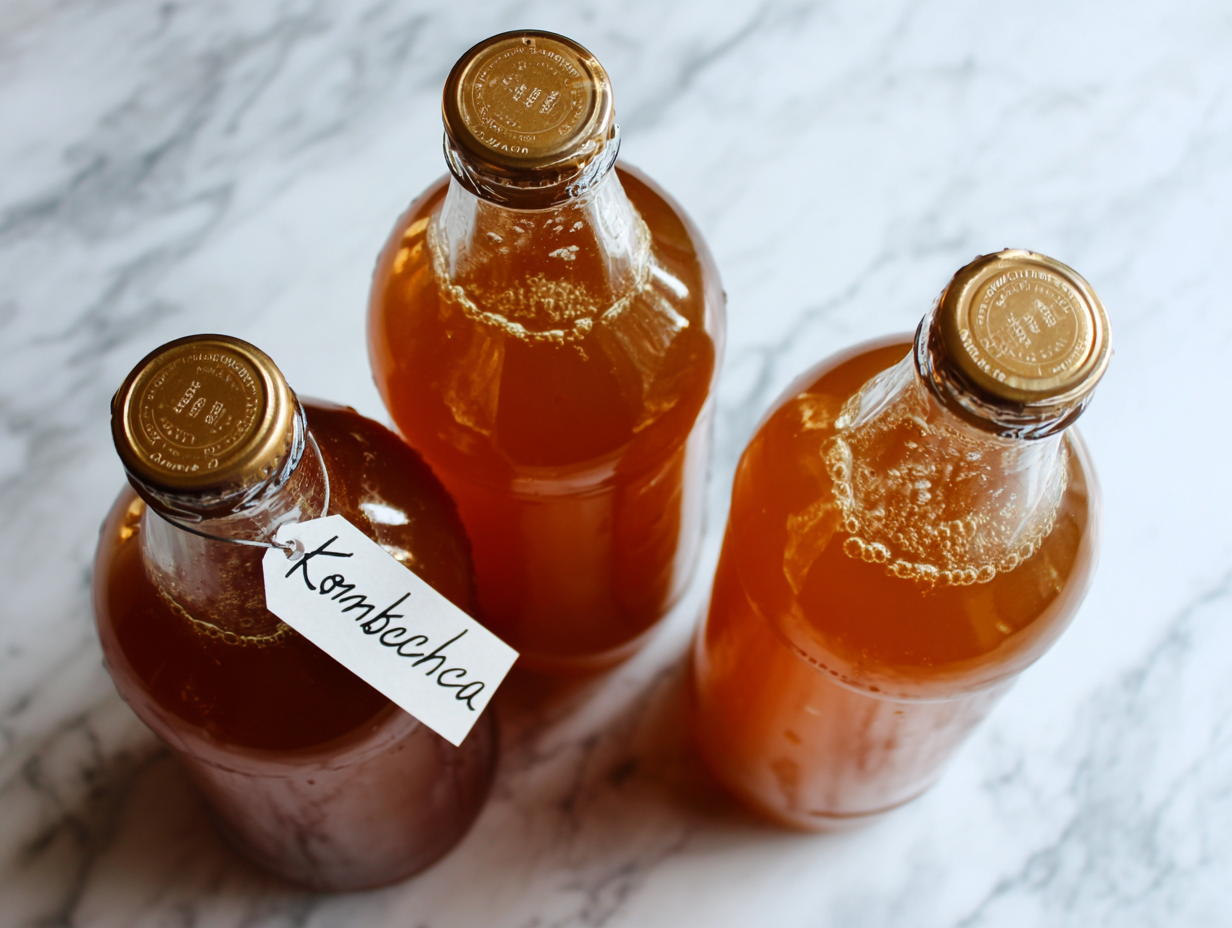
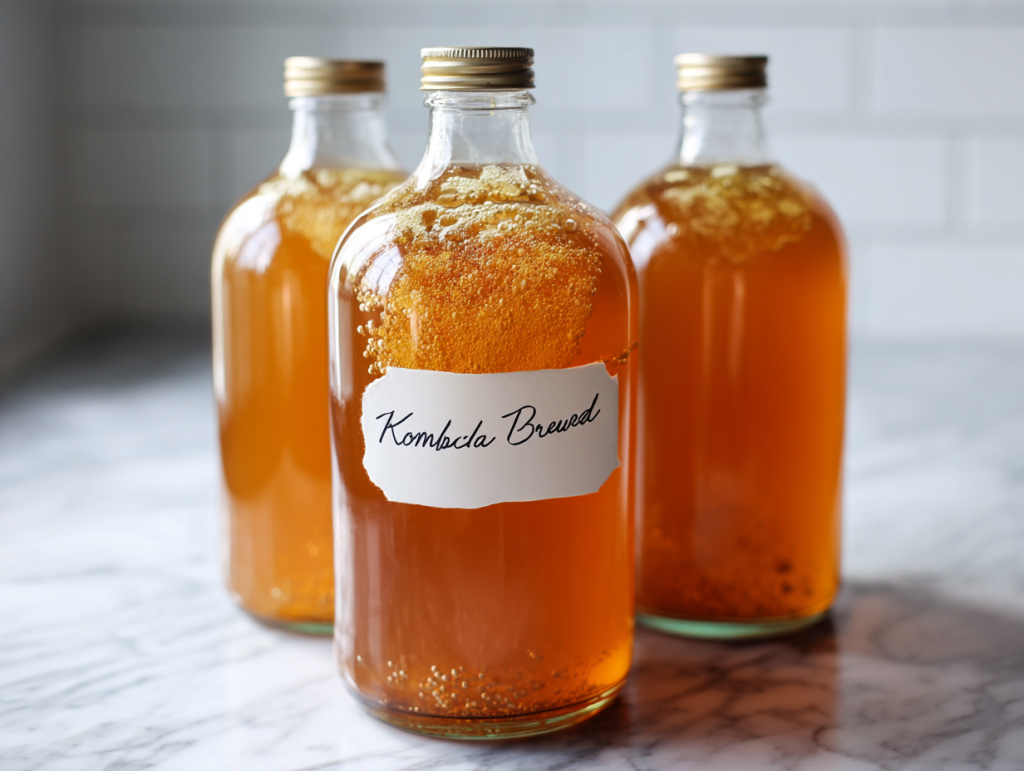
  • Carefully remove the SCOBY and set it aside. Pour the fermented kombucha into glass bottles using a funnel, leaving some space at the top.
  • Seal the bottles tightly and let them carbonate for 1-3 days at room temperature. Then, transfer them to the refrigerator to slow down fermentation and chill the kombucha.

Notes

Maintain a consistent temperature between 75-85°F (24-29°C) during fermentation for optimal SCOBY activity. Avoid extreme temperatures, as they can harm the culture.

Nutrition

Calories: 250kcal | Carbohydrates: 20g | Protein: 5g | Fat: 2g | Fiber: 5g | Sugar: 0.2g
Keyword best Kombucha Recipe, easy Kombucha Recipe, homemade Kombucha Recipe, Kombucha Recipe

Is There Alcohol in Kombucha?

Kombucha does contain a little bit of alcohol as a by-product of the fermentation process. It is usually no more than 1%, so unless you drink several glasses back to back, you should be just fine. However, people with alcohol sensitivities or who avoid alcohol for other reasons should be aware of its presence.

I’m breaking the kombucha-making process into very small steps here. It looks long and complicated, but this is actually a very straightforward and streamlined process. Once you get into the rhythm of it, bottling a finished batch of kombucha and preparing the next only takes about 20 minutes every seven to 10 days.

The Scoby!

Let’s talk about that scoby — you can see what it looks like in the picture above. It’s weird, right? It floats, it’s rubbery and a bit slippery, brown stringy bits hang from it, and it transforms sugary tea into something fizzy and sour. It’s totally weird. But if you take a step back, it’s also pretty awesome. 

There are a lot of theories about why the bacteria and yeast form this jelly-like layer of cellulose at the top of the kombucha. The most plausible that I’ve found is that it protects the fermenting tea from the air and helps maintain a very specific environment inside the jar that is shielded from outsiders, aka unfriendly bacteria. I think of it as the mobile home for friendly bacteria and yeast, happily traveling from jar to jar of kombucha.

Brewing Kombucha Safely!

While the home-brewed nature of kombucha makes some home cooks nervous, it’s unlikely that kombucha will ever make you sick. I spoke with Eric Child of Kombucha Brooklyn when I first started working on my homebrewing book, True Brews, and he said something that has really stuck with me: “Kombucha has been around for a very long time and been brewed in environments that were even dirtier than our own.” 

Let me Give You some Notes!

  • Covering for the jar: Cheesecloth is not ideal because it’s easy for small insects, like fruit flies, to wiggle through the layers. Use a few layers of tightly woven cloth (like clean napkins or tea towels), coffee filters, or paper towels, to cover the jar, and secure it tightly with rubber bands or twine.
  • Batch Size: To increase or decrease the amount of kombucha you make, maintain the basic ratio of 1 cup of sugar, 8 bags of tea, and 2 cups starter tea per gallon batch. One scoby will ferment any size batch, though larger batches may take longer.
  • Putting Kombucha on Pause: If you’ll be away for 3 weeks or less, just make a fresh batch and leave it on your counter. It will likely be too vinegary to drink by the time you get back, but the scoby will be fine. For longer breaks, store the scoby in a fresh batch of the tea base with starter tea in the fridge. Change out the tea for a fresh batch every 4 to 6 weeks.
  • Other Tea Options: Black tea tends to be the easiest and most reliable for the scoby to ferment into kombucha, but once your scoby is going strong, you can try branching out into other kinds. Green tea, white tea, oolong tea, or a even mix of these make especially good kombucha. Herbal teas are okay, but be sure to use at least a few bags of black tea in the mix to make sure the scoby is getting all the nutrients it needs. Avoid any teas that contain oils, like earl grey or flavored teas.
  • Avoid Prolonged Contact with Metal: Using metal utensils is generally fine, but avoid fermenting or bottling the kombucha in anything that brings them into contact with metal. Metals, especially reactive metals like aluminum, can give the kombucha a metallic flavor and weaken the scoby over time.

Troubleshooting Kombucha

  • It is normal for the scoby to float on the top, bottom, or sideways in the jar. It is also normal for brown strings to form below the scoby or to collect on the bottom. If your scoby develops a hole, bumps, dried patches, darker brown patches, or clear jelly-like patches, it is still fine to use. Usually these are all indicative of changes in the environment of your kitchen and not a problem with the scoby itself.
  • Kombucha will start off with a neutral aroma and then smell progressively more vinegary as brewing progresses. If it starts to smell cheesy, rotten, or otherwise unpleasant, this is a sign that something has gone wrong. If you see no signs of mold on the scoby, discard the liquid and begin again with fresh tea. If you do see signs of mold, discard both the scoby and the liquid and begin again with new ingredients.
  • A scoby will last a very long time, but it’s not indestructible. If the scoby becomes black, that is a sign that it has passed its lifespan. If it develops green or black mold, it is has become infected. In both of these cases, throw away the scoby and begin again.
  • To prolong the life and maintain the health of your scoby, stick to the ratio of sugar, tea, starter tea, and water outlined in the recipe. You should also peel off the bottom (oldest) layer every few batches. This can be discarded, composted, used to start a new batch of kombucha, or given to a friend to start their own.
  • If you’re ever in doubt about whether there is a problem with your scoby, just continue brewing batches but discard the kombucha they make. If there’s a problem, it will get worse over time and become very apparent. If it’s just a natural aspect of the scoby, then it will stay consistent from batch to batch and the kombucha is fine for drinking.

Share Your Thoughts

Recipe Rating