Imagine the way a cool breeze feels after a long, hot day—that is the instant refreshment this lemonade slushie offers when the sun is blazing. It’s a little moment of relief and a splash of childhood nostalgia, perfect for those frantic afternoons when you need something simple yet incredibly satisfying.
What I love is how forgiving this recipe is, requiring no fancy gadgets or perfect measurements as everything freezes and blends together. It’s the kind of bright, zesty treat that makes you pause and smile, turning a few extra lemons into a drink that helps you forget the chaos for a bit.
Why I Keep Coming Back to This Lemonade Slushie
- I love how it instantly cools me down—like a mini vacation in a glass on scorchingly hot afternoons.
- There’s a chaos in making it—blending, freezing, tasting—that somehow feels like a little victory every time.
- It’s nostalgic—reminds me of summer camps and childhood backyard barbecues with the family.
- Seeing the icy slush come together feels so satisfying—like a secret recipe I’ve finally cracked.
- Sharing it with friends turns a simple moment into a little celebration, no fuss required.
Ingredient Breakdown: What Makes This Slushie Shine
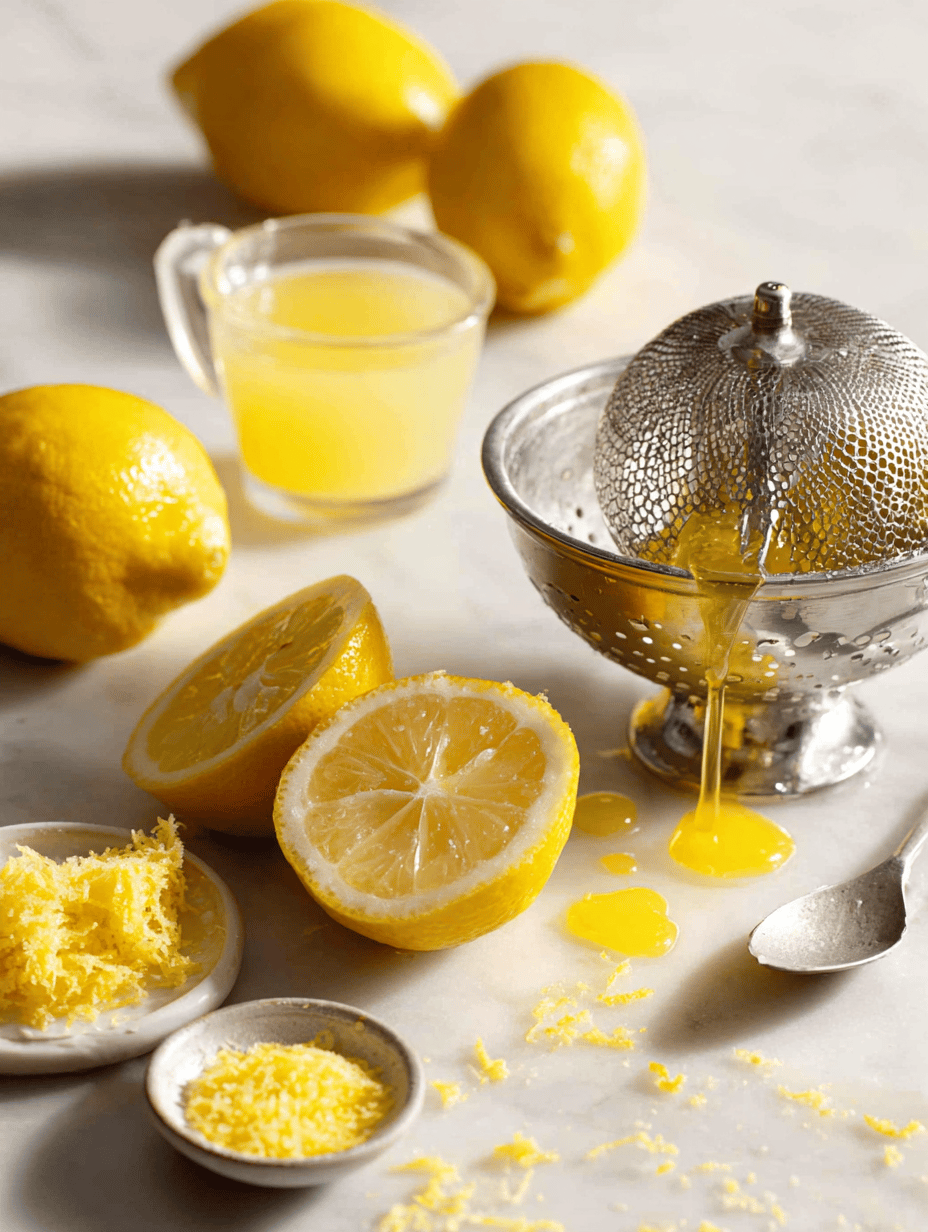
- Lemons: I use fresh, juicy lemons for that bright, zingy punch. Skip if you want less acidity, but don’t skip the zest for extra flavor.
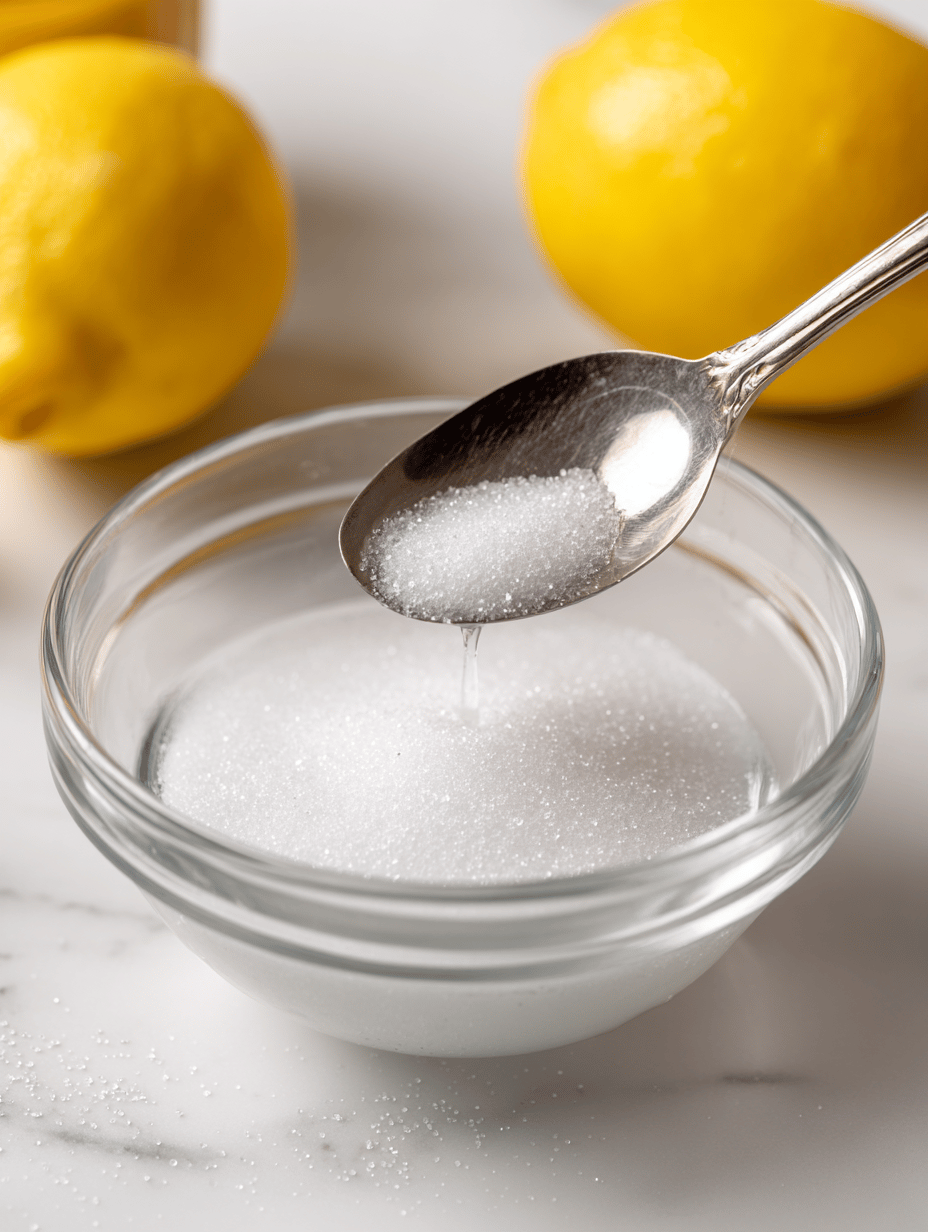
- Sugar: Regular granulated works best—adds just enough sweetness. Switch to honey or agave if you prefer a more floral touch.
- Water: Cold, clean water is key to freezing smoothly. Sparkling water? Sure, if you want a fizz kick.
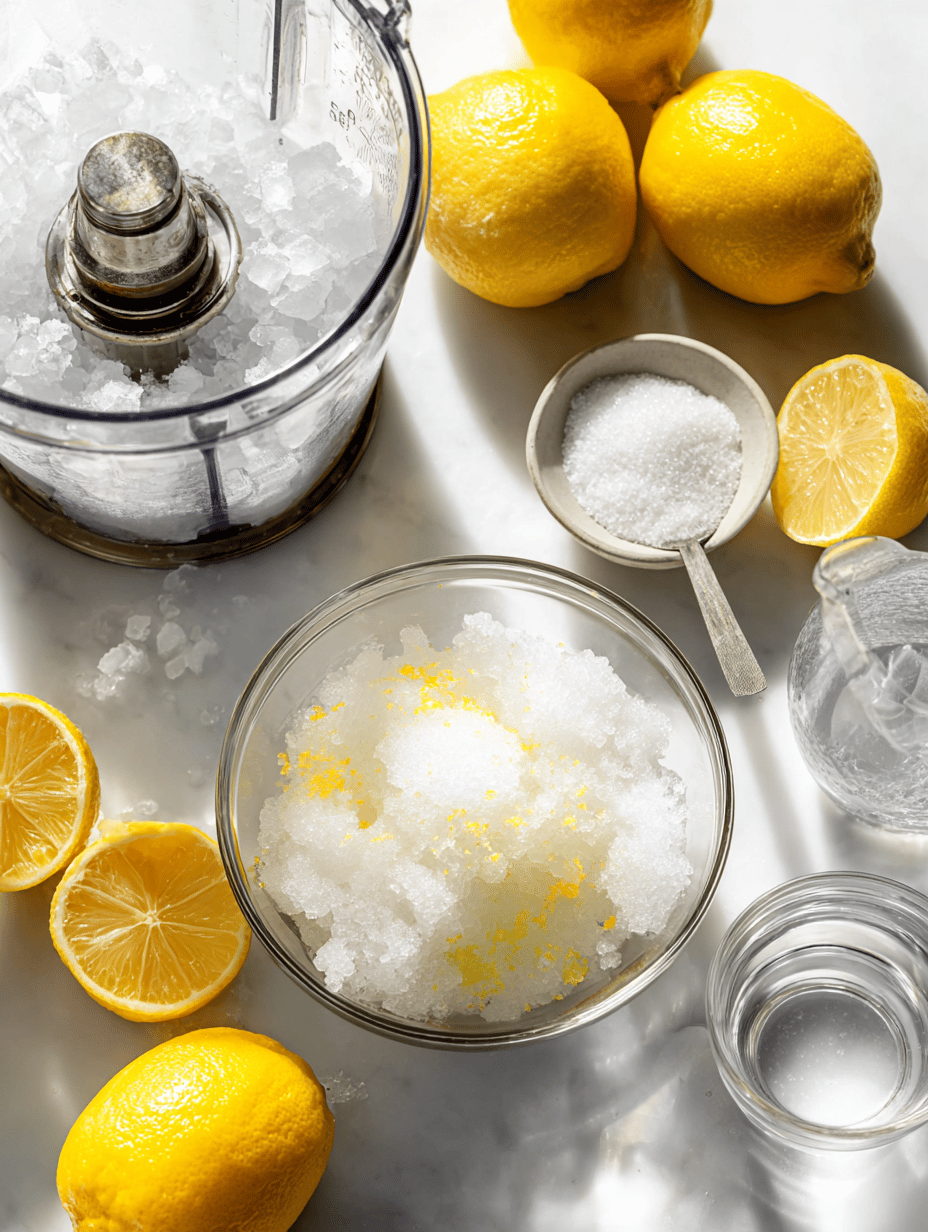
- Ice cubes: Plenty of ice makes the texture slushy. Crush your ice or use a good blender for best results.
- Optional mint or berries: Fresh herbs or fruit add a fragrant, colorful contrast. Use sparingly—less is more in this icy wonderland.
How to Make the Perfect Lemonade Slushie: Step-by-Step
Equipment & Tools
- Juicer or handheld reamer—get every drop of lemon juice.
- Measuring cups—no guesswork on sugar and liquids.
- Blender—crucial for that smooth, icy texture.
- Freezer-safe container—wait patiently for the magic to happen.
Steps
- Juice the lemons until you have about ¾ cup of fresh juice. Add zest if you like a more intense citrus punch.
- Dissolve sugar in a half cup of warm water. Stir until clear—no gritty bits left behind.
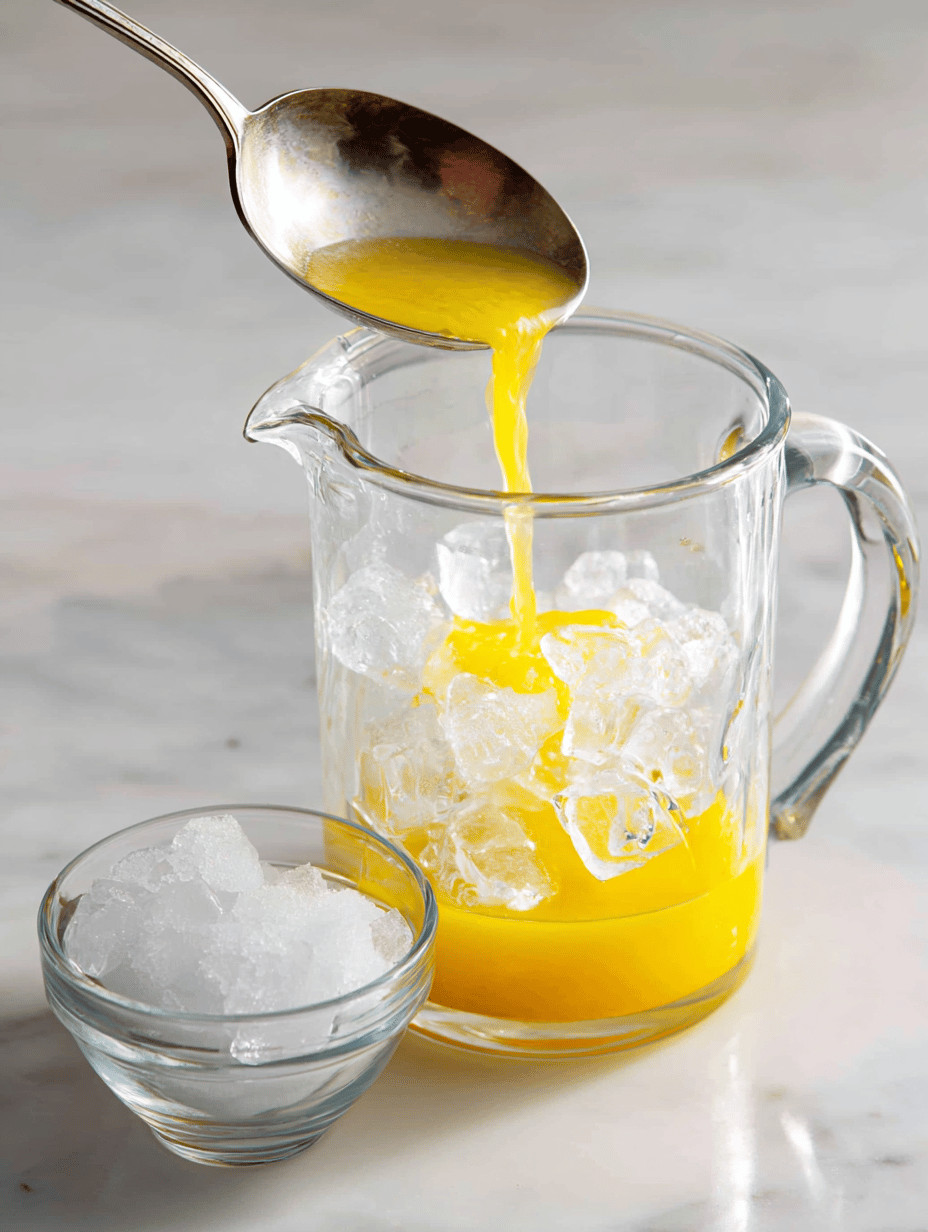
- Mix lemon juice, sweetened water, and remaining cold water in a pitcher. Taste and adjust sweetness if needed.
- Pour into your freezer-safe container. Cover tightly and freeze for 3-4 hours, stirring every 30 mins to break up ice crystals.
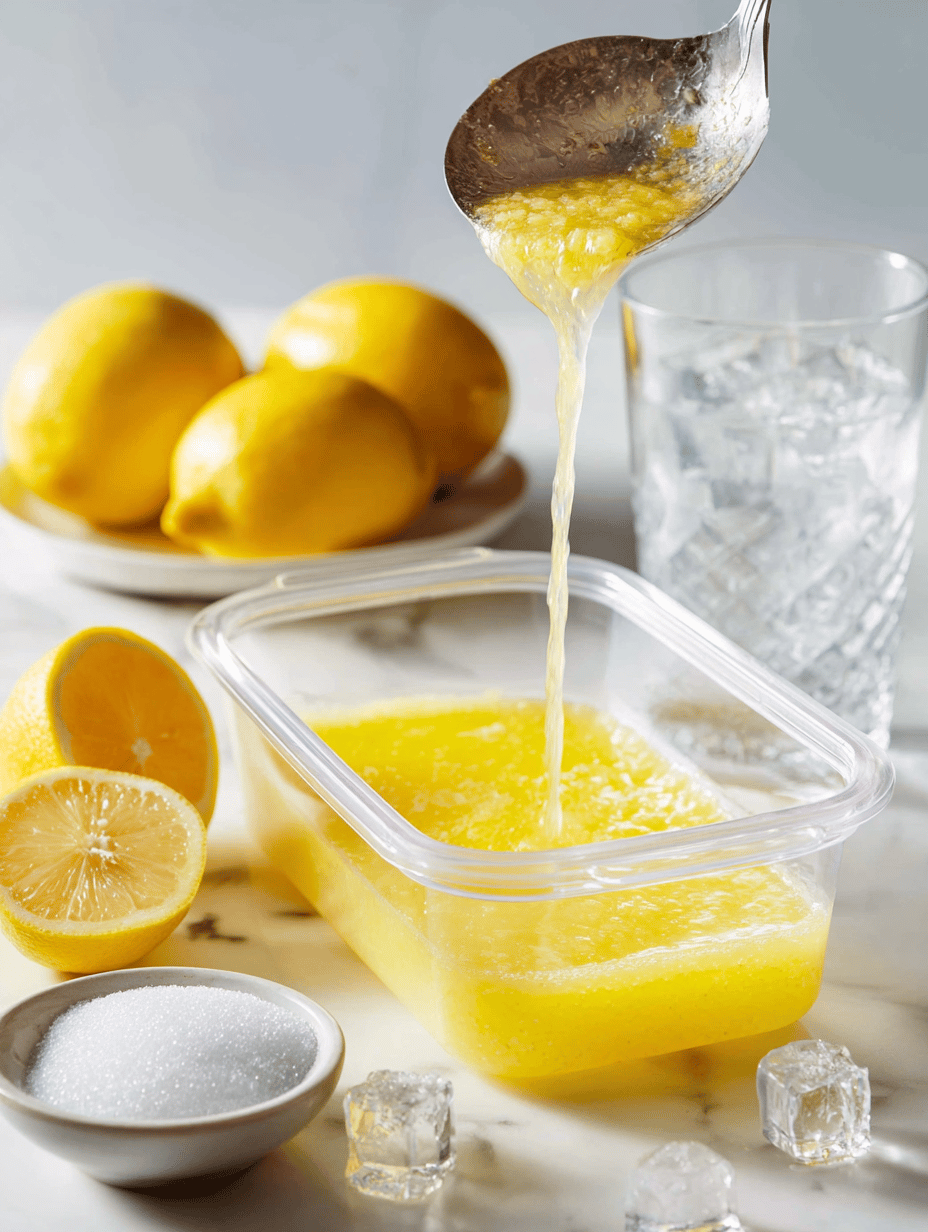
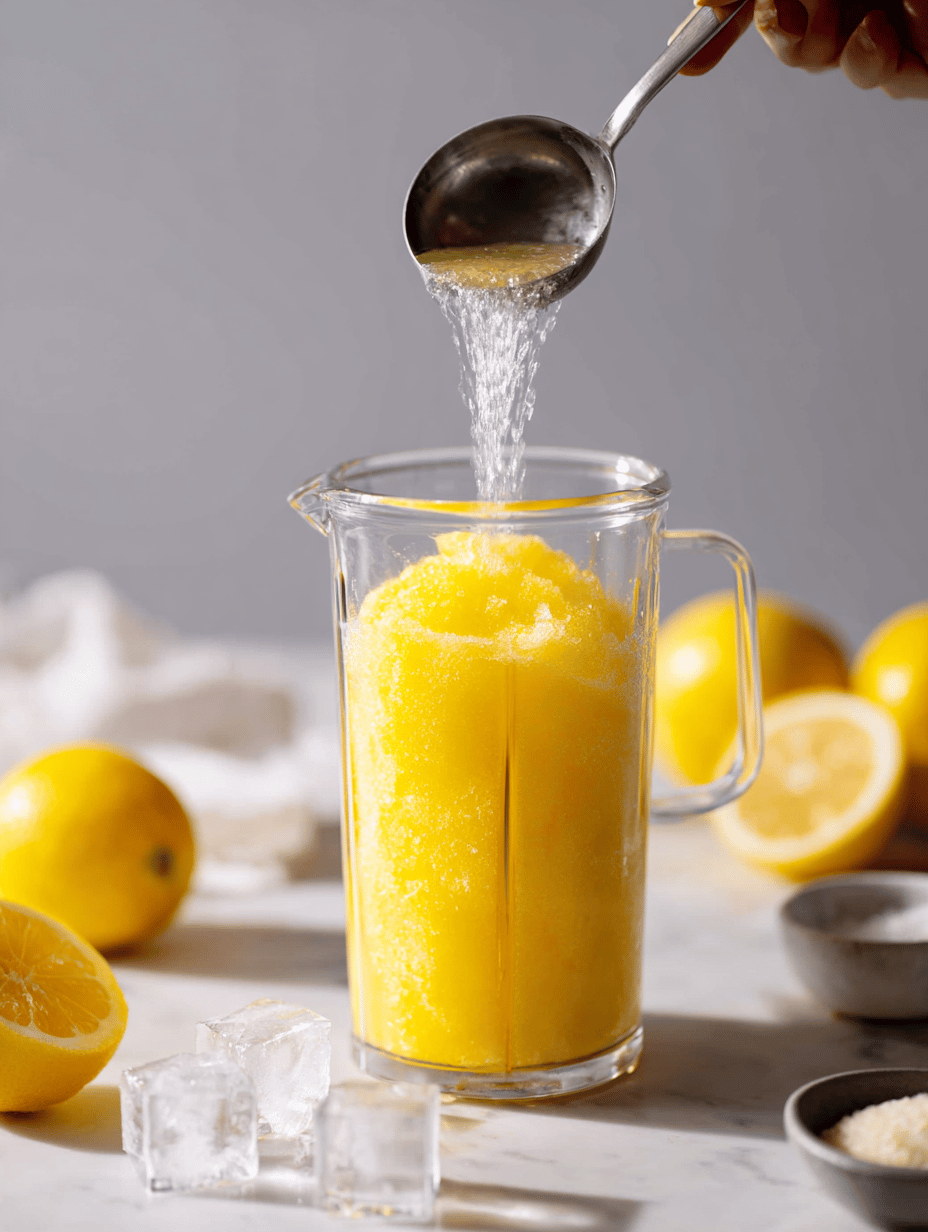
- Once frozen but still scoopable, spoon the mixture into a blender with plenty of ice. Blend until frosty and slushy—about 30 seconds.
- Check the texture—should be thick, with tiny ice shards. If it’s too icy, add a splash of cold water and pulse briefly.
Resting & Finishing
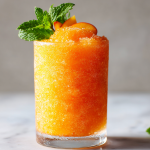
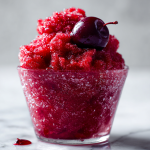
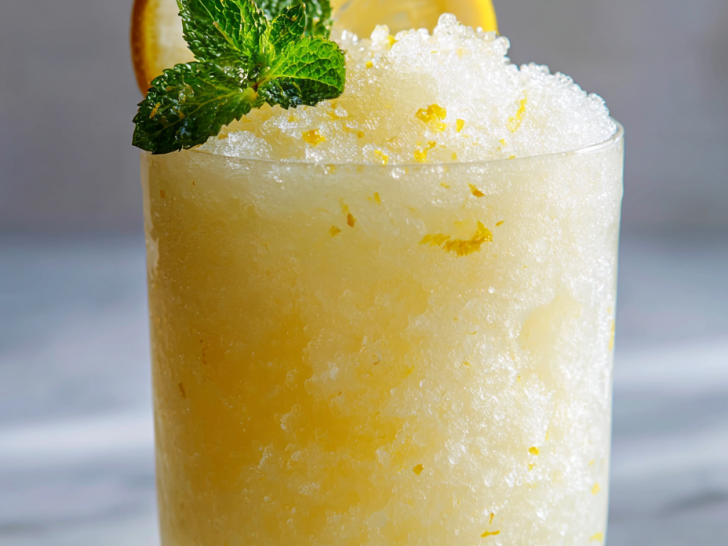
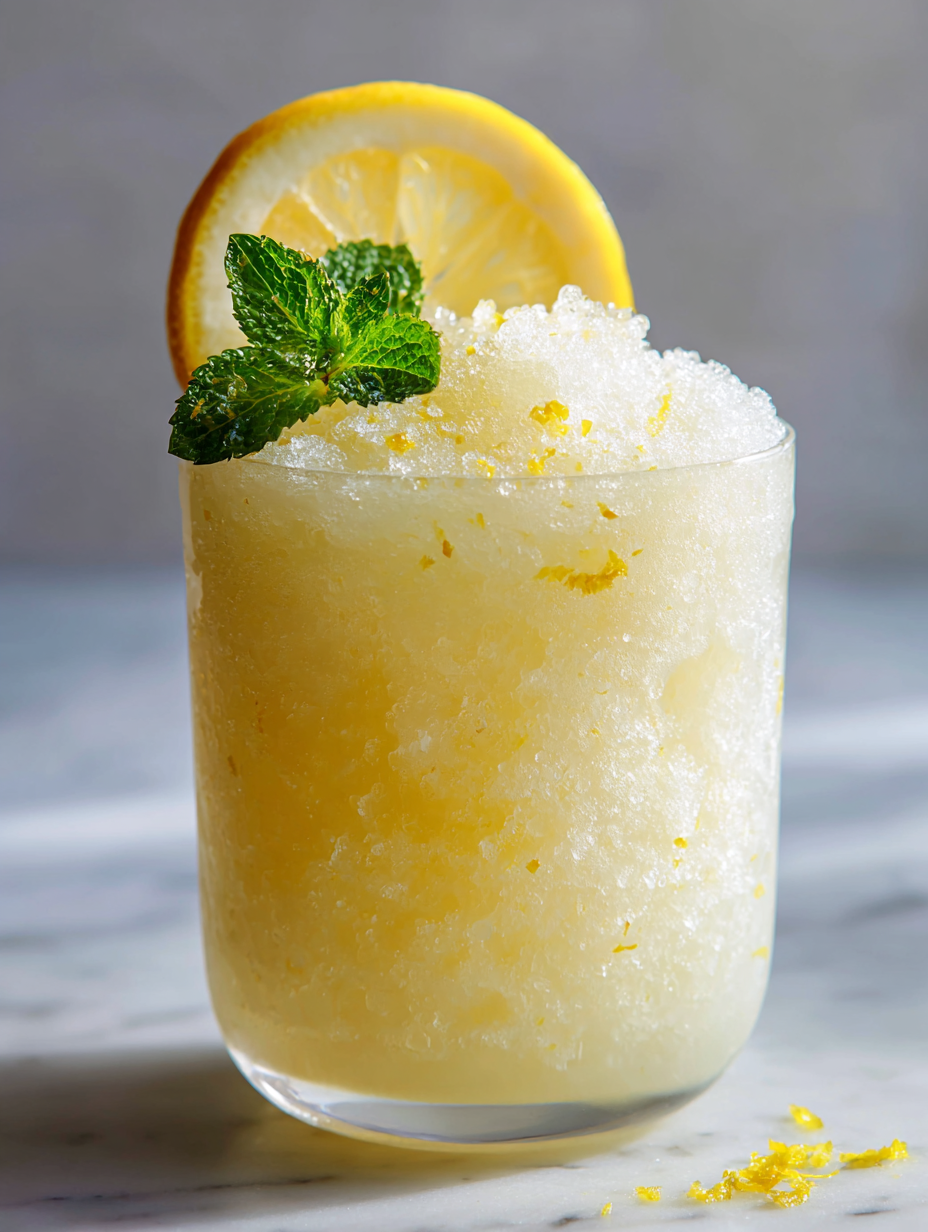
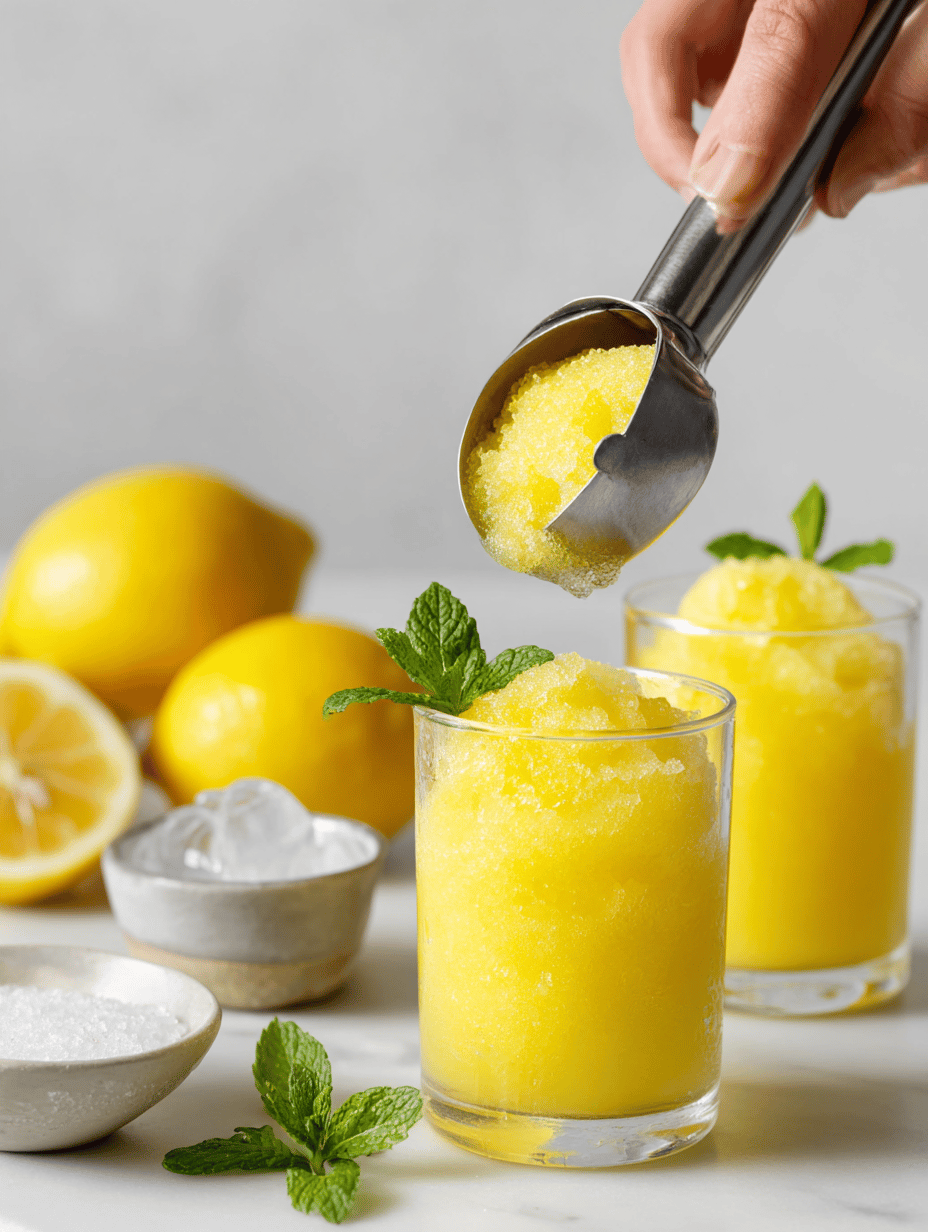
Serve immediately in chilled glasses. Garnish with a lemon slice or a sprig of mint for that finishing touch. If not devoured right away, keep in the freezer, but stir again before serving.
How to Know It’s Done
- The slush should jiggle gently when you lift the spoon.
- It should be icy but not rock-hard—bite into it with a little resistance.
- The color should be a vibrant, lemony yellow—no icy patches or melting streaks.
Lemonade Slushie
Equipment
- Juicer or handheld reamer
- Blender
- Freezer-Safe Container:
Ingredients
- 4 large lemons for about ¾ cup of juice
- ½ cup granulated sugar dissolved in warm water
- ½ cup warm water to dissolve sugar
- 1 cup cold water to dilute the lemon juice
- 2 cups ice cubes for blending into the slushie
Instructions
- Juice the lemons until you have about ¾ cup of fresh lemon juice. Add lemon zest if you want a more intense citrus flavor.
- Dissolve the sugar in warm water by stirring until the mixture is clear, with no gritty bits remaining.
- In a pitcher, combine the freshly squeezed lemon juice, the sweetened warm water, and cold water. Mix well and taste to adjust sweetness if needed.
- Pour the lemon mixture into a freezer-safe container, cover tightly, and place in the freezer. Freeze for 3-4 hours, stirring every 30 minutes to break up ice crystals and promote even freezing.
- Once the mixture is frozen but still scoopable, transfer it to a blender with the ice cubes and blend until smooth and frosty, about 30 seconds. You want a thick, icy texture with tiny ice shards.
- Check the texture—if it feels too icy, add a splash of cold water and pulse briefly to loosen it up. The slush should jiggle gently when lifted and be thick enough to scoop.
- Scoop the lemonade slushie into chilled glasses, garnish with a lemon slice or a sprig of mint if desired, and serve immediately for the best icy texture.
Notes
Nutrition
Common Mistakes and How to Fix Them
- FORGOT to dissolve the sugar properly: Make sure to warm the water first; no gritty bits in your final mix.
- DUMPED too much ice at once: Add ice gradually and blend in stages for a smoother texture.
- OVER-TORCHED the mixture: When blending, keep it quick—watch for frosty, not slushy, and stop before it melts into a slush pool.
- FAILED to taste and adjust: Always sample before freezing—balance tartness and sweetness to your liking.
Quick Kitchen Fixes for Common Slushie Woes
- When too icy, splash in a little cold water and pulse again—sharper, smoother.
- When flavor feels flat, add a squeeze of fresh lemon or a tiny drizzle of honey.
- Splash a little club soda on top for extra sparkle just before serving—crackle and shimmer.
- Patch a too-thick slush by stirring in a few drops of warm water—smooth and ready again.
- When it’s melting too fast, serve in chilled glasses and keep the leftovers in the freezer—ice magic stays longer.
This lemonade slushie is a reminder that sometimes, the simplest things are worth the extra effort. It’s a refreshment that’s both nostalgic and practically perfect for hot days or spontaneous gatherings. Whether you’re chasing a childhood memory or just craving something zingy, it’s a little treat that doesn’t ask for much but gives a lot. Keep it in your back pocket for when the heat and chaos become too much—trust me, it’s worth it.

hi there,
i’m James
The home cook and food blogger behind Beyond the Bayou Blog. Cooking has always been my happy place.
know more