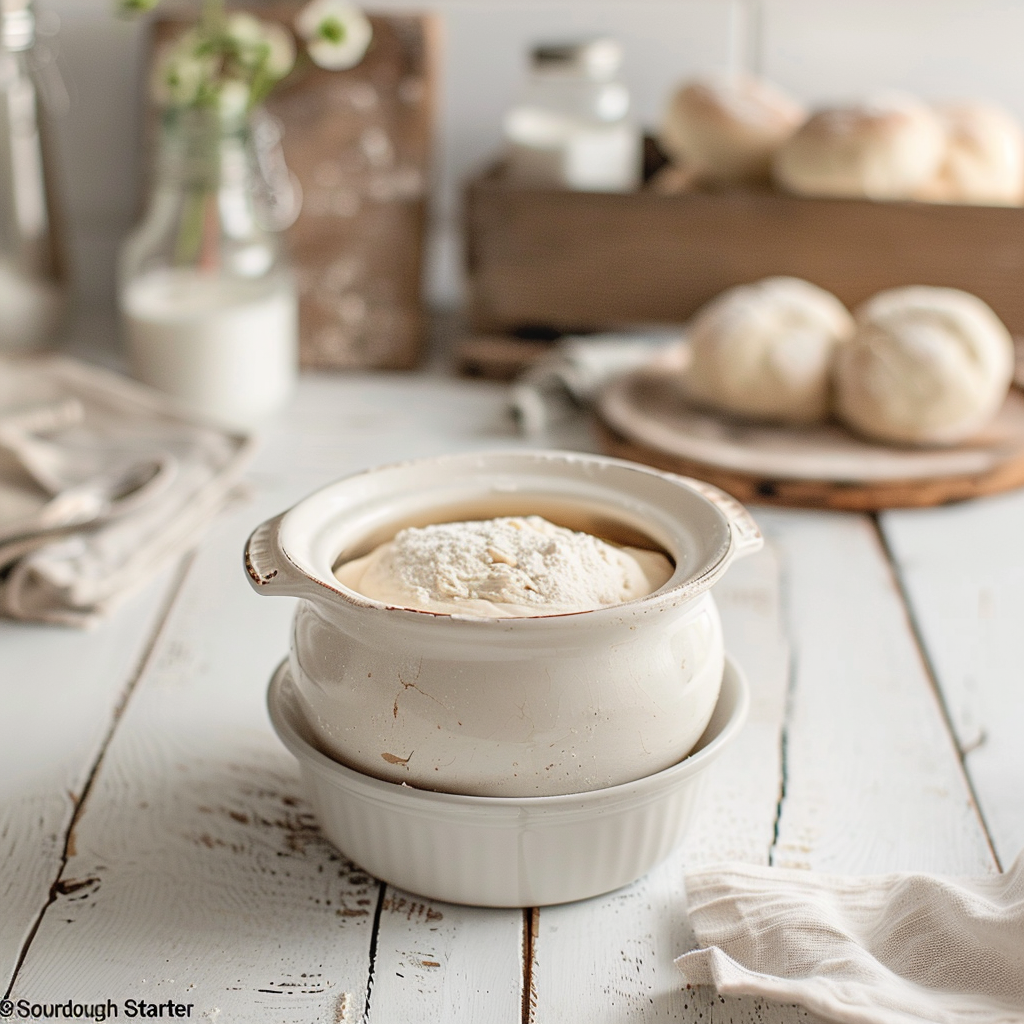
Hey, Welcome to my recipe blog, where I’ll be sharing my passion for baking and cooking. Today I’ll share about Sourdough Starter Recipe through Beyond the Bayou Blog. Growing up, I always had a love for homemade bread, especially the tangy goodness of sourdough.
It all started when I inherited my grandma’s old sourdough starter, which she lovingly nurtured for decades. I remember watching her in the kitchen, mixing flour and water, patiently waiting for that magical fermentation process to transform the mixture into bubbly goodness.
Those memories inspired me to start my own sourdough journey. Now, I’m excited to pass on what I’ve learned to you. Whether you’re a seasoned baker or just dipping your toes into the world of sourdough, I hope you’ll find inspiration and joy in these recipes.
So grab your apron and let’s get baking. You can try more dough recipe like Edible Cookie Dough and Sourdough Bread.
What is Sourdough Starter?
Sourdough starter is a mixture of flour and water that has been fermented by naturally occurring yeast and bacteria. It’s the essential ingredient for making sourdough bread.
These microorganisms, specifically strains of lactobacilli and wild yeast, create a bubbly and tangy mixture over time, giving sourdough its distinctive flavor and texture.
To cultivate a starter, you simply mix flour and water and let it sit at room temperature, allowing wild yeast and bacteria from the environment to colonize it. Regular feeding with fresh flour and water maintains the starter’s health and activity.
A well-maintained starter can last indefinitely, often passing down through generations. When making sourdough bread, a portion of the starter is mixed with more flour and water to create the dough, which is then fermented before baking, resulting in delicious, naturally leavened bread with complex flavors.
Sourdough Starter Recipe
Equipment
- A clean glass with a lid or cloth cover
- A stirring utensil
- A kitchen scale
Ingredients
- 500 grams whole wheat or rye flour
- 500 ml water
Instructions
- Mixing: Combine 500 grams of whole wheat or rye flour with 500 milliliters of water in a clean glass or plastic container. Stir well until you have a thick, pancake-like batter.
- Fermentation: Cover the container loosely with a lid or cloth and let it sit at room temperature for about 24 hours. This allows wild yeast and bacteria to colonize the mixture and kickstart fermentation.
- Feeding: After 24 hours, check your starter. You might notice bubbles forming on the surface, indicating fermentation has begun. Discard half of the mixture and stir in equal parts of fresh flour and water. Repeat this feeding process daily for the next few days.
- Observation: Watch for signs of fermentation, such as bubbles, a sour smell, and increased volume. This indicates that your starter is becoming active and healthy.
- Maturation: It may take anywhere from 5 to 10 days for your starter to fully mature and be ready for baking. Continue daily feedings until your starter is bubbly, active, and has a tangy aroma.
Notes
If you leave your starter out on the counter, you will need to add flour and water every day. You will also have to be baking daily to use up all that starter.
Nutrition
Time for the Tips!
- Consistency: Maintain a consistent feeding schedule for your starter, preferably at the same time each day. This helps establish a healthy routine for the yeast and bacteria.
- Temperature: Keep your starter in a warm environment, ideally around 70-75°F (21-24°C), to encourage fermentation. Avoid extreme temperatures, as they can slow down or kill the yeast and bacteria.
- Feeding Ratio: Maintain a consistent feeding ratio of flour to water to starter. A common ratio is 1:1:1 (equal parts starter, flour, and water by weight).
- Use Non-Chlorinated Water: Chlorinated water can inhibit fermentation, so it’s best to use filtered or non-chlorinated water when feeding your starter.
- Stirring: Stir your starter well after each feeding to incorporate oxygen and distribute yeast and bacteria evenly throughout the mixture.
- Patience: Be patient with your starter, especially in the early stages of development. It may take several days or even weeks for your starter to become fully active and mature.
I’m Anne Carter, a food blogger with a passion for creating vibrant, approachable recipes and sharing the stories behind them. Inspired by family traditions, global flavors, and seasonal ingredients, I love turning simple ingredients into something extraordinary. My blog is where I celebrate the joy of cooking, offer practical tips, and invite others to join me in exploring the world through food. Let’s create something delicious together!


