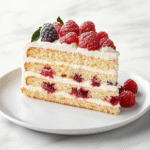
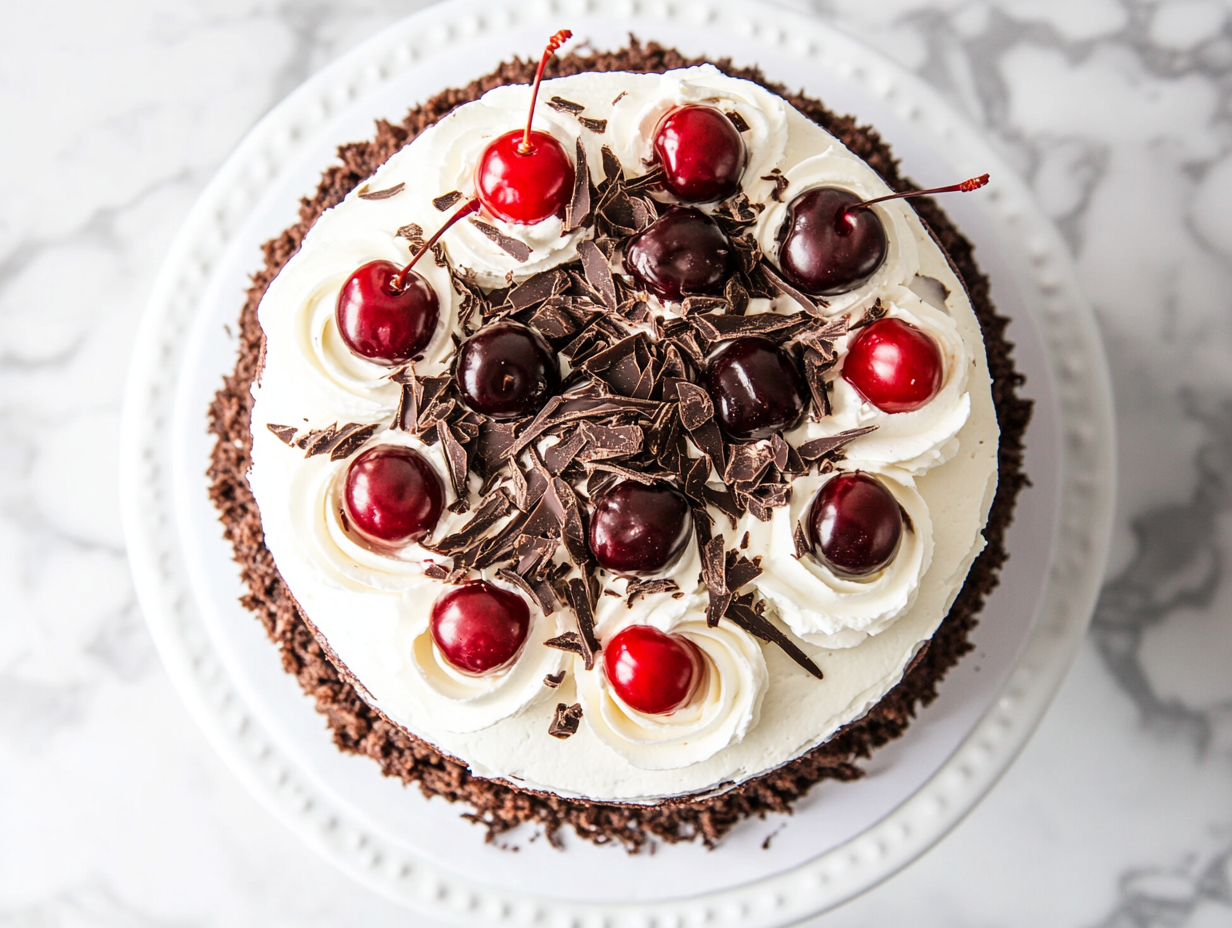
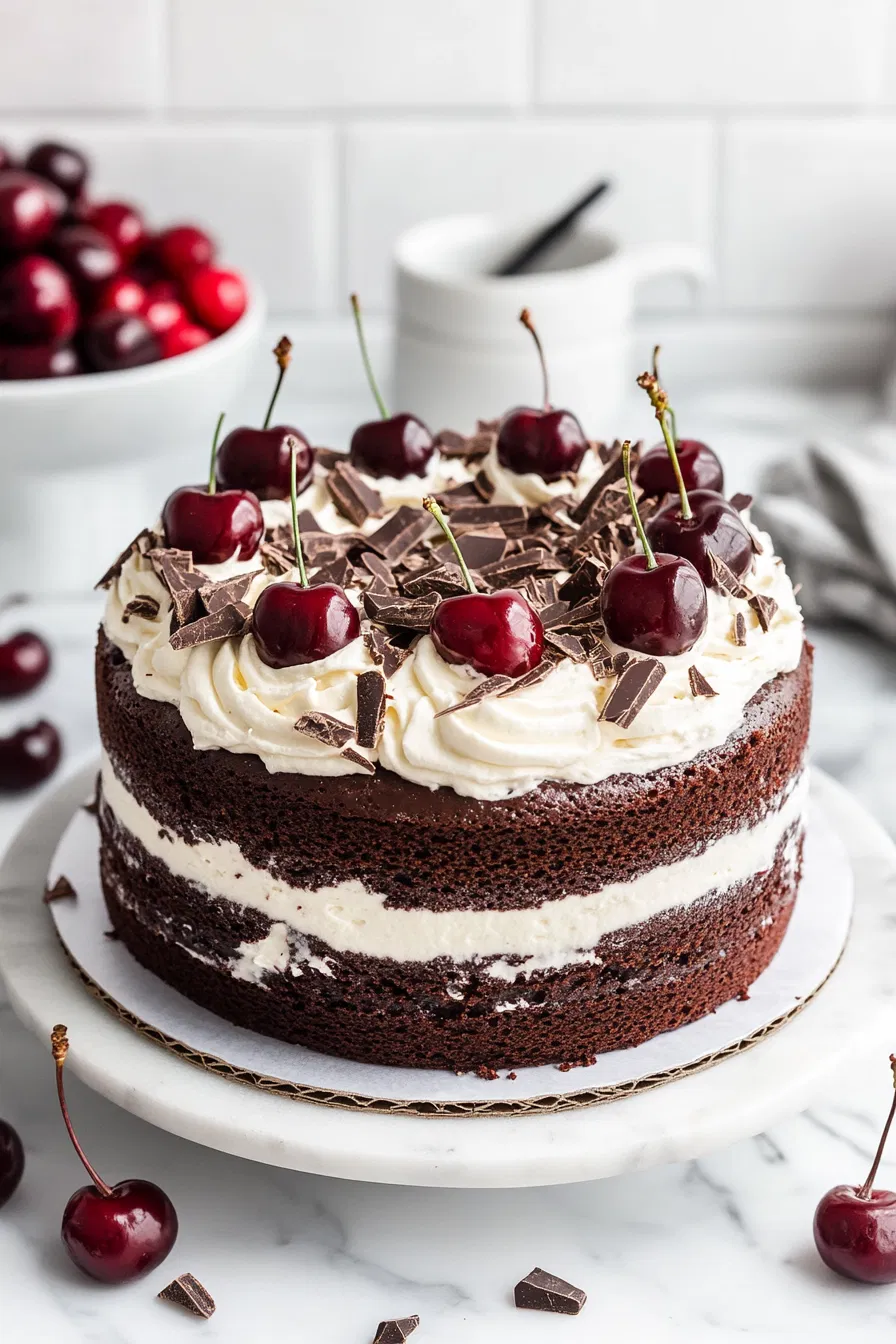
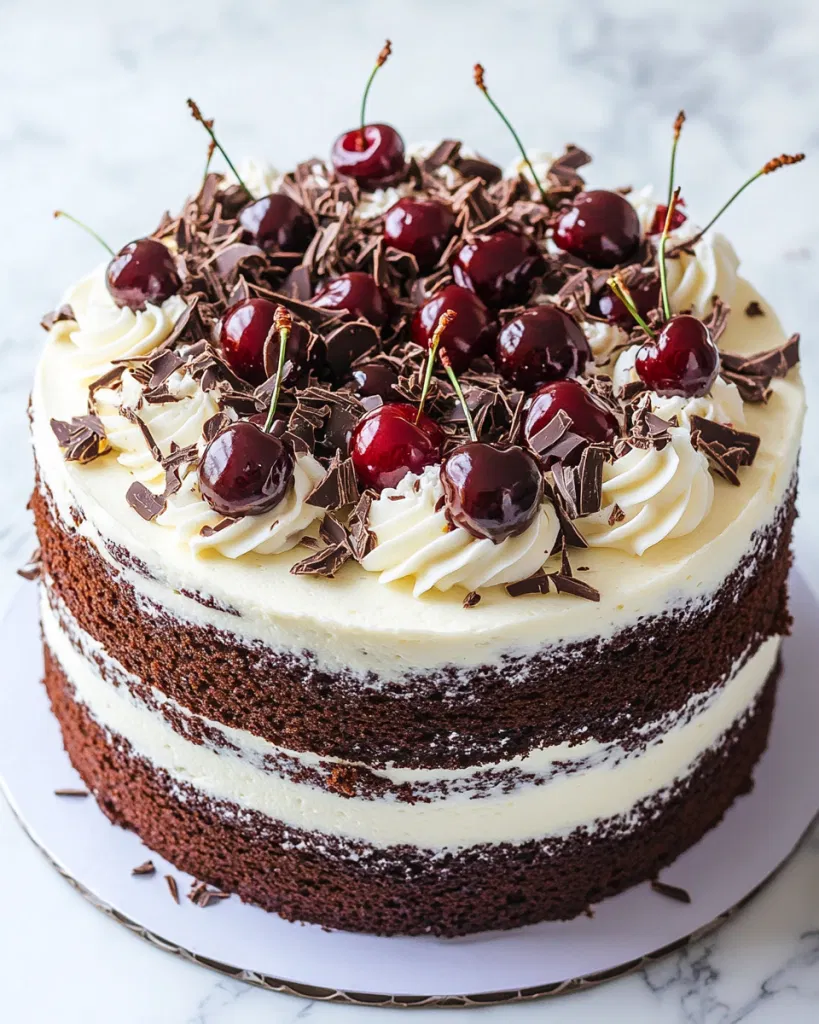
This easy Black Forest cake is one of those desserts that instantly feels special without being overly complicated to make at home.
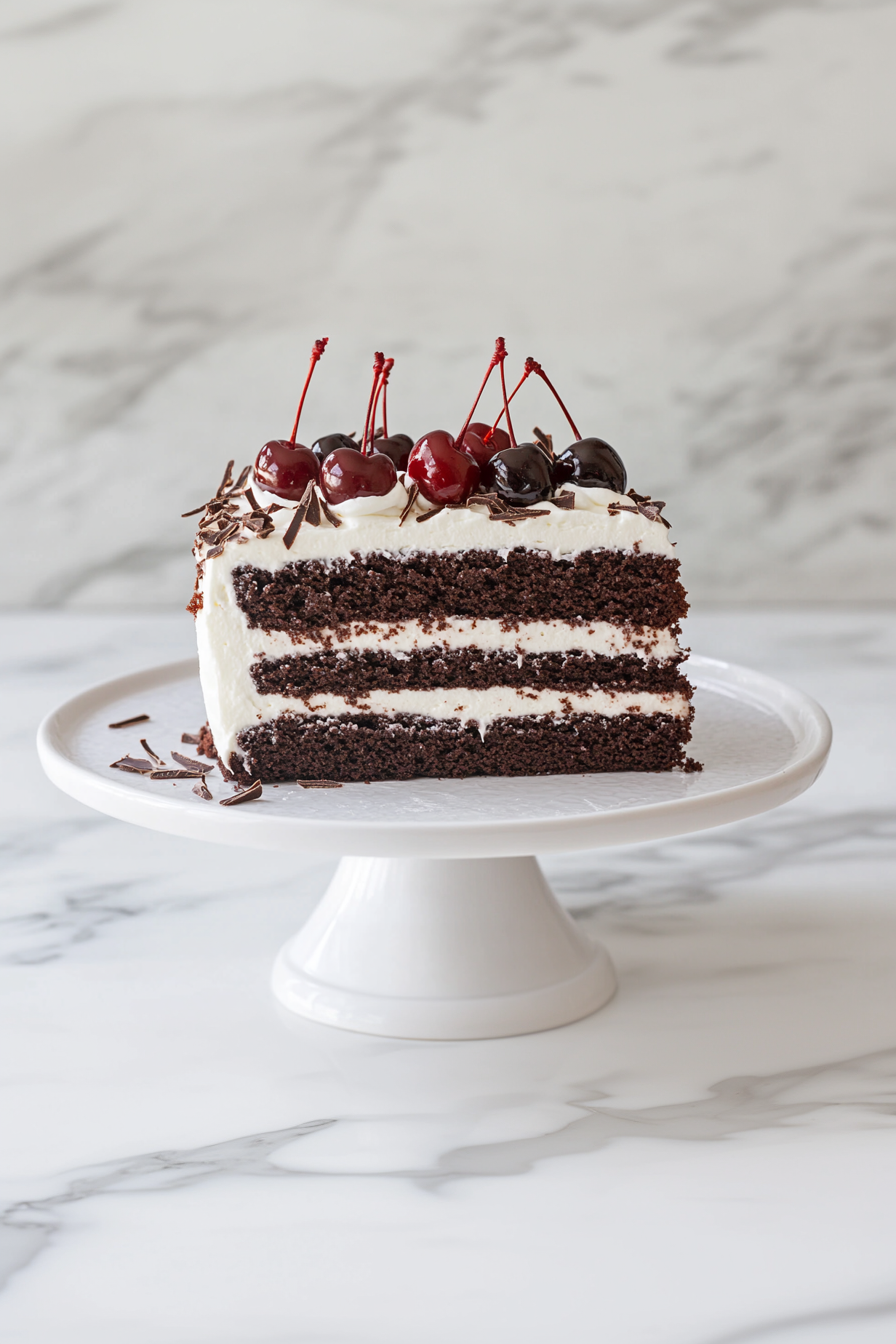
With soft chocolate sponge layers, a rich cherry filling, fluffy whipped cream, and delicate chocolate shavings, every slice feels beautifully balanced. It’s perfect for birthdays, celebrations, or whenever you want a classic dessert that looks impressive on the table.
Why I Love This Recipe
What makes this cake so dependable is the contrast of textures and flavors.
The chocolate sponge stays moist, the cherries bring a bright fruity layer, and the whipped cream keeps the cake light instead of heavy. It feels elegant, but the steps are very manageable even for home bakers.
Spotlight on Key Ingredients

Cocoa Powder
Texture: Fine powder
Flavor: Deep chocolate bitterness
Prep Tip: Sift before mixing to prevent lumps
Common Mistake: Using sweetened cocoa changes balance
Cherries
Texture: Soft and juicy
Flavor: Sweet-tart
Prep Tip: Drain canned cherries well if using
Common Mistake: Not cooling the filling before layering
Ingredient Substitutions for Different Needs
- Alcohol-Free Version
Skip the Kirsch entirely if preferred. The cherry filling will still taste bright and classic without it. - Extra Chocolate Flavor
Add dark chocolate chips between layers for a richer bite. - Lighter Sweetness
Reduce powdered sugar in the whipped cream slightly if you prefer a less sweet finish. - Berry Variation
A mix of cherries and raspberries adds a lovely tart contrast. - Smaller Cake Version
Use smaller pans for a taller layered cake.
Easy Black Forest Cake Recipe
Equipment
- Measuring Spoons and Cups
- Whisk or Electric Hand Mixer
- Spatula
- Cake Pans
- Cooling Rack
- Saucepan
- Pastry Bag and Tips
- Cake Stand
Ingredients
For the Chocolate Sponge Cake:
- 2 cups all-purpose flour
- 1¾ cups granulated sugar
- ¾ cup cocoa powder unsweetened
- 1½ teaspoons baking powder
- 1½ teaspoons baking soda
- 1 teaspoon salt
- 2 large eggs
- 1 cup whole milk
- ½ cup vegetable oil
- 2 teaspoons vanilla extract
- 1 cup boiling water
For the Cherry Filling:
- 2 cups fresh or canned pitted cherries
- ⅓ cup granulated sugar
- 2 tablespoons cornstarch
- 2 tablespoons Kirsch (cherry liqueur) optional
For the Whipped Cream:
- 2 cups heavy cream
- ¼ cup powdered sugar
- 1 teaspoon vanilla extract
Garnish:
- Chocolate shavings
- Fresh cherries
Instructions
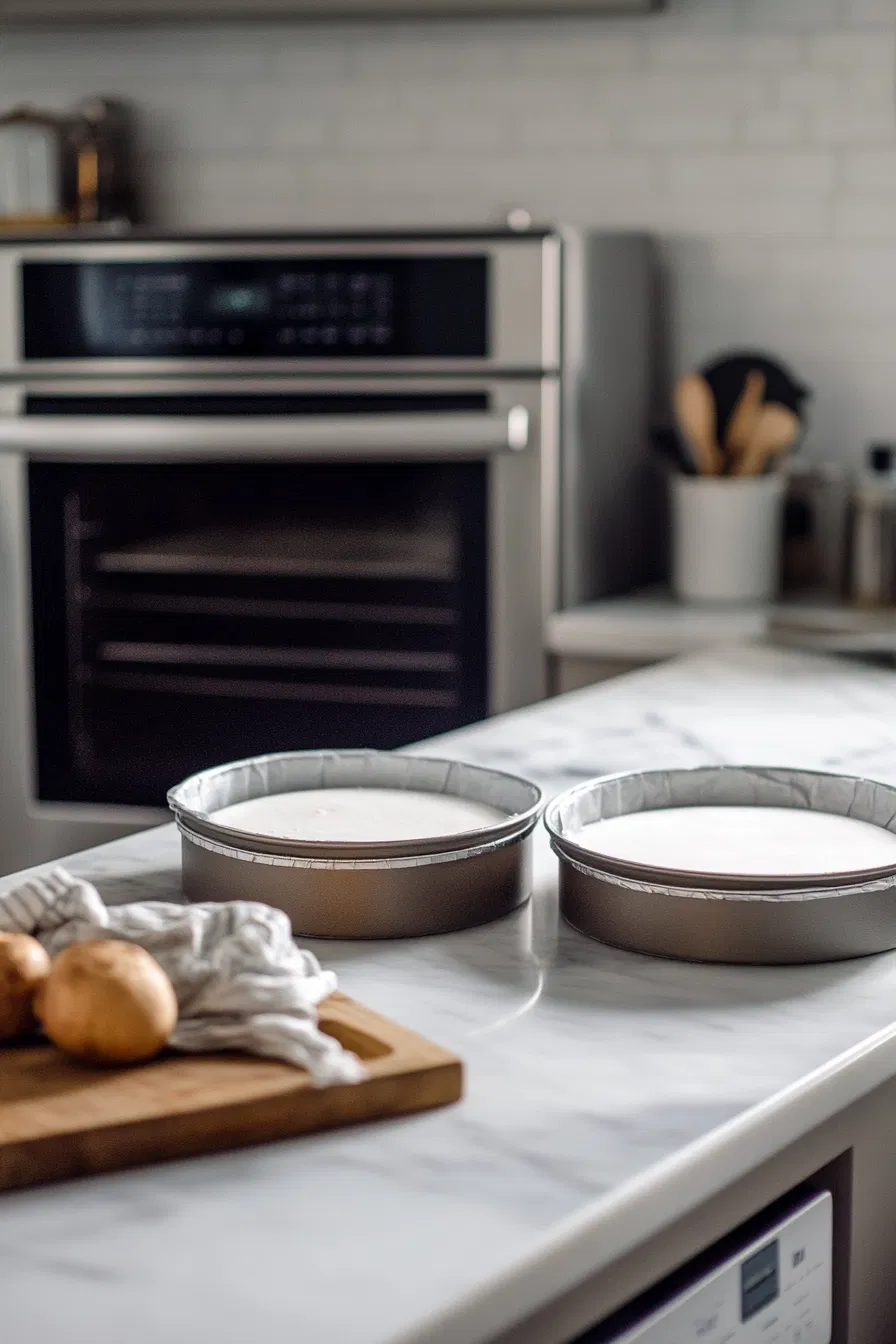
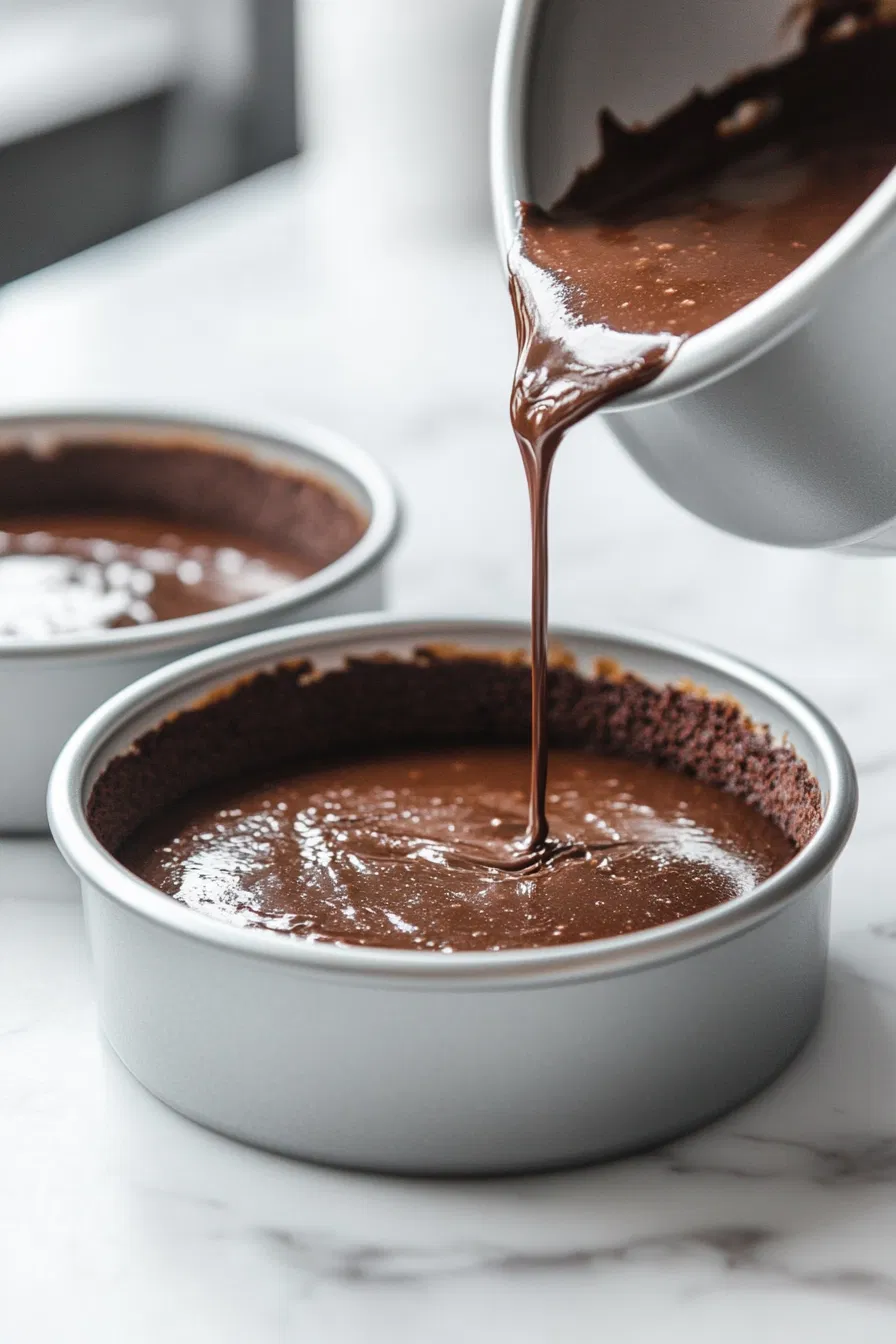
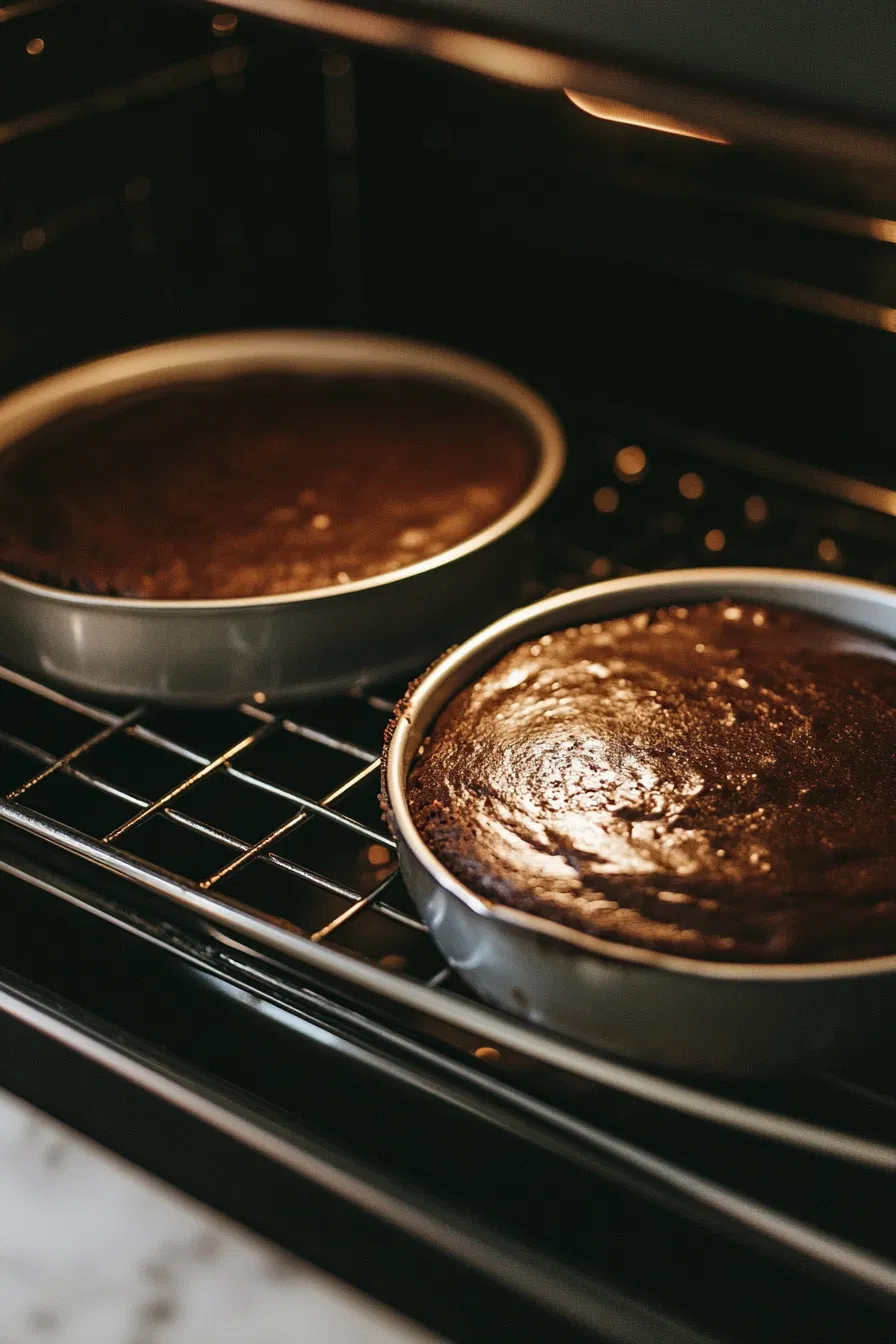
- Preheat your oven to 350°F (175°C). Grease and line two 9-inch round cake pans with parchment paper.
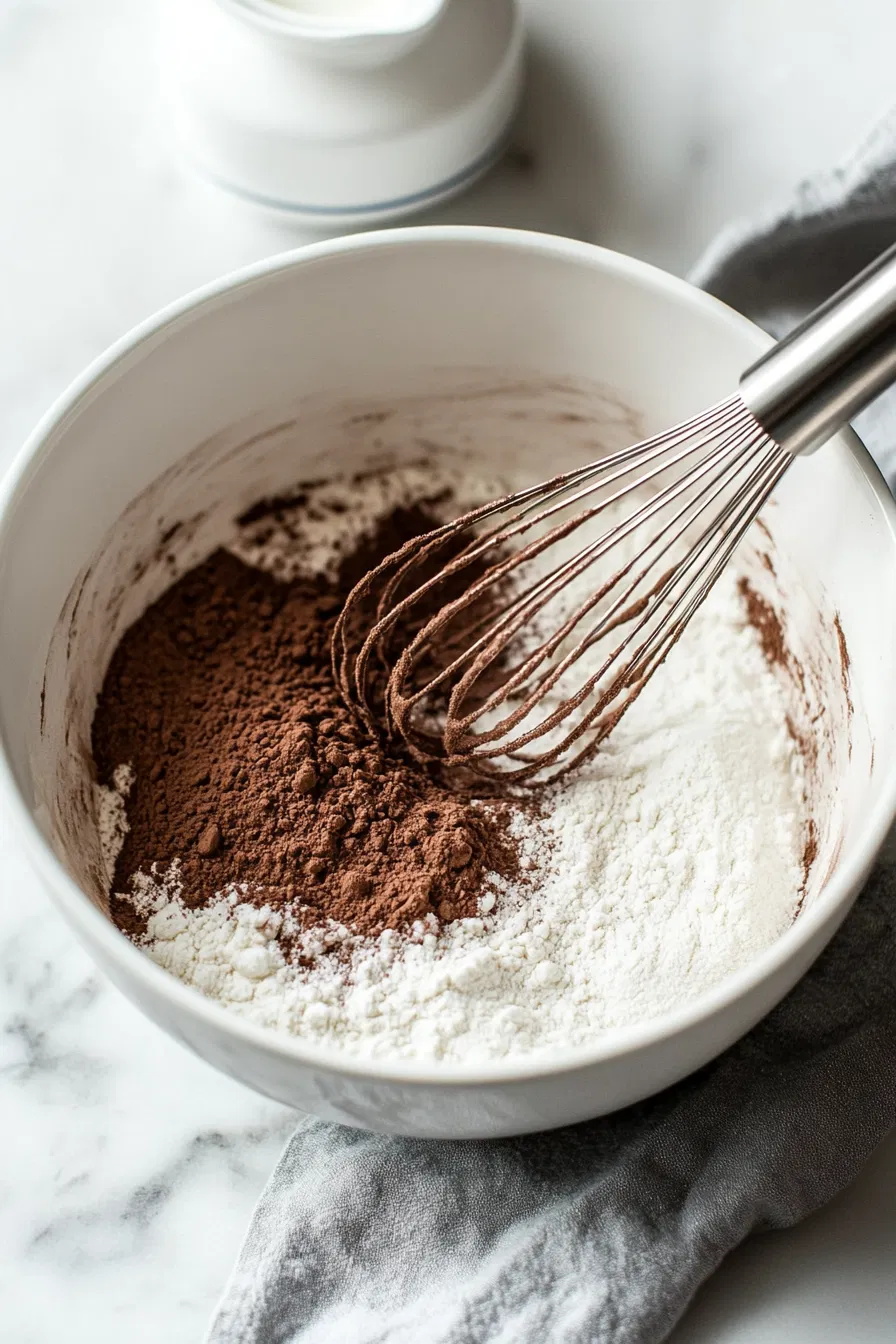
- In a large mixing bowl, whisk together flour, sugar, cocoa powder, baking powder, baking soda, and salt.
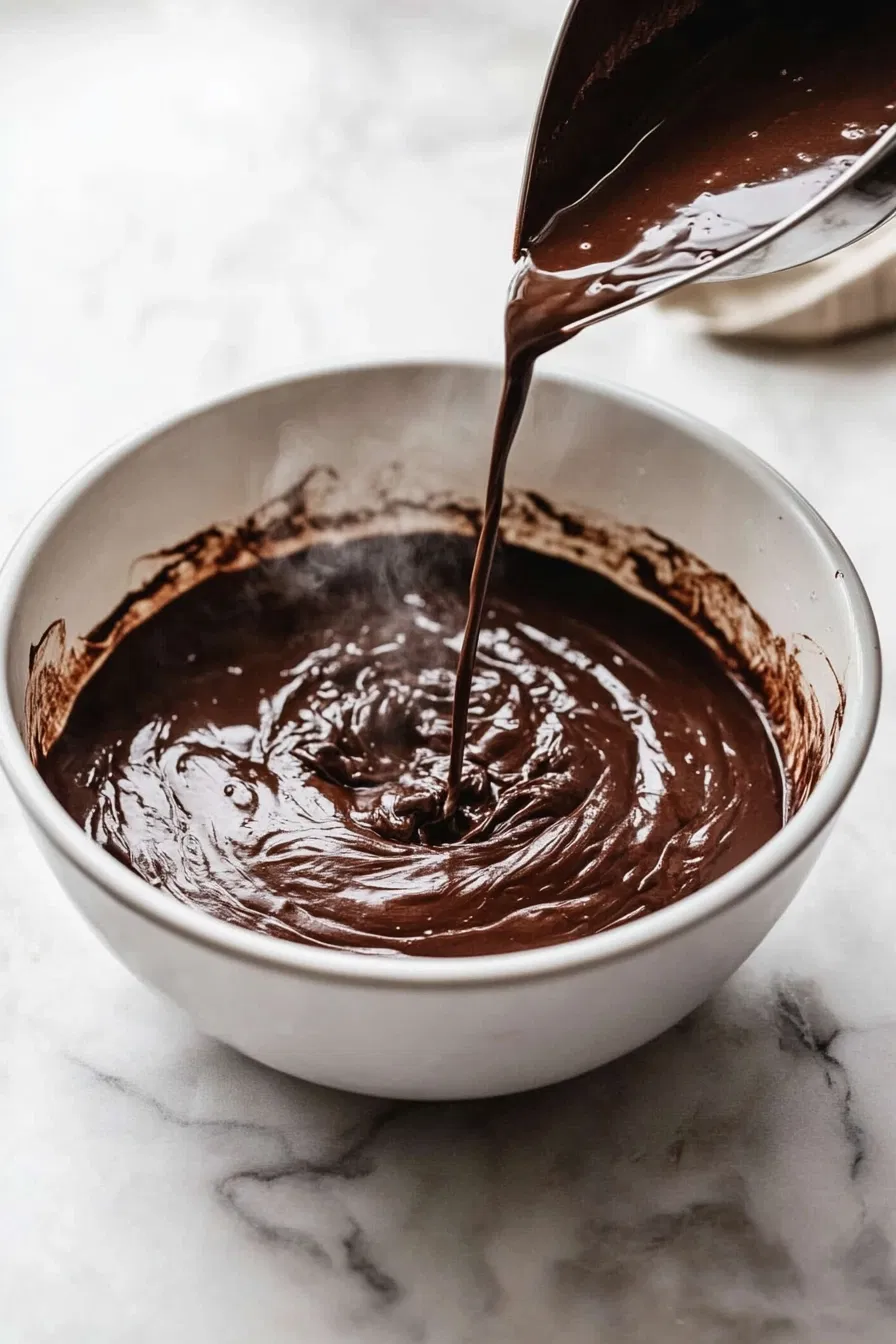
- Add eggs, milk, oil, and vanilla extract. Mix until well combined.
- Gradually add boiling water, mixing until the batter is smooth.
- Pour the batter evenly into the prepared pans.
- Bake for 30-35 minutes or until a toothpick inserted into the center comes out clean.
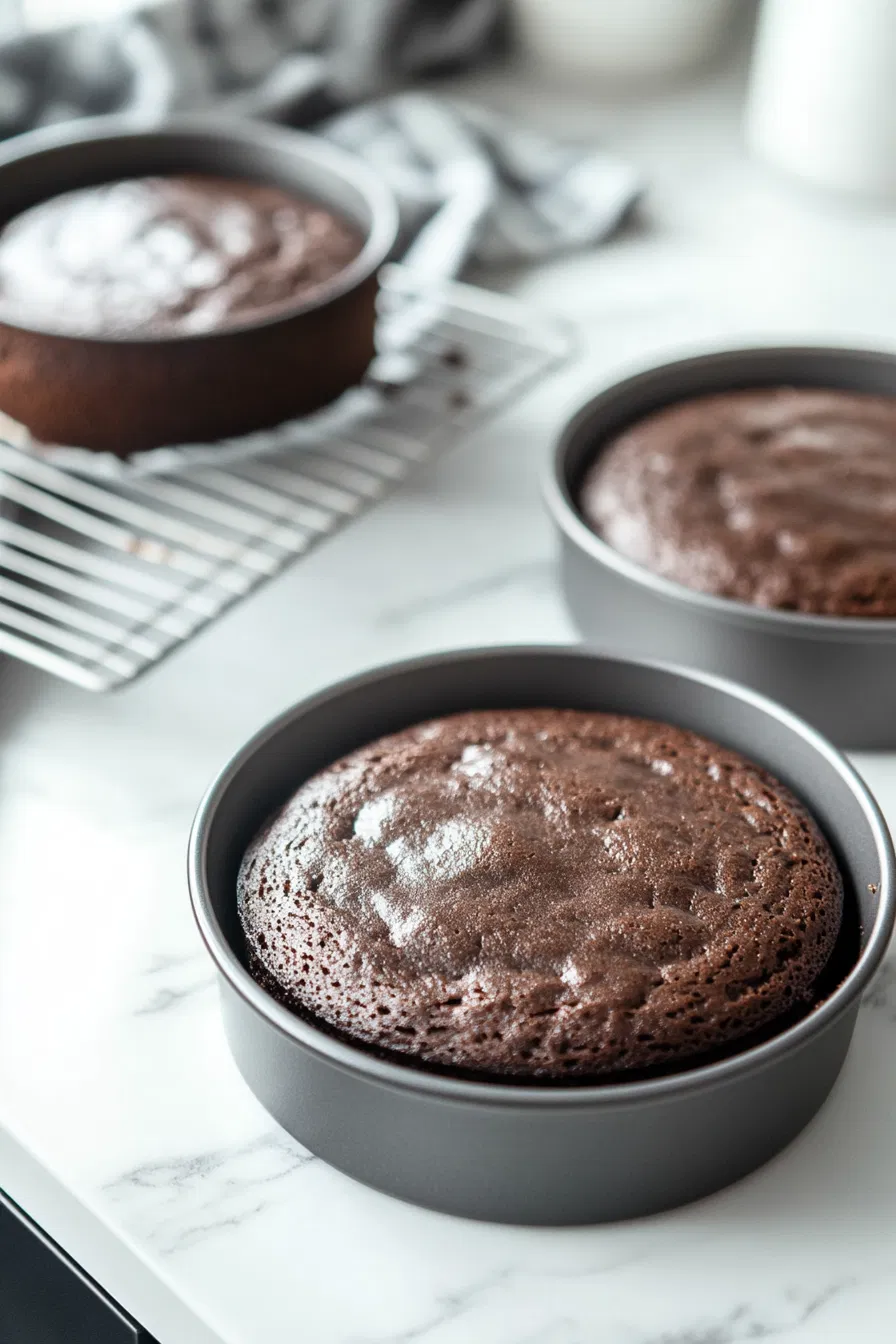
- Allow the cakes to cool in the pans for 10 minutes, then transfer to a wire rack to cool completely.
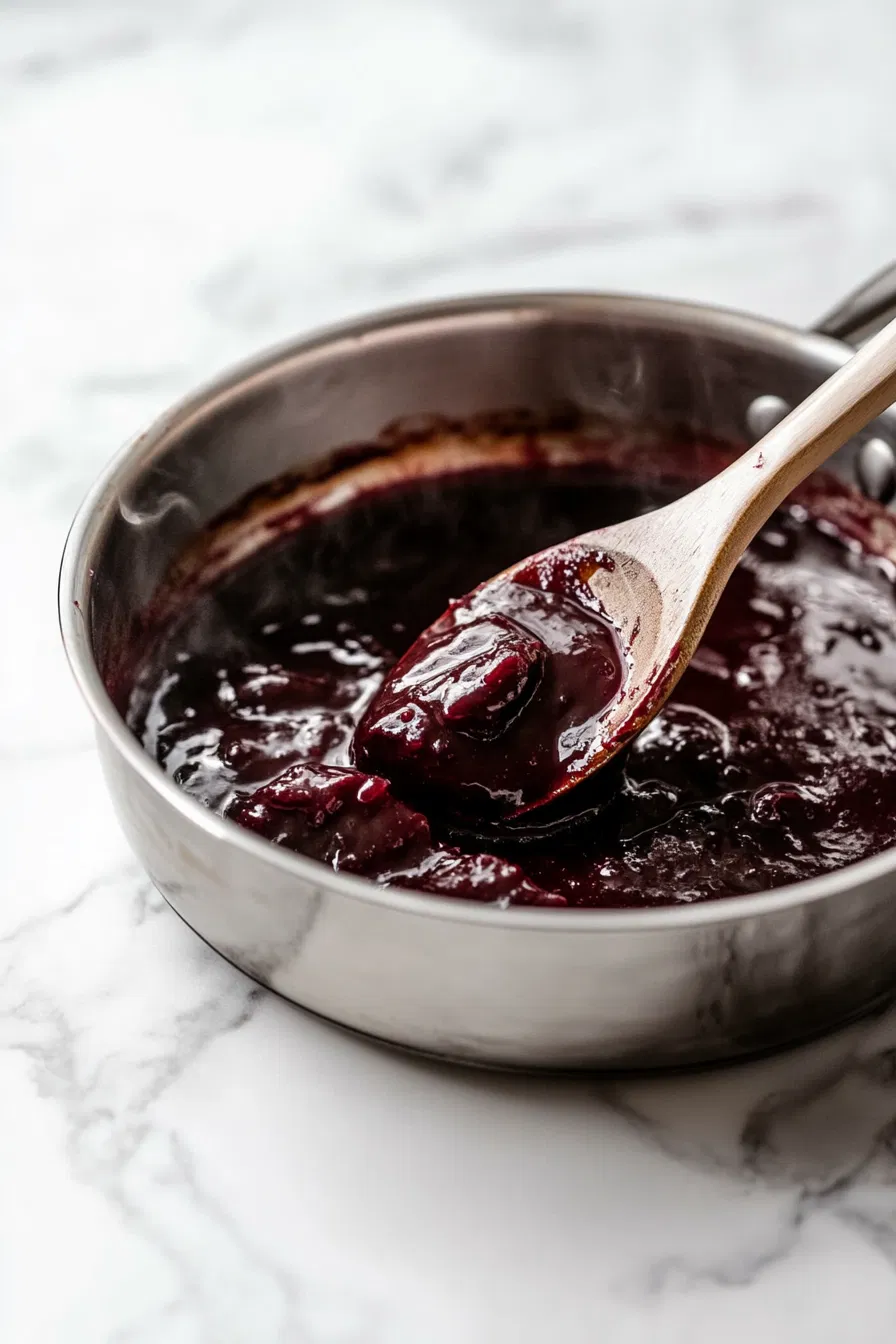
- In a saucepan, combine cherries and sugar. Cook over medium heat until the cherries release their juices.

- In a small bowl, mix cornstarch with a little water to create a smooth paste. Add it to the cherries to thicken the mixture.
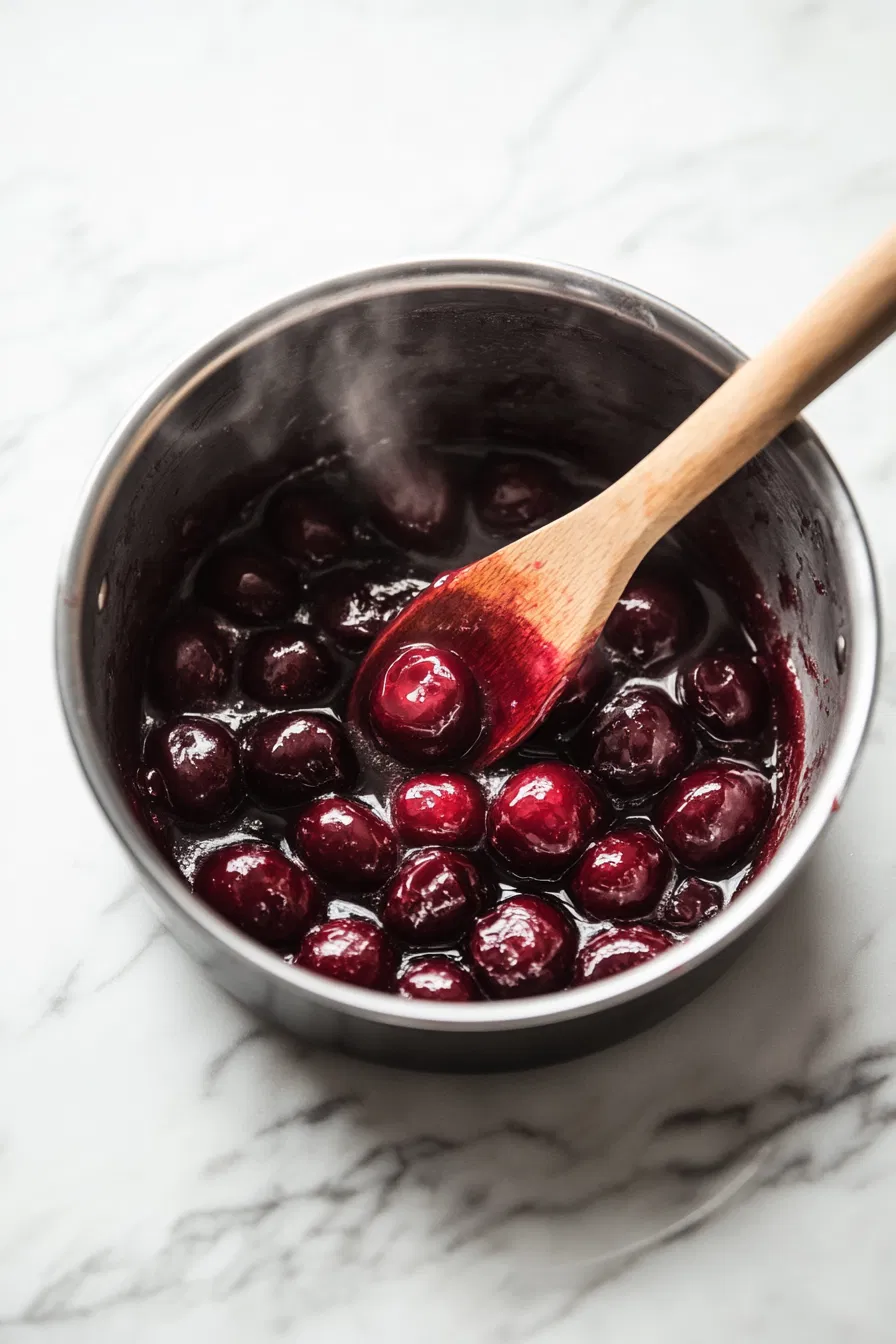
- Optionally, stir in Kirsch. Allow the cherry filling to cool.
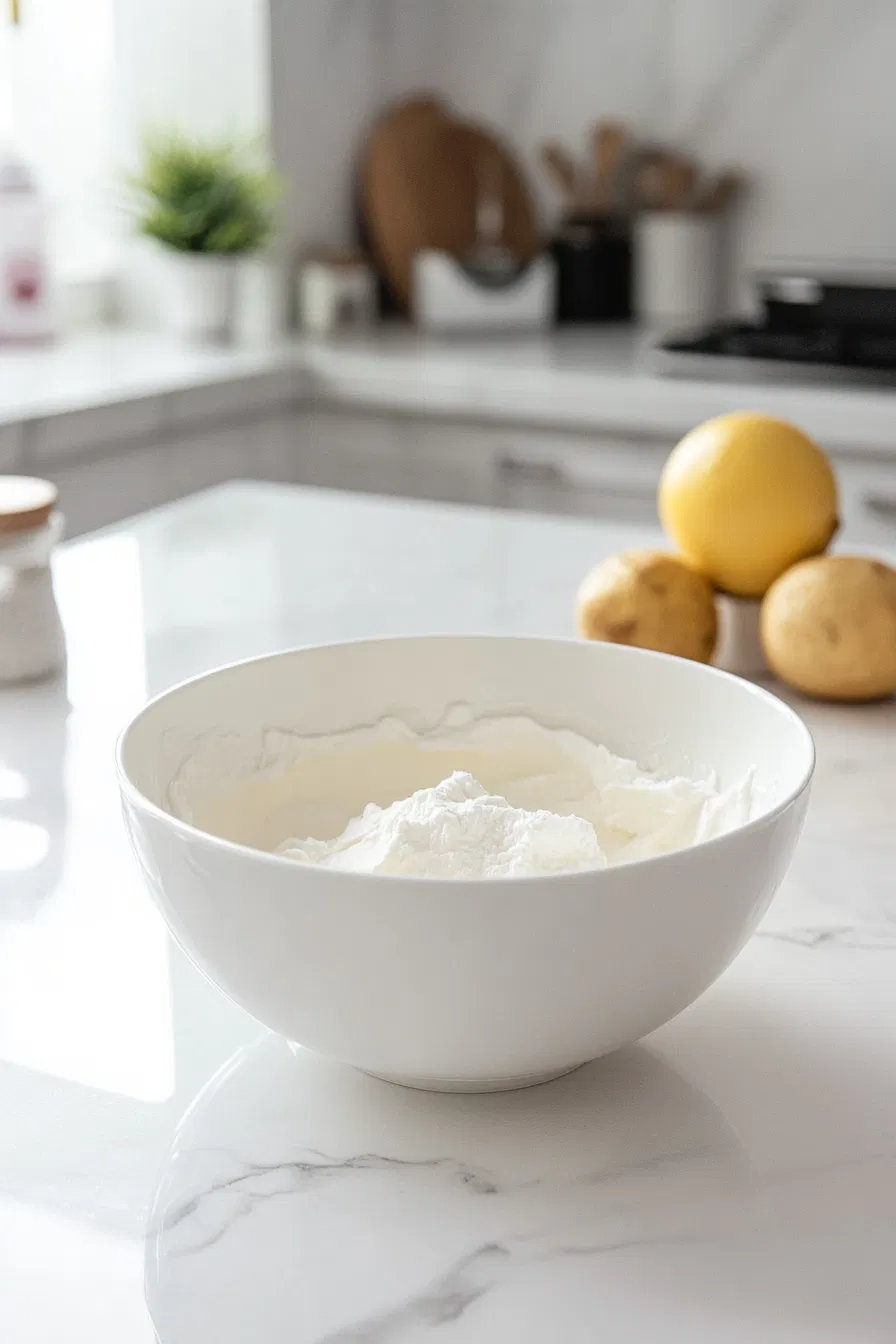
- In a chilled bowl, whip the heavy cream, powdered sugar, and vanilla extract until stiff peaks form.
- Place one chocolate cake layer on a serving platter.
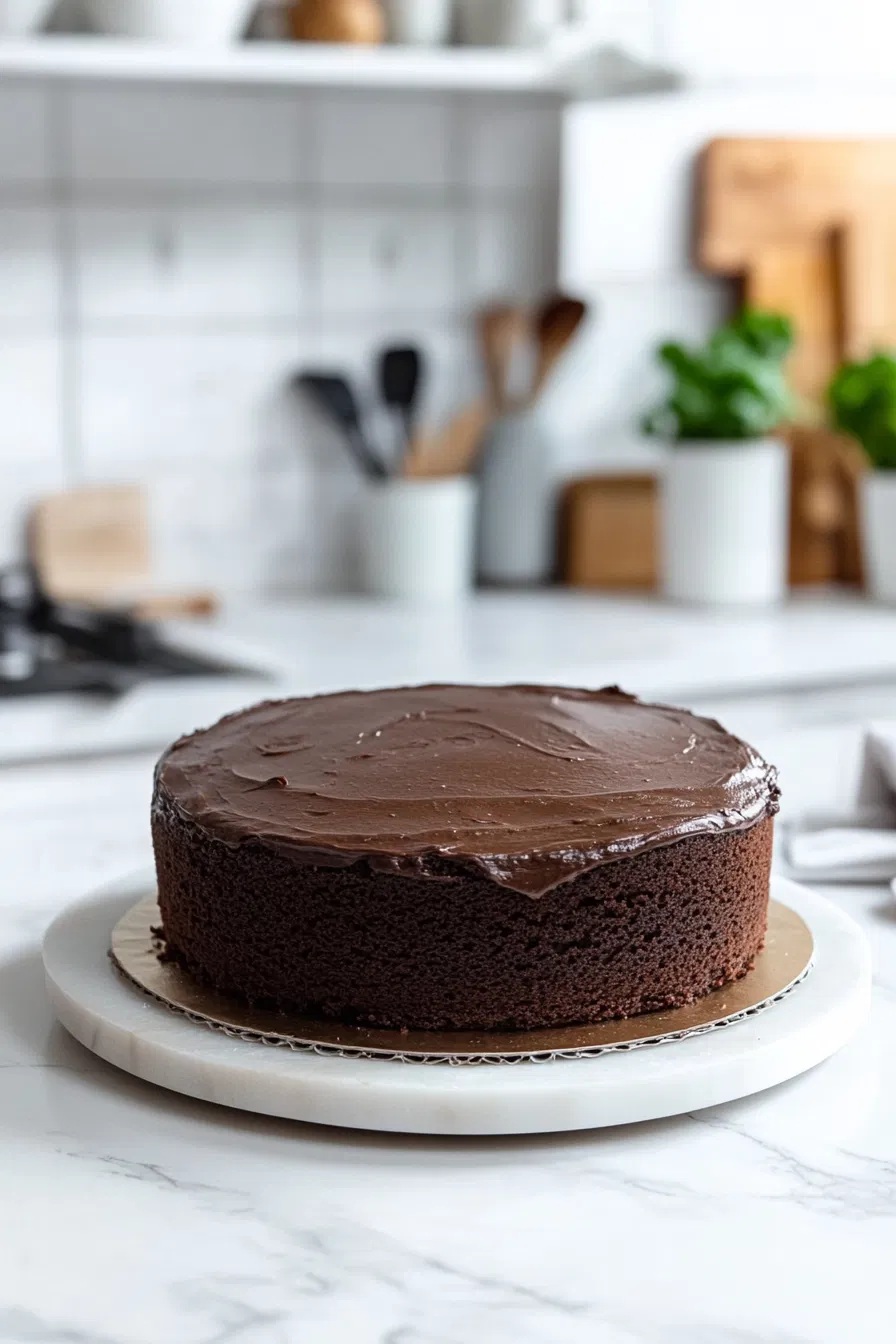
- Spread a layer of whipped cream over the cake, followed by a portion of the cherry filling.
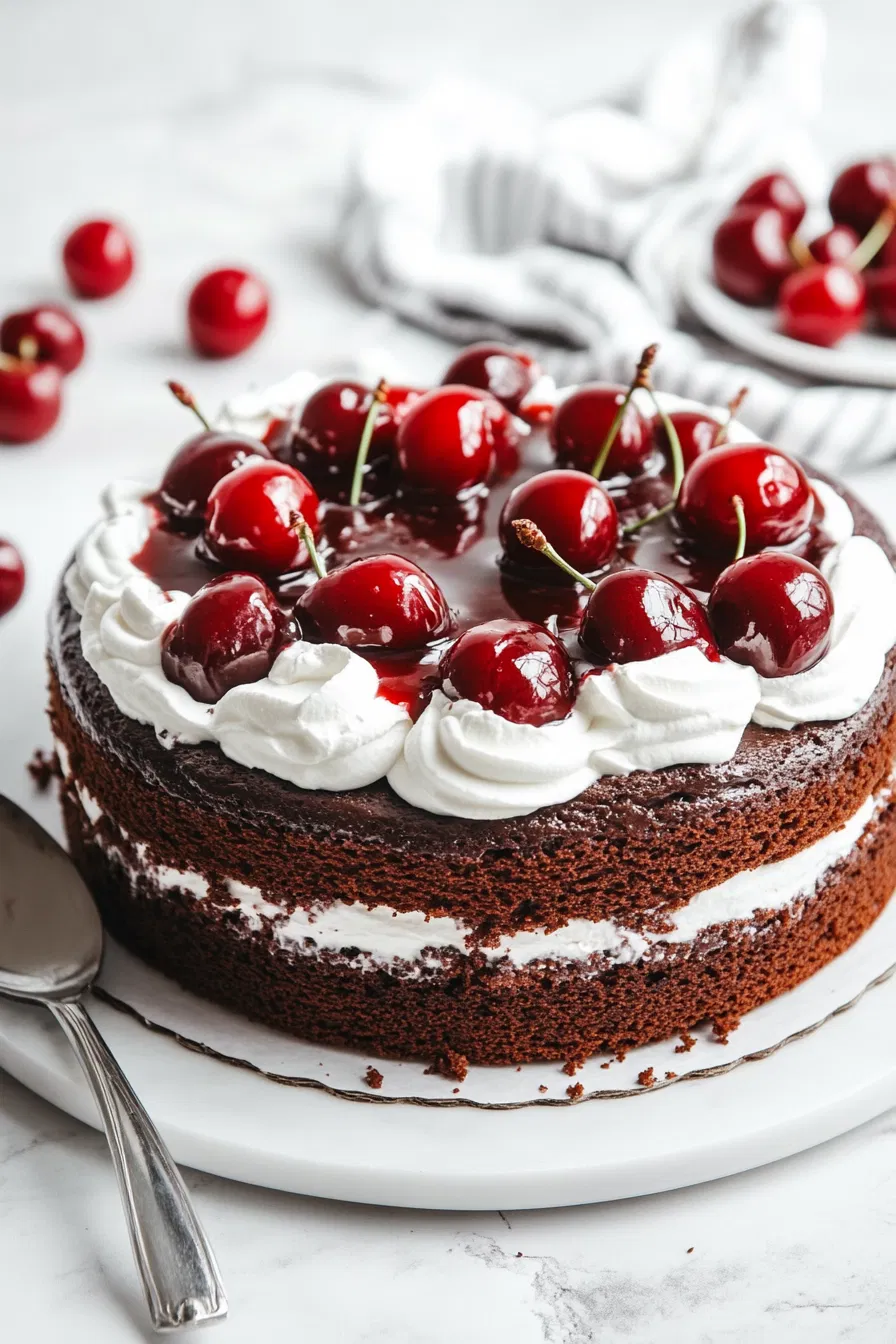
- Frost the entire cake with whipped cream and decorate with chocolate shavings and fresh cherries.
- Refrigerate the cake for at least 2-3 hours before serving to allow the flavors to meld.
Notes
- Quality Ingredients: Opt for premium cocoa, fresh cherries, and real whipped cream.
- Layering Precision: Ensure even distribution of chocolate, cherries, and cream.
- Chill Before Serving: Refrigerate for 2-3 hours to enhance flavors and texture.
- Garnish Tastefully: Decorate with chocolate shavings and fresh cherries just before serving.
Nutrition
Cooking Tips & How to Know It’s Done
- Chocolate sponge should spring back lightly when gently pressed.
- A toothpick inserted into the center should come out clean, confirming the cake is fully baked.
- Cherry filling should be thickened, coating a spoon without running too loosely.
- Whipped cream should hold stiff peaks, ensuring a stable frosting.
- Chill the assembled cake for at least 2–3 hours to help layers hold their shape and meld flavors.
Common Mistakes & Quick Fixes
Even a classic cake like this can hit a few bumps, but here’s how to handle them:
- Sponge too dry: Reduce baking time slightly and start checking 5 minutes earlier.
- Cream too soft: Chill longer before whipping and ensure stiff peaks form.
- Filling too runny: Cook cherry mixture slightly longer with cornstarch until it thickens.
- Cake sliding or layers separating: Chill immediately after frosting to help the layers set.
- Too sweet: Reduce powdered sugar slightly in the whipped cream.
- Lacking chocolate or tartness: Add extra chocolate shavings or fresh cherries.
- Better structure and richness: Chill longer, add ganache drizzle, or top with fresh berries for stability and visual appeal.
These simple adjustments ensure a moist, creamy, and beautifully layered cake every time.
What to Serve With It
Make-Ahead and Storage Tips
1. Bake layers ahead
Cake layers can be made a day early.
2. Store chilled
Always refrigerate after frosting.
3. Best within 2 days
The texture is best when fresh.
4. Keep covered
This prevents whipped cream from drying.
5. Slice cold
It gives cleaner slices.
Texture & Flavor Profile
Softness: High
Chocolate Depth: Rich
Fruitiness: Bright
Creaminess: Light and airy
Finish: Smooth and indulgent
Variations to Try
- Mini cake version: Make as cupcakes or mini layer cakes.
- Extra cherry version: Double the filling.
- Chocolate-heavy version: Add ganache drizzle.
- Alcohol-free version: Skip Kirsch.
- Berry mix version: Use cherries with raspberries.
Frequently Asked Questions
- Can I skip Kirsch?
Yes, the cake still tastes wonderful without it. - Can I use canned cherries?
Absolutely, they work very well. - How long should it chill?
At least 2–3 hours. - Can I make it ahead?
Yes, it’s perfect a day ahead. - Can I freeze it?
The sponge layers yes, but whipped cream is best fresh. - Why boiling water?
It helps bloom the cocoa and keeps the sponge moist. - Can I use whipped topping?
Yes, though fresh cream tastes better. - How do I get clean slices?
Use a sharp knife and wipe between cuts. - Best garnish?
Chocolate shavings and fresh cherries. - Can I make it taller?
Yes, divide into more layers.

hi there,
i’m Austin
A photographer who loves to cook. During the day, I take pictures, but at night, I dive into the world of flavors and recipes.
know more