Butterfinger Balls Recipe
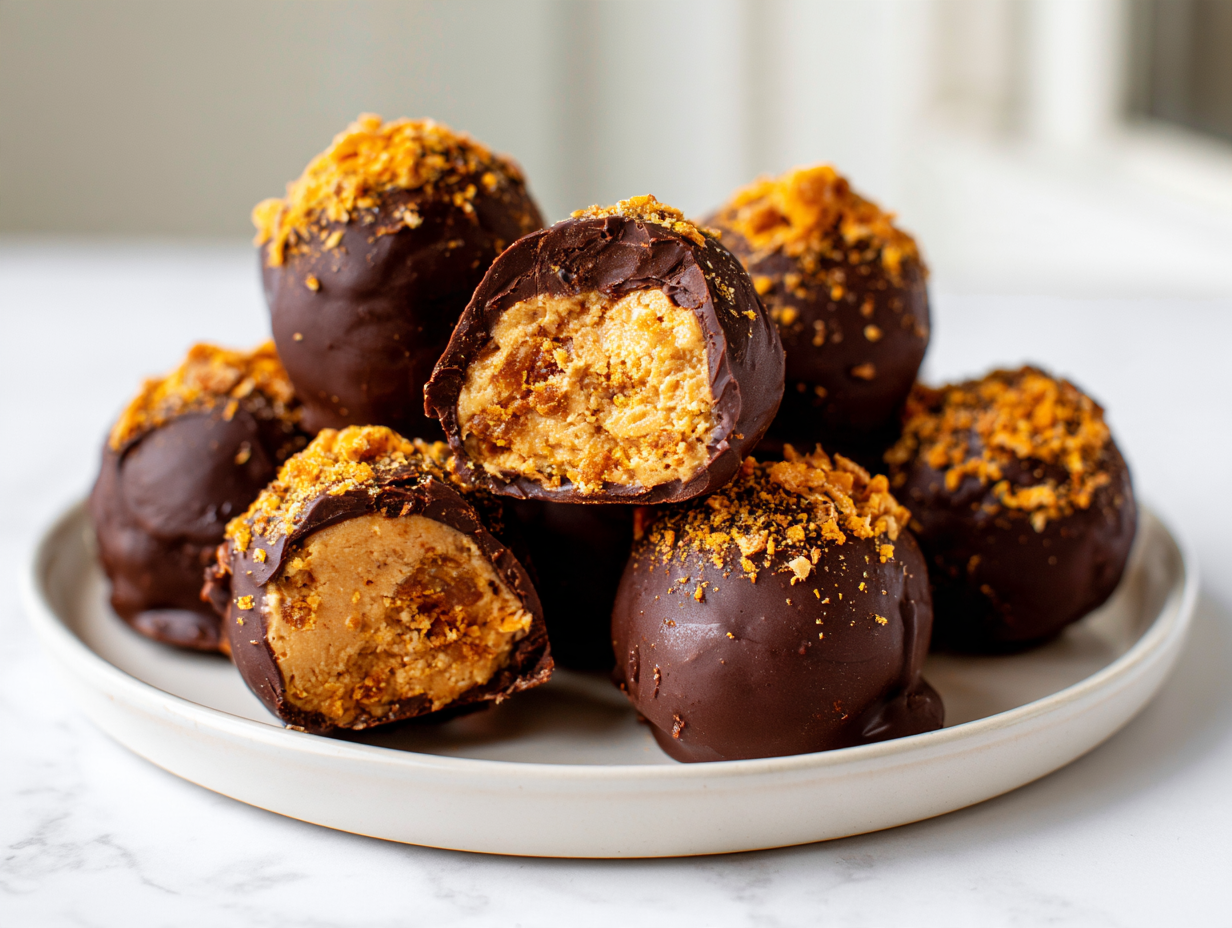
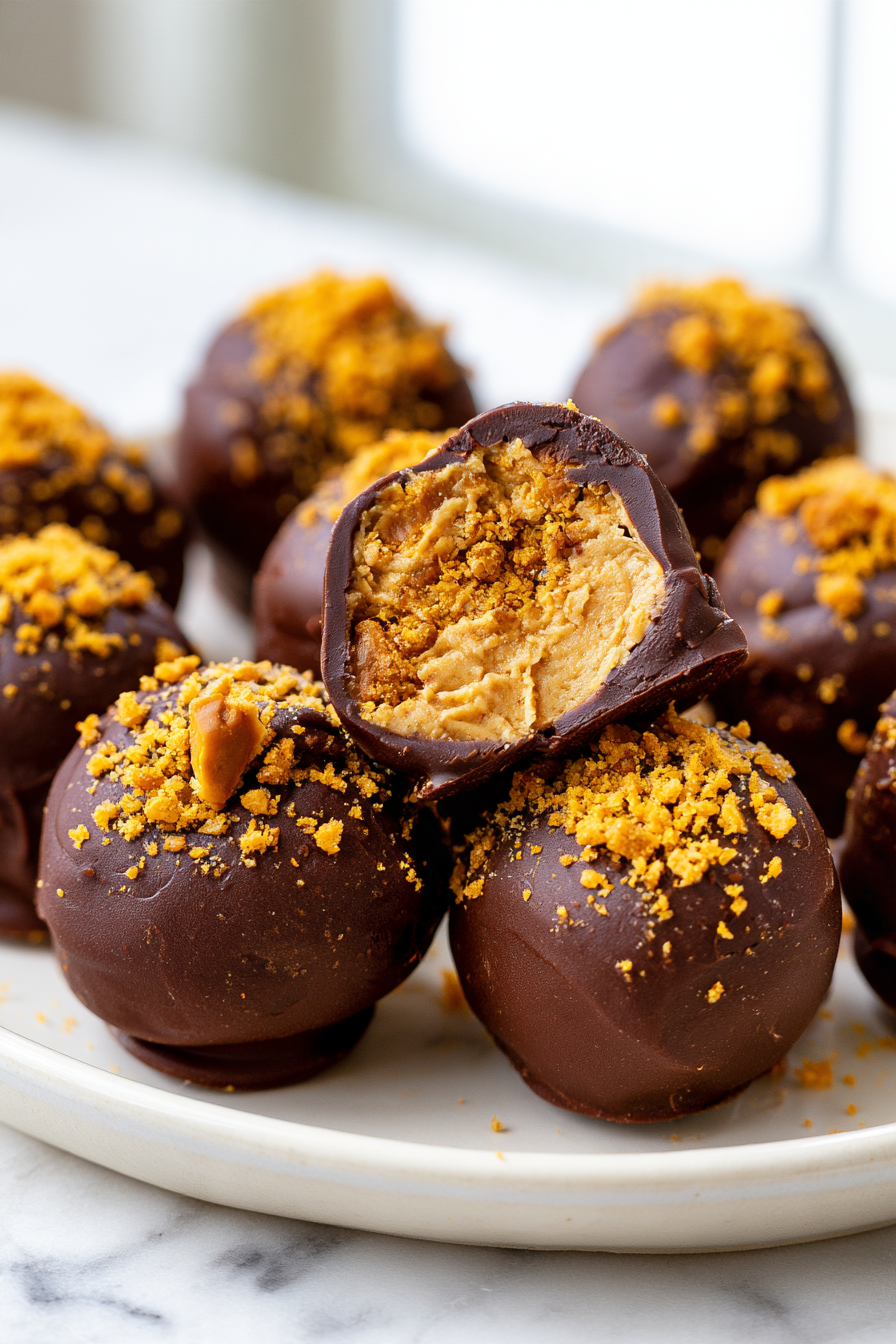
These Butterfinger Balls are rich, crunchy, and packed with peanut butter and chocolate flavor. A creamy peanut butter filling is mixed with crushed Butterfinger candy bars and powdered sugar, then rolled into bite-sized balls and dipped in smooth semi-sweet chocolate.
The best part is that there’s no baking involved! A little chilling time helps the filling firm up, making these homemade candies easy to dip and decorate. They’re perfect for Christmas cookie trays, holiday parties, edible gifts, or whenever you’re craving a sweet peanut butter treat.
What Makes These Butterfinger Balls So Good?
- Classic Butterfinger flavor: Crushed Butterfinger bars bring their signature crunchy, peanut buttery taste to every bite.
- Creamy peanut butter center: Peanut butter and softened butter create a rich, smooth filling.
- Chocolate coating: Semi-sweet chocolate adds a delicious contrast to the sweet candy center.
- No baking required: Everything comes together with simple mixing, rolling, chilling, and dipping.
- Perfect bite-sized treats: The 1-inch balls are easy to serve and share at parties.
- Great for gifting: Their chocolate coating and crunchy candy topping make them look lovely on holiday dessert trays.
Ingredient Breakdown
1. Creamy Peanut Butter: This forms the base of the filling and provides the rich peanut butter flavor. Regular creamy peanut butter works best because natural varieties can release excess oil and make the mixture difficult to roll.
2. Unsalted Butter: Softened butter adds richness and helps create a smooth, workable filling. Make sure it’s softened rather than melted.
3. Vanilla Extract: A little vanilla enhances the peanut butter flavor and adds warmth to the candy mixture.
4. Powdered Sugar: Powdered sugar sweetens the filling while giving it enough structure to hold its shape after chilling.
5. Crushed Butterfinger Bars: These are the star ingredient! Three-quarters of a cup goes into the filling, while the remaining quarter cup is reserved for decorating the chocolate coating.
6. Semi-Sweet Chocolate Chips: Semi-sweet chocolate creates a smooth coating that balances the sweetness of the filling.
7. Coconut Oil or Vegetable Oil: A tablespoon helps thin the melted chocolate, making it easier to dip the chilled balls and achieve an even coating.
Butterfinger Balls
Equipment
- Large mixing bowl
- Electric mixer
- Cookie Scoop
- Microwave-Safe Bowl
- Fork or dipping tool
Ingredients
- 1½ cups creamy peanut butter
- ½ cup unsalted butter softened
- ½ teaspoon vanilla extract
- 2 cups powdered sugar
- 1 cup crushed Butterfinger bars divided
- 3 cups semi-sweet chocolate chips
- 1 tablespoon coconut oil or vegetable oil
Instructions
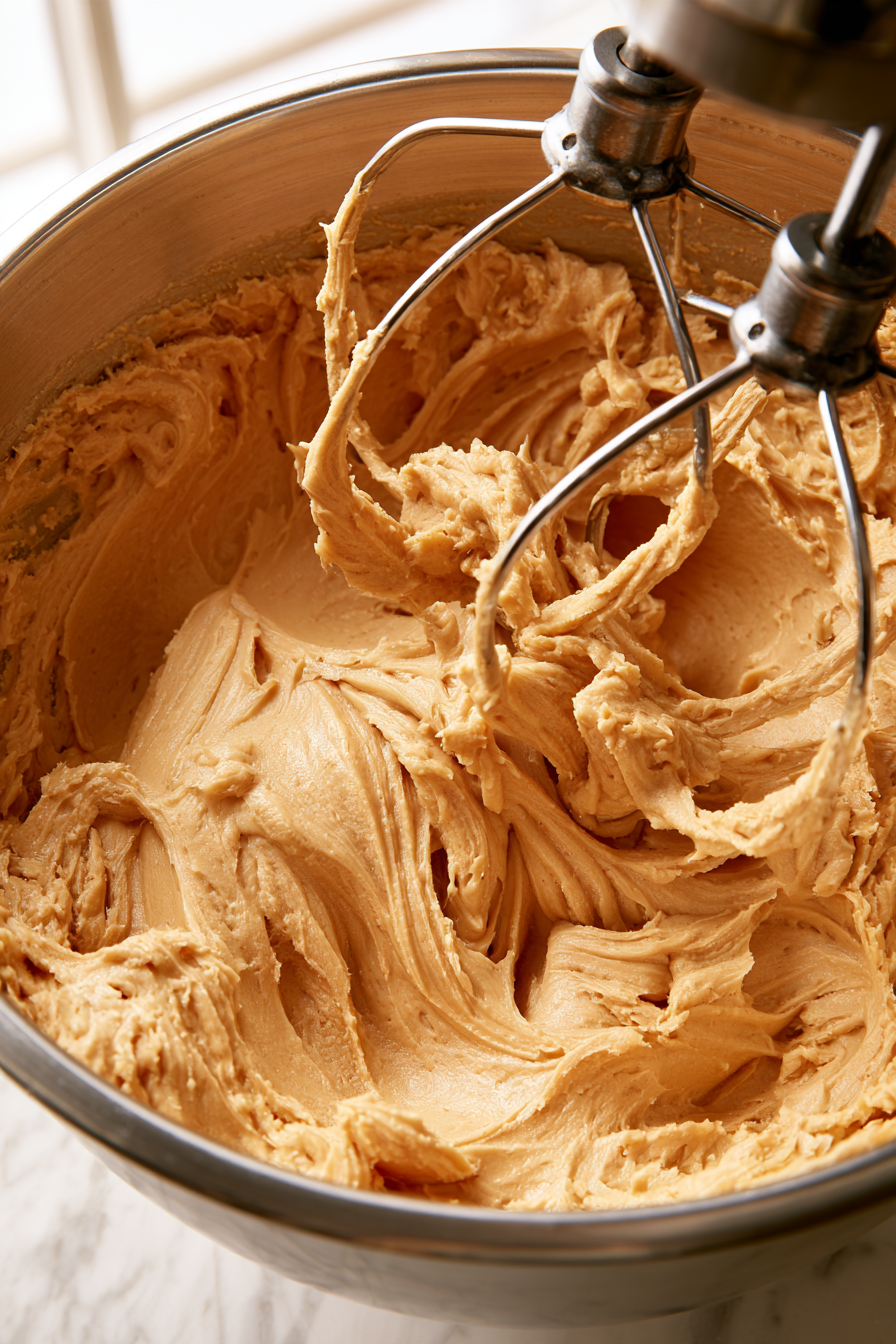
- Beat the peanut butter, softened butter, and vanilla until fluffy. Gradually mix in the powdered sugar until fully incorporated.
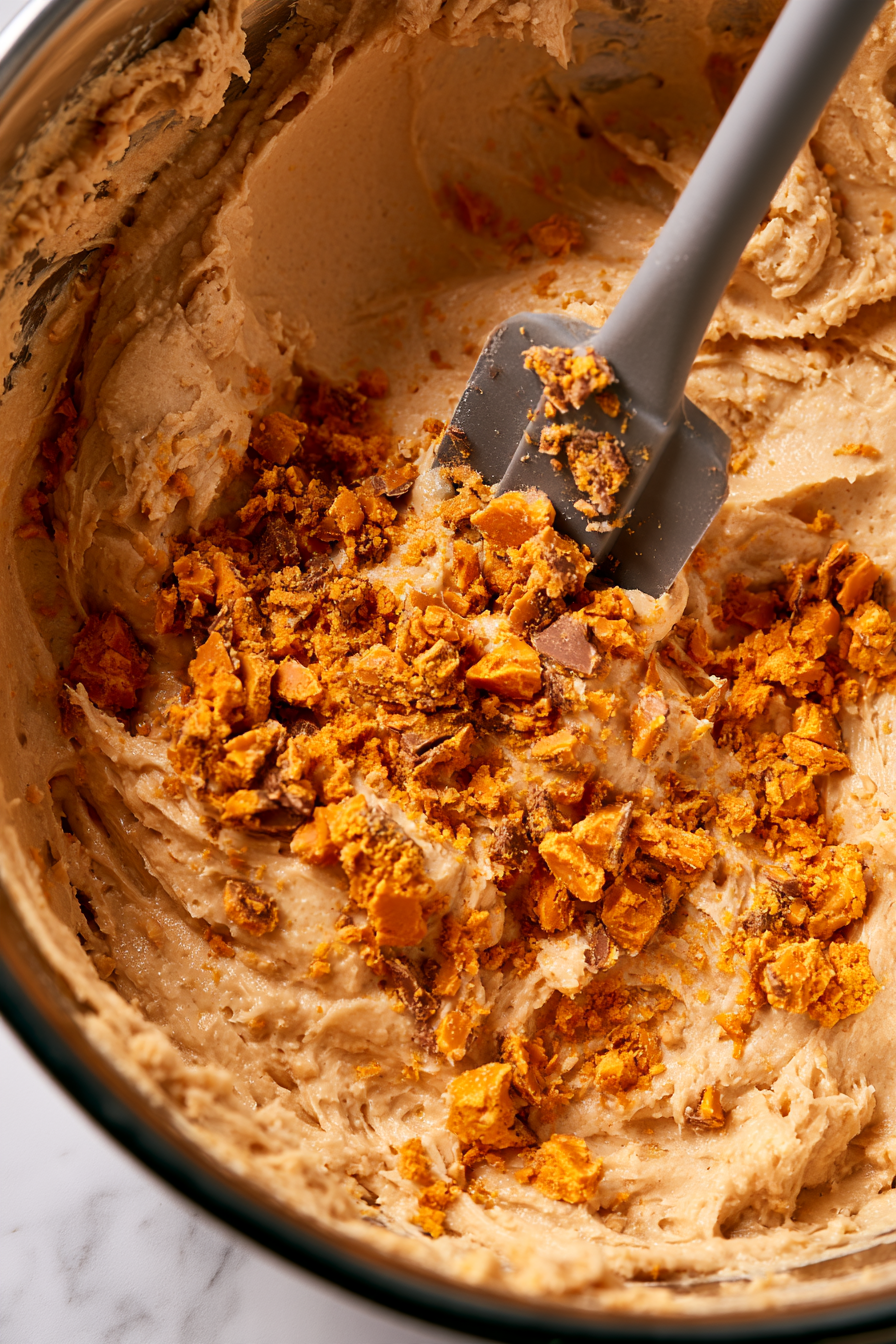
- Stir in ¾ cup of the crushed Butterfinger pieces, reserving ¼ cup for topping. Cover and refrigerate for 30 minutes.
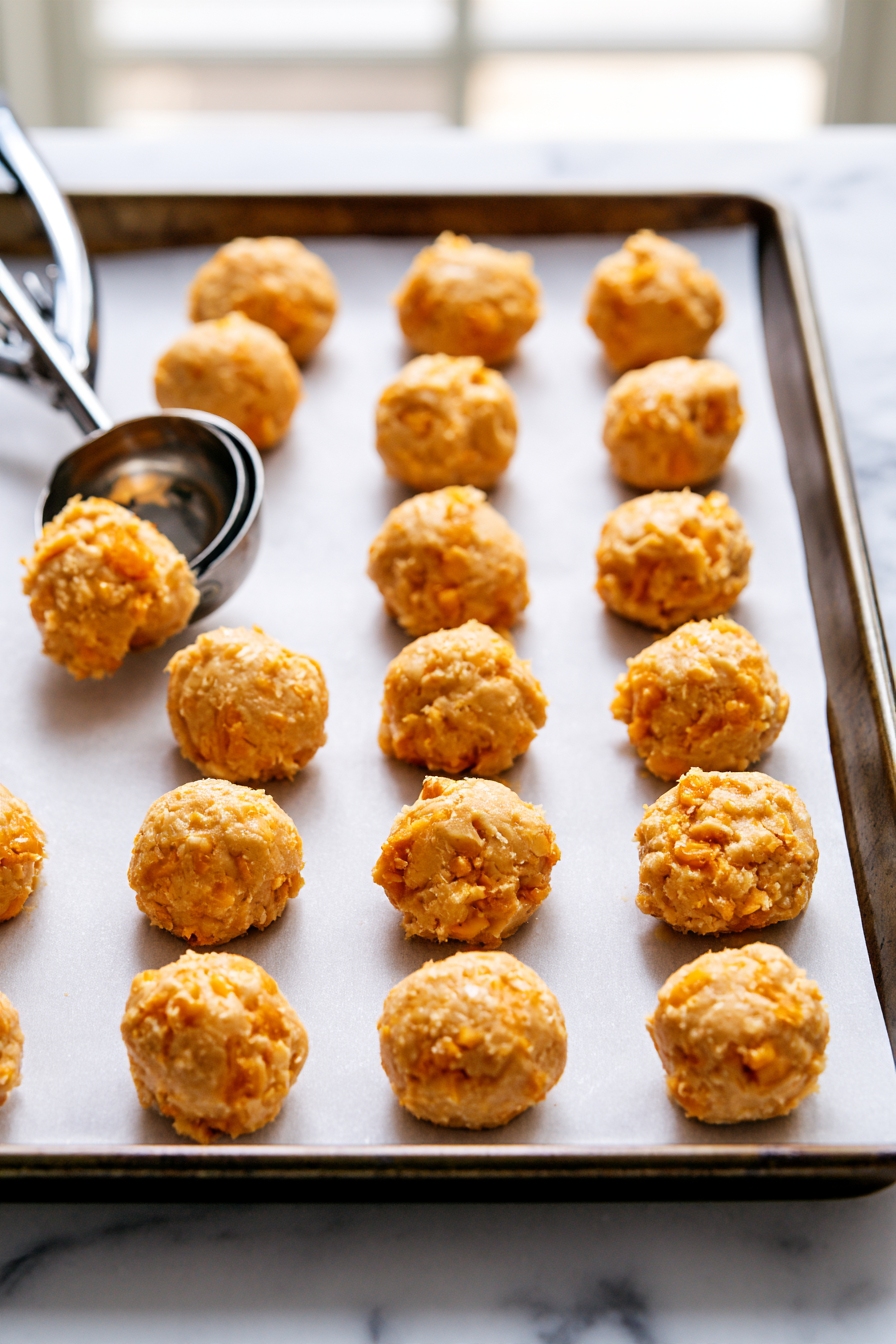
- Scoop and roll the mixture into 1-inch balls. Arrange on a parchment-lined baking sheet and refrigerate for another 30 minutes.
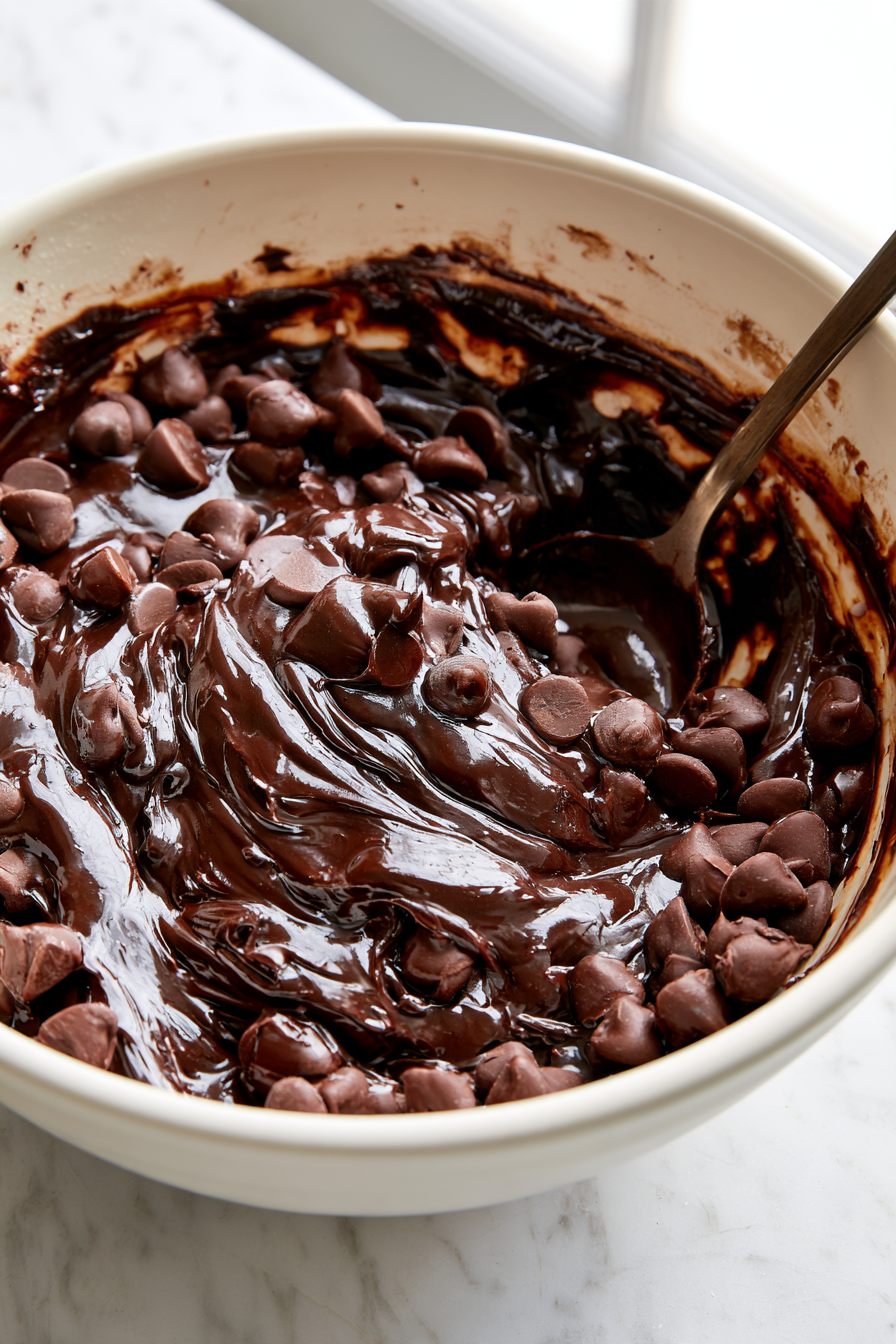
- Melt the chocolate chips and oil in a microwave-safe bowl at 50% power for 1 minute. Stir, then continue in 30-second intervals until smooth.
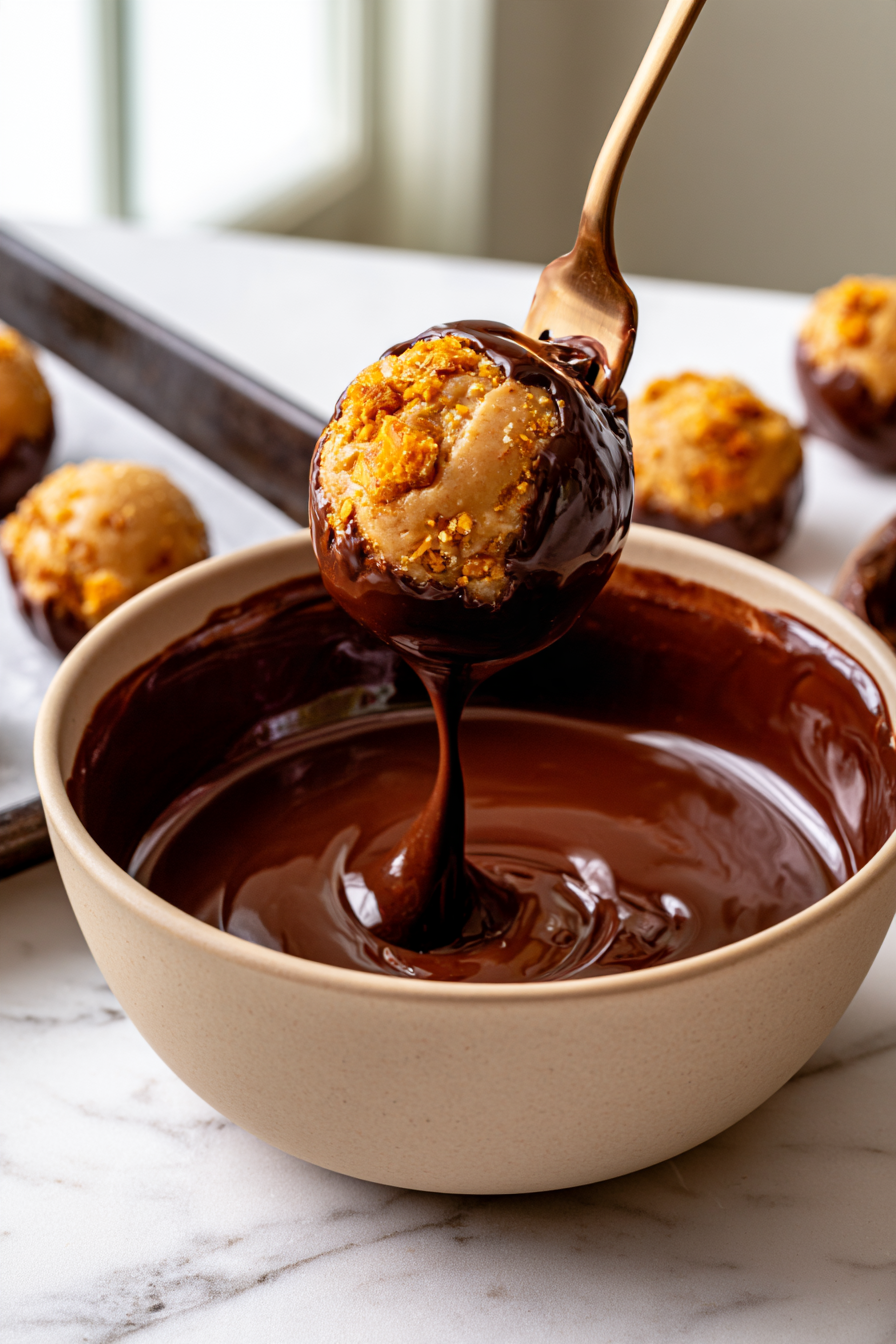
- Dip each chilled ball into the melted chocolate using a fork, allowing the excess chocolate to drip off.
- Return the coated balls to the parchment-lined baking sheet and immediately sprinkle with the reserved Butterfinger pieces.
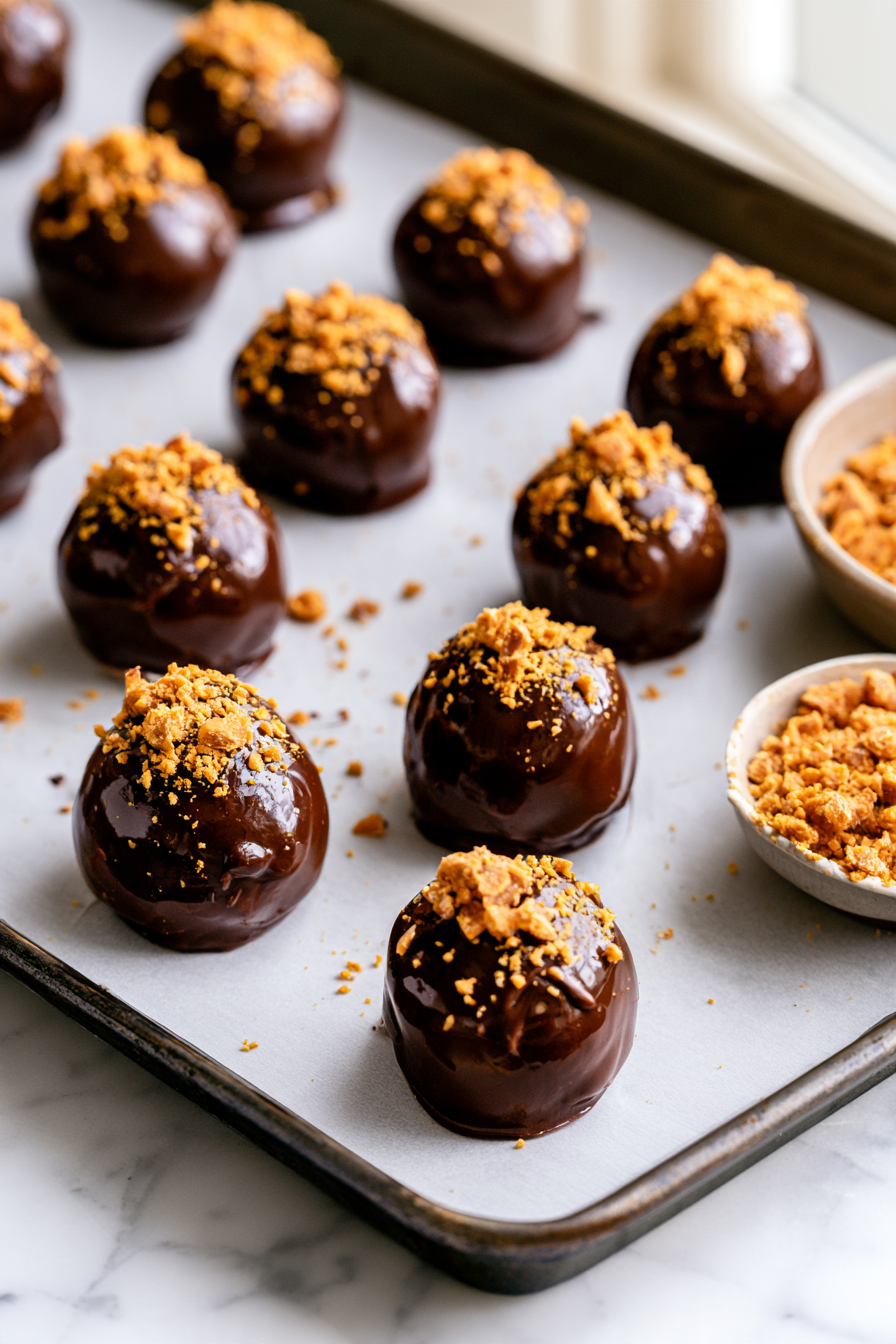
- Let the chocolate set at room temperature for about 30 minutes, or refrigerate for 10–15 minutes to speed up the process.
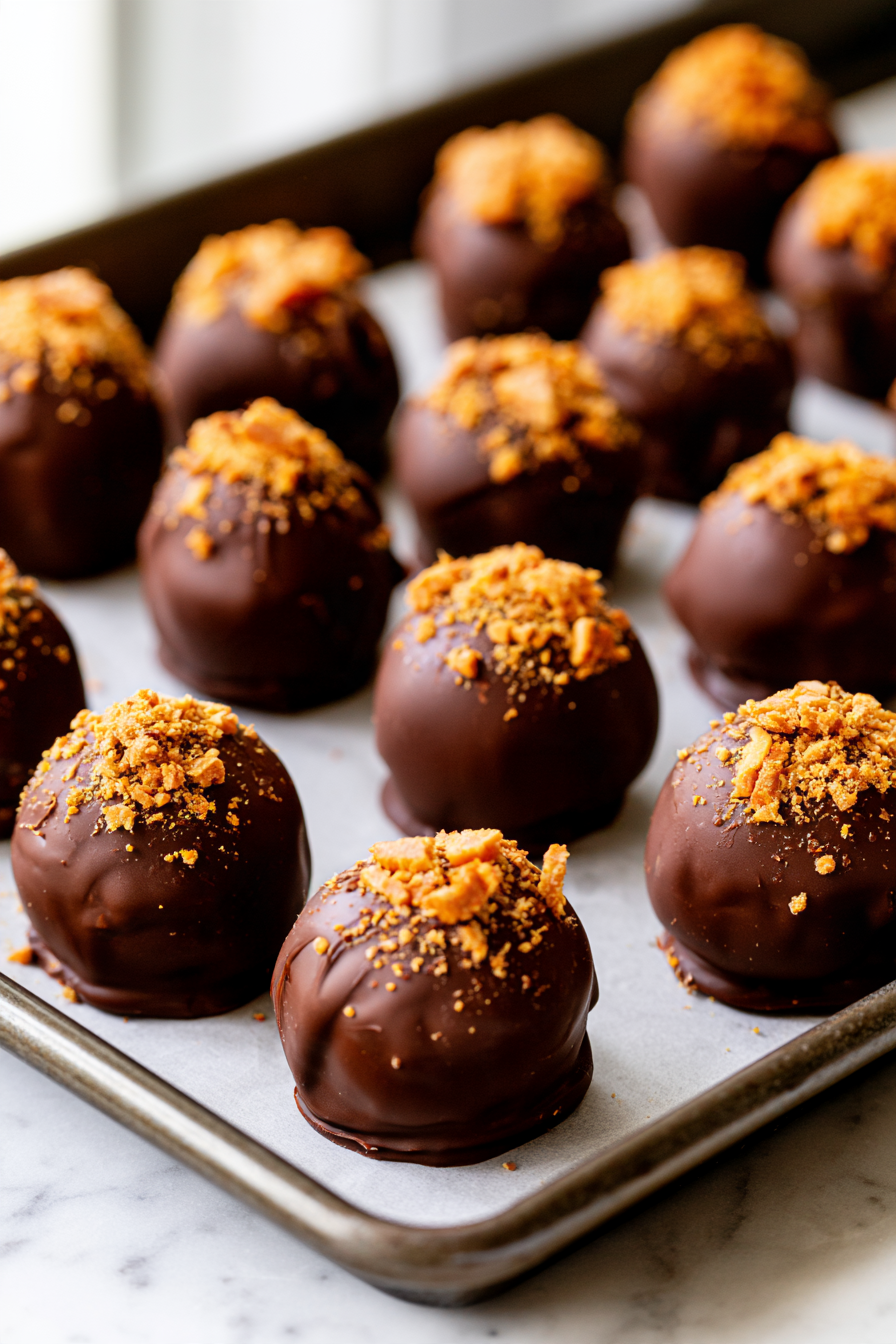
- Serve once the chocolate has completely set.
Notes
- Use regular creamy peanut butter: Natural peanut butter can make the filling too oily and difficult to roll.
- Keep the balls chilled: Work with a few balls at a time so they stay firm while dipping.
- Holiday version: Add festive sprinkles immediately after dipping, while the chocolate is still wet.
Nutrition
How to Get a Smooth Chocolate Coating
The key to a neat chocolate coating is keeping the chocolate warm and fluid without overheating it. Microwave at 50% power and stir between intervals to distribute the heat evenly.
Use a fork or dipping tool to lower each chilled ball into the chocolate. Lift it out gently and tap the fork against the side of the bowl to remove excess coating. Add the crushed Butterfinger topping immediately, before the chocolate begins to set.
Quick Fixes for Rolling and Dipping Issues
- Filling is too sticky: Refrigerate the mixture for the full 30 minutes before scooping and rolling.
- Balls fall apart during dipping: Make sure the shaped balls are thoroughly chilled before coating them.
- Chocolate is too thick: Stir in the measured oil thoroughly while melting to help create a smoother consistency.
- Chocolate coating looks uneven: Allow excess chocolate to drip off each ball before placing it on the parchment paper.
- Topping won’t stick: Sprinkle the crushed Butterfinger pieces onto the balls immediately after dipping.
- Peanut butter mixture is oily: Use regular creamy peanut butter rather than natural peanut butter, which can separate.
Easy Flavor Twists & Holiday Decorating Ideas
- White Chocolate Butterfinger Balls: Replace the semi-sweet chocolate chips with white chocolate chips for a sweeter coating.
- Dark Chocolate Version: Use dark chocolate chips for a richer flavor that balances the sweet filling.
- Holiday Butterfinger Balls: Add red and green sprinkles immediately after dipping for a festive Christmas treat.
- Extra Crunchy Centers: Reserve a little additional crushed Butterfinger to fold into the filling for more candy pieces.
- Drizzled Chocolate Finish: Let the chocolate coating set, then drizzle with melted white chocolate for a decorative finish.
- Mini Butterfinger Bites: Make smaller balls for bite-sized party treats, keeping in mind that the yield will increase.
What Pairs Well with Butterfinger Balls
Storage & Freezing Instructions
- Refrigeration: Store the Butterfinger Balls in an airtight container in the refrigerator for up to 1 week.
- Separate Layers: Place parchment paper between layers to prevent the chocolate coatings from sticking together.
- Serving: Let them sit at room temperature briefly before serving if you prefer a softer peanut butter center.
- Freezing: Freeze the balls in a single layer, then transfer them to a freezer-safe container for up to 3 months.
- Thawing: Thaw in the refrigerator or at room temperature before serving.
Frequently Asked Questions
1. Can I make Butterfinger Balls without an electric mixer?
Yes. A sturdy spatula or wooden spoon can work, although mixing the peanut butter and butter until fluffy will take a little more effort.
2. Can I use crunchy peanut butter instead of creamy?
You can, but it will create a more textured filling. Regular creamy peanut butter is recommended for the smoothest, easiest-to-roll centers.
3. Can I use a different chocolate for coating?
Absolutely! Milk chocolate, dark chocolate, or white chocolate can all be used. Semi-sweet chocolate provides a nice balance to the sweet peanut butter filling.
4. Why do my Butterfinger Balls need two chilling periods?
The first chill firms up the filling so you can roll it easily. The second chill helps the shaped balls stay firm while dipping them in melted chocolate.
5. How do I crush Butterfinger bars?
Place the candy bars in a sealed food-storage bag and gently crush them with a rolling pin. Aim for small pieces rather than turning them into a fine powder.
6. Can I make these candies ahead of time?
Yes! These are excellent make-ahead treats. Prepare them, allow the chocolate to set completely, and refrigerate them in an airtight container until needed.
7. Can I decorate Butterfinger Balls for Christmas?
Definitely! Add festive sprinkles, colored candy drizzle, or extra crushed Butterfinger pieces while the chocolate coating is still wet.