Halloween Ghost Brownies Recipe

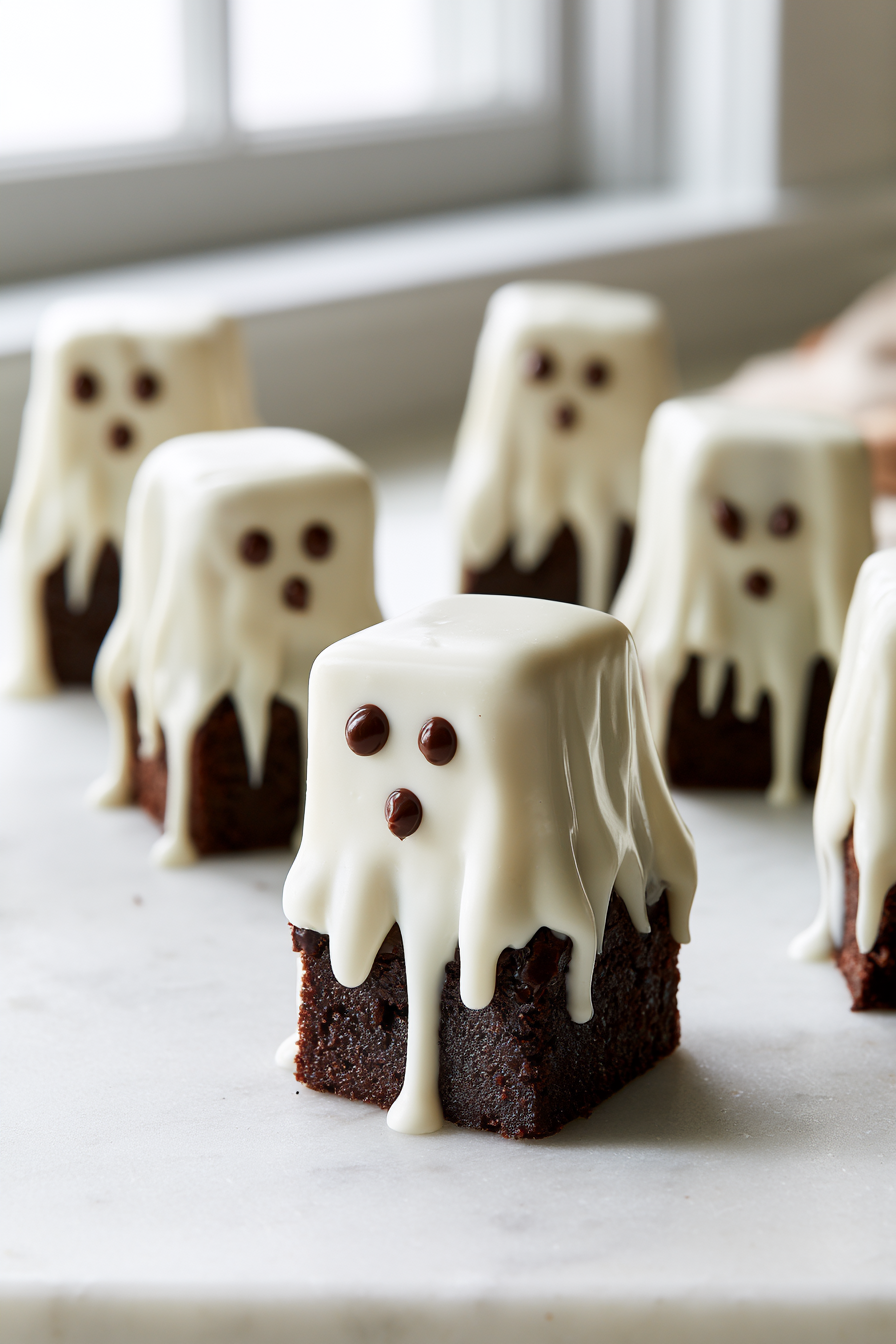
These Halloween Ghost Brownies turn an easy box of brownie mix into an adorable spooky dessert. Rich, fudgy brownies are topped with marshmallow ghosts covered in smooth white chocolate, then finished with tiny chocolate eyes and mouths.
They are simple enough for a family baking project but festive enough for a Halloween party. The best part is that you don’t need complicated decorating skills – the melted chocolate naturally drips around each marshmallow to create the ghostly shape.
Why You’ll Love This Recipe
- Easy Shortcut: Boxed brownie mix keeps the recipe simple and quick.
- Spooky & Cute: Marshmallows and white chocolate create adorable ghost decorations.
- Kid-Friendly: Decorating the ghosts is a fun Halloween activity.
- Perfectly Portionable: Cutting the brownies into 16 squares makes them easy to serve.
- Minimal Decorating: The chocolate drips create the ghost effect without special tools.
- Party Ready: They make a festive addition to Halloween dessert tables.
Chef’s Tip: Let the brownies cool completely before decorating. Warm brownies can make the melted white chocolate slide and prevent the ghost decorations from setting properly.
Halloween Ghost Brownies Recipe
Ghost Brownies are sure to make everyone smile! These tasty Halloween treats are gooey, chocolaty, and just a little spooky.
Print
Pin
Rate
Calories: 190kcal
Servings: 16
Equipment
- 9×9 Baking Pan
- Drizzling Scoop
- Pre-Cut Parchment Paper Sheets
Ingredients
- 1 box 18 oz brownie mix (plus the ingredients called for)
- 1 bag 10 oz white melting wafers (about 1½ cups)
- 16 large marshmallows
- 2 tablespoons semi-sweet chocolate chips
Instructions
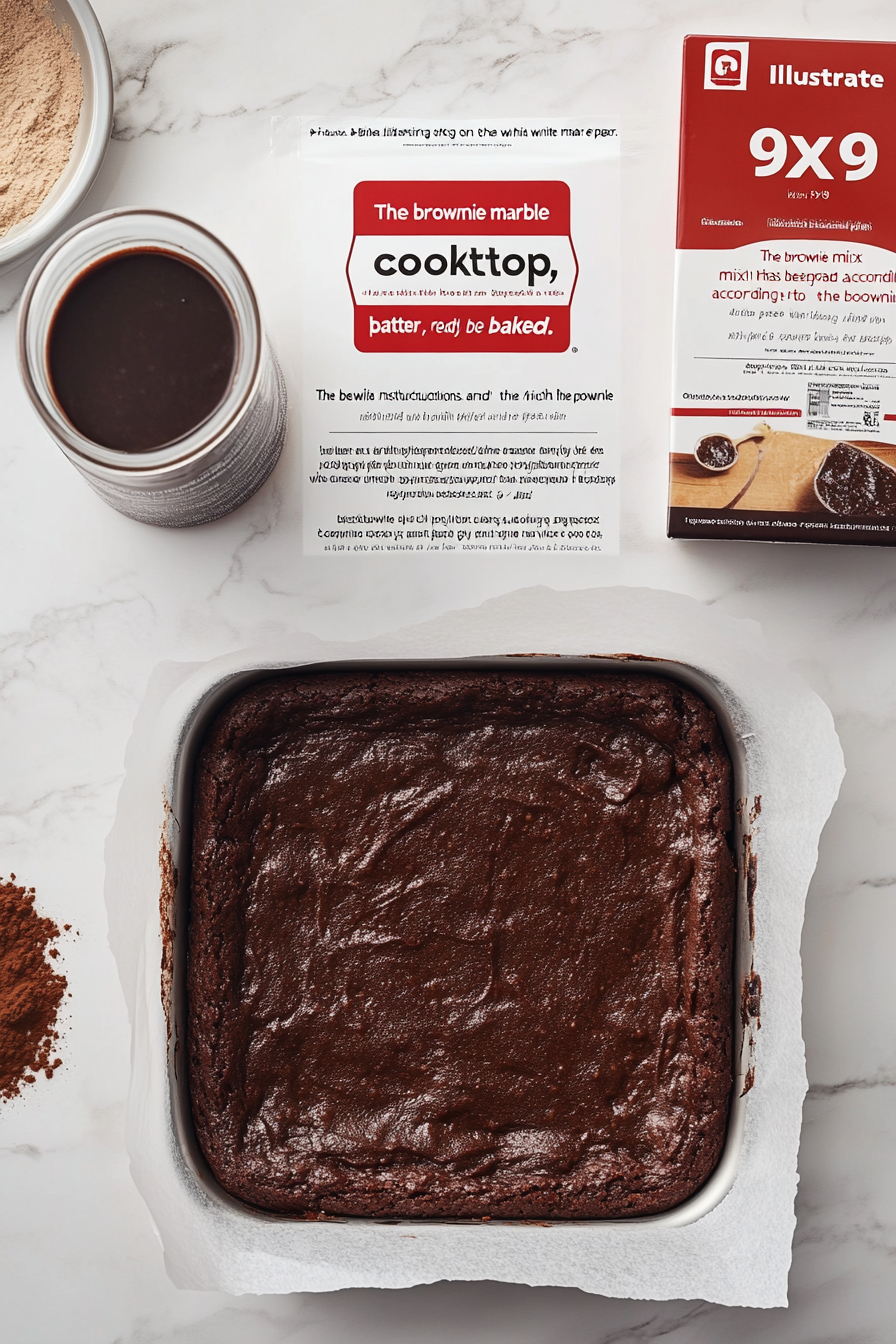
- Prepare brownies in a 9×9 pan according to the box directions. Let them cool completely.
- Line the pan with parchment paper to lift brownies out easily.
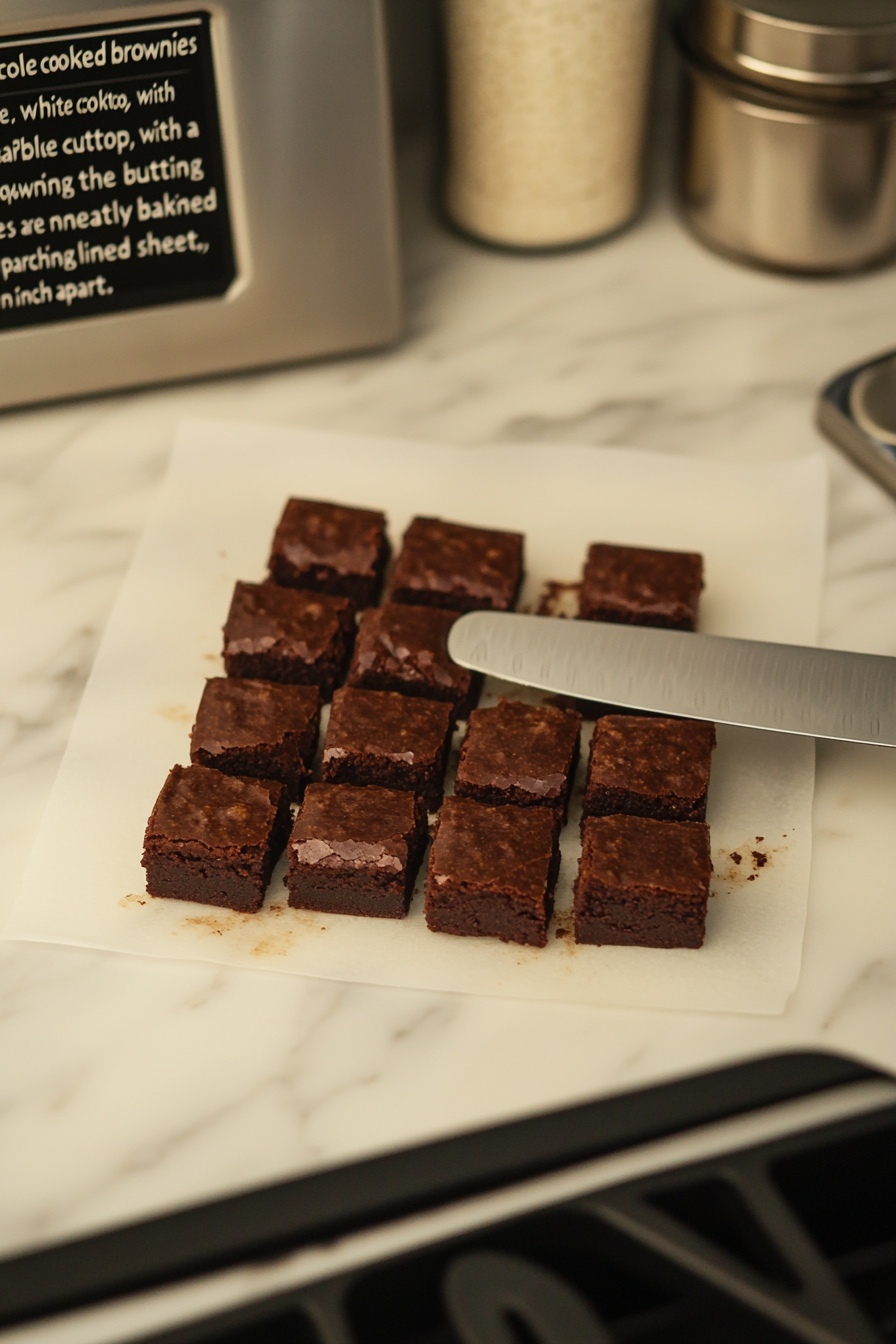
- Once cool, cut brownies into 16 squares and place them on a parchment-lined baking sheet, spaced about an inch apart.
- Melt the white chocolate wafers following package instructions.
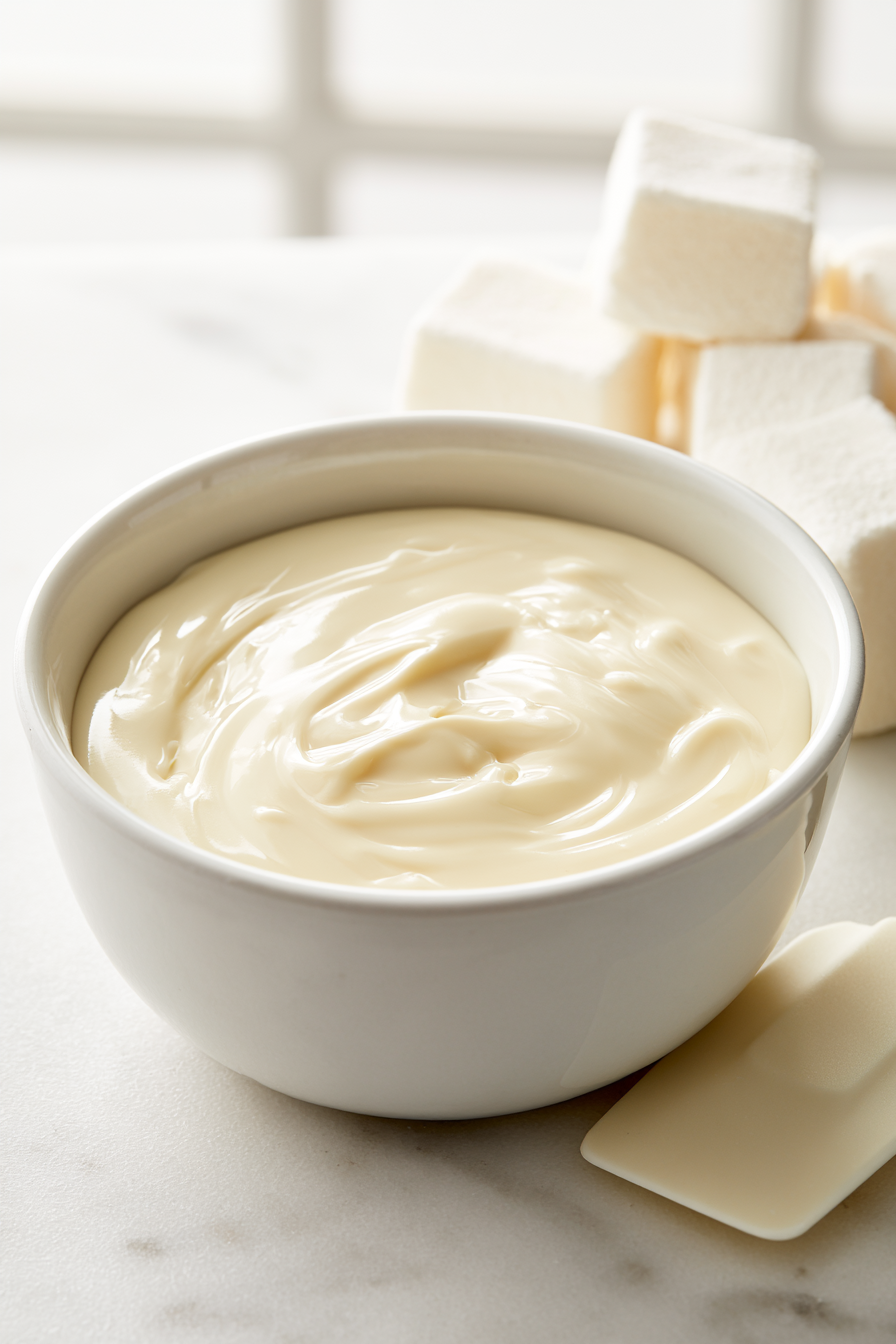
- Dip the bottom of a large marshmallow into melted white chocolate and press onto the center of each brownie. Spoon melted white chocolate over each marshmallow, letting it drip down the sides.
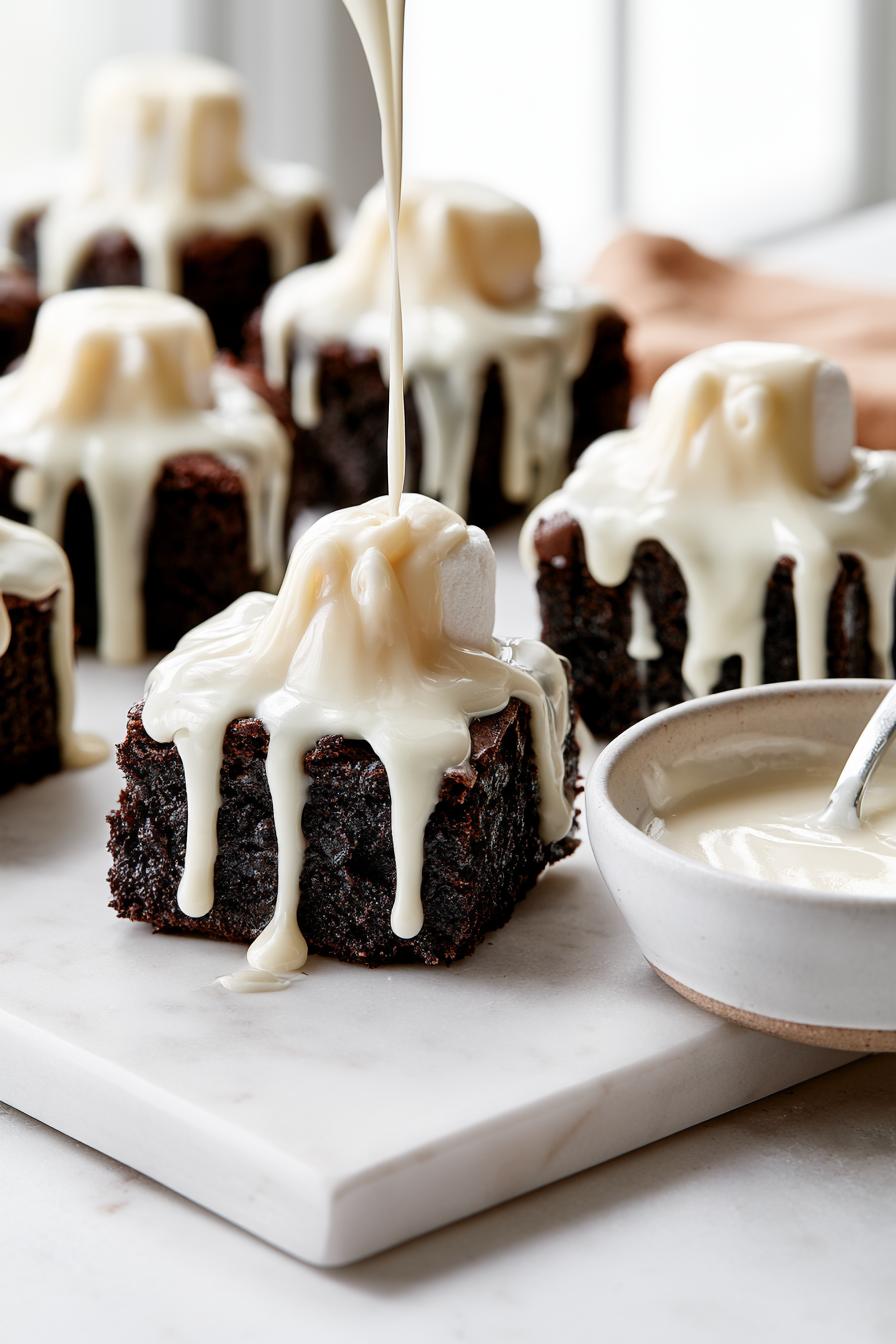
- Let the brownies sit until the chocolate sets and hardens.
- Melt semi-sweet chocolate chips, then use a chocolate sauce or styrup to pipe eyes and mouths on each ghost. Let chocolate set before serving.
Nutrition
Calories: 190kcal | Carbohydrates: 27g | Protein: 2g | Fat: 9g | Saturated Fat: 4.5g | Polyunsaturated Fat: 0.5g | Monounsaturated Fat: 2g | Cholesterol: 10mg | Sodium: 105mg | Potassium: 60mg | Fiber: 1g | Sugar: 18g | Vitamin A: 15IU | Calcium: 20mg | Iron: 0.7mg
Common Mistakes to Avoid
- Decorating Warm Brownies: Allow the brownies to cool completely before adding the ghosts.
- Overheating the Chocolate: Heat melting wafers according to the package directions to keep the coating smooth.
- Using Too Much White Chocolate: Spoon enough over each marshmallow to create drips without completely flooding the brownie.
- Crowding the Brownies: Leave about an inch between pieces so you can decorate each one comfortably.
- Making the Face Too Soon: Allow the white chocolate to set before piping the eyes and mouths.
- Cutting Uneven Squares: Use a sharp knife and divide the brownies evenly for consistent portions.
Fun Ways to Customize Them
- Scary Ghosts: Give the ghosts larger eyes and open mouths for a spookier expression.
- Cute Ghosts: Use tiny chocolate dots for simple, friendly faces.
- Chocolate Brownies: Add chocolate chips or chunks to the brownie batter before baking.
- Halloween Sprinkles: Scatter orange, black, or purple sprinkles around the ghosts before the white chocolate sets.
- Mini Ghosts: Use smaller marshmallows and cut the brownies into smaller portions.
- Colored Faces: Use Halloween-colored decorating gels instead of melted chocolate for the facial details.
- Extra Chocolate: Drizzle additional melted chocolate over the finished brownies for a richer presentation.
Try out More Delicious Halloween Dishes!
- Halloween Eyeball Pasta
- Halloween Monster Burgers
- Halloween Ghost Veggie Platter
- Halloween Poison Toffee Apples
- Halloween Eyeball Caprese Bites
Best Ways to Store Leftovers
- Room Temperature: Store the finished brownies in an airtight container for a few days.
- Avoid Heat: Keep them somewhere cool so the white chocolate decorations remain firm.
- Separate Layers: Place parchment paper between layers if stacking the brownies.
- Freeze Brownies: For longer storage, freeze the undecorated brownies and decorate them after thawing.
- Best Texture: Allow refrigerated brownies to come closer to room temperature before serving.
Frequently Asked Questions
- Can I use homemade brownies instead of boxed brownies?
Yes. Any brownie recipe baked in a 9×9-inch pan can be used as the base. - What can I use instead of melting wafers?
White chocolate chips or chopped white chocolate can work, although melting wafers are generally easier to use for a smooth coating. - Why do the marshmallows need white chocolate underneath?
The melted chocolate helps anchor each marshmallow to the brownie so it stays in place while you cover it. - Can I use mini marshmallows?
Yes, but the ghosts will be smaller. Large marshmallows create the taller ghost shape shown in the recipe. - How do I make the chocolate faces?
Melt the semi-sweet chocolate chips and transfer the chocolate to a small Ziploc bag. Snip a tiny corner and pipe two eyes and a mouth onto each ghost. - Can I make these brownies ahead of time?
Yes. They can be prepared ahead and stored in an airtight container until you’re ready to serve them. - How do I keep the white chocolate smooth?
Avoid overheating it and follow the melting instructions on the package. Stir gently between short heating intervals if needed. - Can children help make these?
Absolutely. Children can help decorate the cooled brownies and create different ghost faces, while an adult handles the hot melted chocolate.