Skip to Content

Rice Krispie Treat Recipe: Sweet and Healthy

Hey, welcome to Beyond the Bayou Blog. Have you ever craved a snack that’s sweet, gooey, and oh-so-satisfying? Well, let me tell you about my adventure with Rice Krispie Treats. One lazy Sunday afternoon, I was rummaging through my kitchen cabinets, hunting for something to munch on. Suddenly, I spotted a box of Rice Krispies cereal tucked away in the corner. Instantly, I knew what I wanted to make – those heavenly treats that melt in your mouth. As I grabbed the ingredients and started melting marshmallows, nostalgia washed over me. It reminded me of the time when my mom used to make them for me after school.

The aroma filled the air, and I couldn’t resist sneaking a taste of the warm, sticky mixture. It transported me back to simpler times, sitting at the kitchen table with my siblings, eagerly waiting for our after-school snack. With every bite, I felt a wave of comfort and happiness engulf me, just like it did back then. And let me tell you, those Rice Krispie Treats disappeared faster than you can say “delicious.” It’s amazing how something so simple can bring back such fond memories and create new ones too. So next time you’re craving a little taste of nostalgia, whip up a batch of these treats – trust me, you won’t regret it.
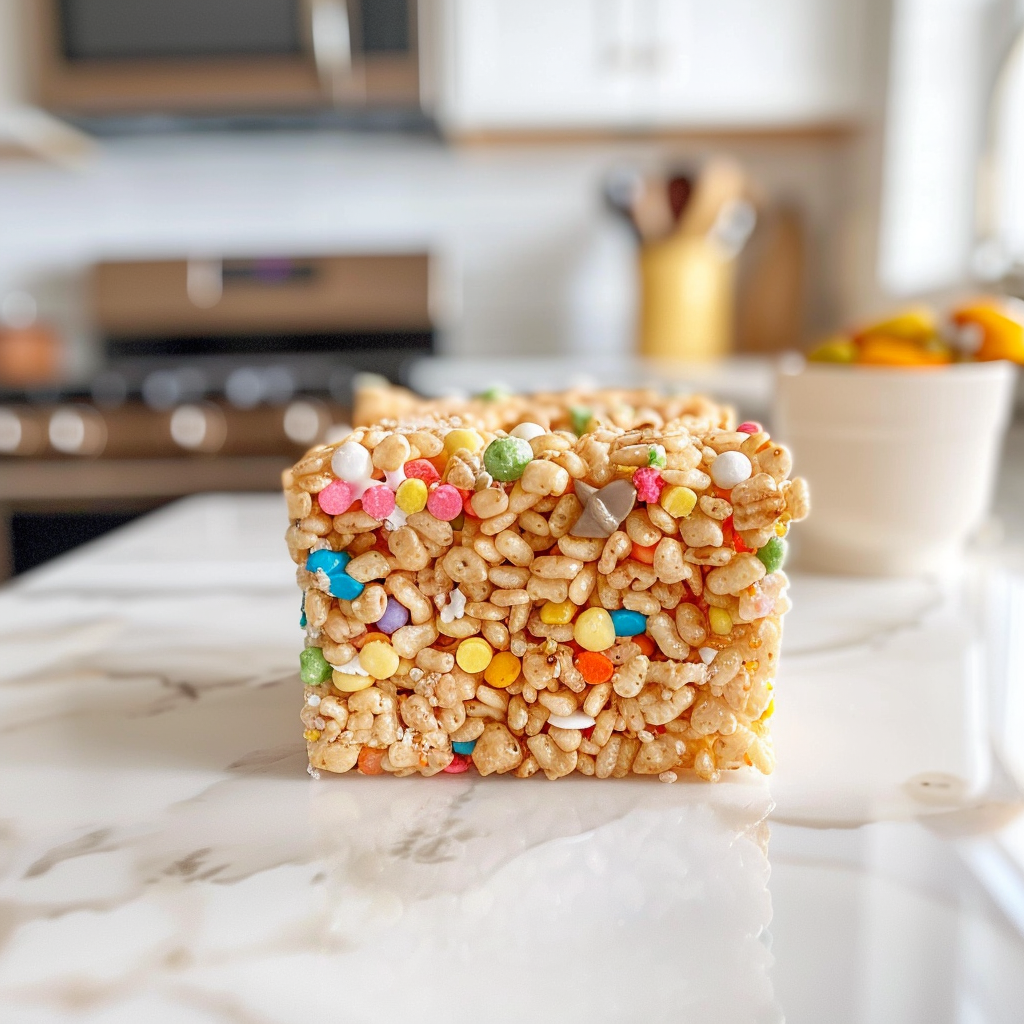
What is Rice Krispie Treat?

A Rice Krispie treat is a delightful and iconic dessert made from just a few simple ingredients: Rice Krispies cereal, marshmallows, and butter. To create this beloved snack, marshmallows are melted with butter over low heat until smooth and creamy, then mixed with the crispy rice cereal until well coated. The mixture is then pressed into a pan and allowed to cool and set before being cut into squares or other shapes. The result is a chewy, crunchy, and utterly delicious treat that’s loved by people of all ages. Its simplicity and versatility make it perfect for parties, bake sales, or just a sweet indulgence any time of day. Whether enjoyed plain or with added flavors like chocolate chips or peanut butter, Rice Krispie treats are a timeless favorite that never fails to satisfy a craving for something sweet and satisfying.

How to Make Rice Krispie Treat Recipe?

Rice Krispie Recipe: Take_a_picture_of_the_Rice_Krispie_Recipe
  1. Prepare Ingredients: Measure out 6 cups of Rice Krispies cereal and set aside. This amount ensures that your treats will have the perfect balance of crispy texture and marshmallow sweetness.
  2. Melt Butter: In a large saucepan, melt 3 tablespoons of butter over low heat. Stir occasionally to ensure that the butter melts evenly and does not burn.
  3. Add Marshmallows: Once the butter is melted, add the entire package (about 10 ounces) of marshmallows to the saucepan. Use a spatula or wooden spoon to stir the marshmallows continuously as they melt. This prevents them from sticking to the bottom of the pan and ensures a smooth, creamy mixture.
  4. Melt Marshmallows: Keep stirring the marshmallows until they are completely melted and the mixture is smooth. This typically takes a few minutes. Be patient and avoid turning up the heat too high, as marshmallows can scorch easily.
  5. Remove from Heat: Once the marshmallows are fully melted and the mixture is smooth, remove the saucepan from the heat. This prevents the marshmallow mixture from becoming too stiff or overcooked.
  6. Add Cereal: Immediately pour the 6 cups of Rice Krispies cereal into the saucepan with the melted marshmallow mixture. Using a spatula or wooden spoon, gently fold the cereal into the marshmallow mixture until all of the cereal is evenly coated. Work quickly but carefully, as the mixture will start to set as it cools.
  7. Transfer to Pan: Grease a 9×13-inch baking pan or line it with parchment paper for easy removal. Transfer the Rice Krispie mixture into the prepared pan.
  8. Press Into Pan: Using the spatula or a piece of wax paper, press the mixture firmly and evenly into the pan. Make sure to spread it out to the edges and smooth the top for a neat finish.
  9. Cool: Allow the treats to cool at room temperature for about 30 minutes, or until they are fully set. Avoid placing them in the refrigerator, as this can make them too hard.
  10. Cut and Serve: Once cooled and set, use a sharp knife to cut the treats into squares or your desired shapes. Lift them out of the pan and serve immediately, or store them in an airtight container for later enjoyment.
Rice Krispie Recipe: Take_a_picture_of_the_Rice_Krispie_Recipe

Rice Krispie Recipe

his is the recipe for the original rice krispies treats squares…It never fails! Plus, it is a great way to use up a box of cereal! For best results, use fresh marshmallows. 
Hit the Rating button
Print Pin Rate
Course: Snack
Cuisine: American
Prep Time: 10 minutes
Cook Time: 10 minutes
Resting Time: 30 minutes
Total Time: 50 minutes
Author: Jacob Allen
Servings: 5 People

Equipment

  • Large saucepan
  • Spatula or Wooden Spoon
  • Mixing Bowl
  • Baking pan (9×13-inch)
  • Knife or bench scraper
  • Measuring cups and spoons
  • Cooking spray or butter

Ingredients

  • 3 cups Rice Krispies
  • 2 cups Marshmallow
  • 50 Grams Butter

Instructions

  • In a large saucepan, melt the butter over low heat.
  • Add the marshmallows to the melted butter and stir continuously until they are completely melted and smooth.
  • Remove the saucepan from the heat.
  • Pour the Rice Krispies cereal into the saucepan with the melted marshmallow mixture.
  • Using a spatula or wooden spoon, gently fold the cereal into the marshmallow mixture until all of the cereal is evenly coated.
  • Transfer the mixture into a greased 9×13-inch pan or a pan lined with parchment paper.
  • Use the spatula or a piece of wax paper to press the mixture firmly and evenly into the pan.
  • Let the treats cool at room temperature for about 30 minutes, or until they are set.
  • Once cooled and set, cut the treats into squares or your desired shapes.
  • Enjoy your homemade Rice Krispie treats.

Notes

Stir Constantly: When melting the marshmallows and butter, stir constantly to prevent them from burning or sticking to the pan.
Work Quickly: Once the marshmallow mixture is melted and combined with the cereal, work quickly to press it into the pan before it starts to set.
Keyword best Rice Krispie Recipe, easy Rice Krispie Recipe, homemade Rice Krispie Recipe, Rice Krispie Recipe, sweet Rice Krispie Recipe

Did Your Rice Krispie Treats Turn Out Hard?

Rice Krispie Recipe: Take_a_picture_of_the_Rice_Krispie_Recipe

The most likely culprit is the heat that you are using to cook them. Keep your heat below medium-low at all times. If the marshmallows are exposed to too much (/too high) heat, they’ll become tough once they cool. Have you ever made an indoor S’more in the microwave and ended up with a marshmallow that was hard enough to break your teeth?  Well, that’s what will happen if your marshmallow is exposed to heat that’s too high, so keep the heat on low to avoid rock hard Rice Krispie Treats. Slow on low heat is the way to go for chewy results!
Another problem could be using too much pressure when spreading them into your prepared pan. If you pack everything in too tightly, they’ll end up denser and harder than they should be. Use a silicone spatula to gently spread everything evenly into your pan.

 Ways to Cut it Out?

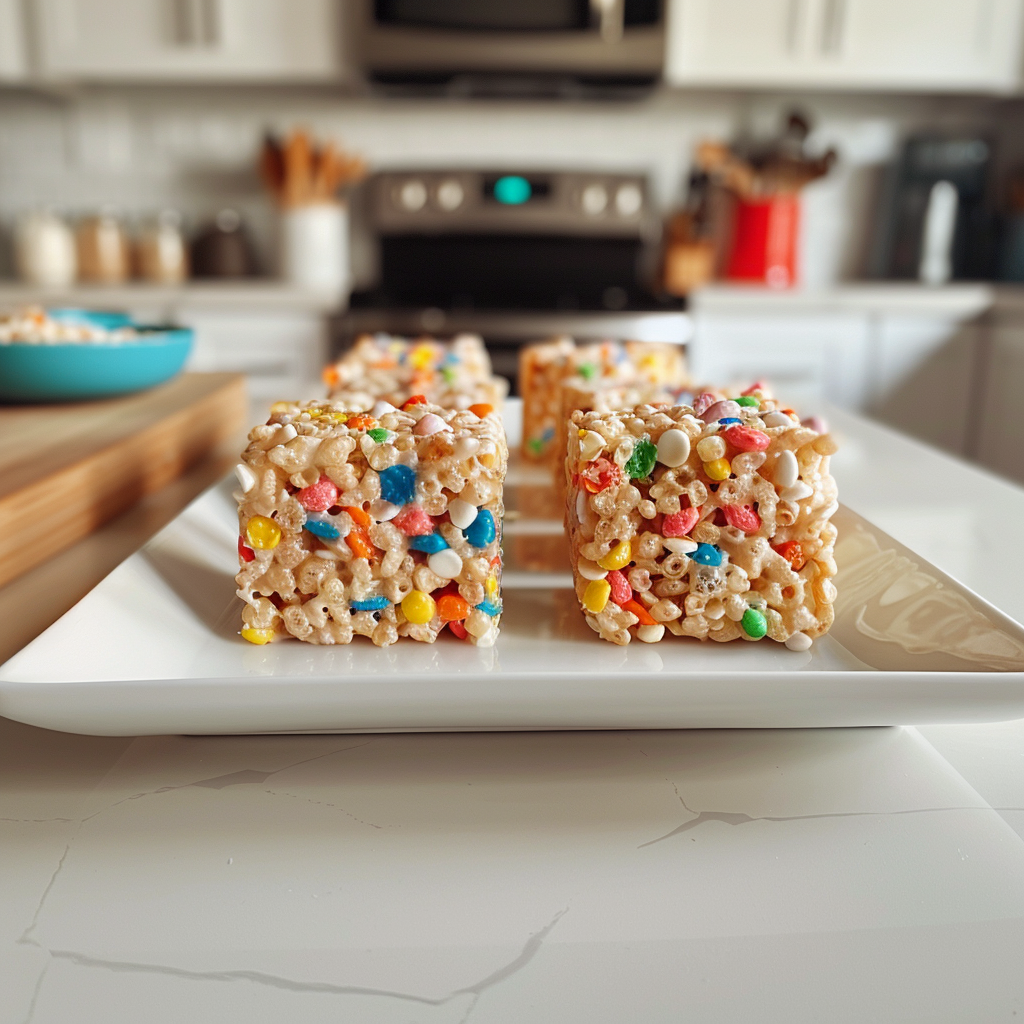
One of the best things about these treats is their ability to take just about any shape! Here are a few other ways you can slice and serve your treats:

  • Triangles: Cut the treats into squares and then slice diagonally through the center to make triangles.
  • Circles: Using a biscuit cutter, press and cut the rice krispies into circles. Press the scraps back into a prepared baking dish and cut remaining circles.
  • Spheres: Instead of pressing your treats into a prepared baking pan, allow the mixture to cool. Scoop and roll into spheres and allow to set on parchment paper for 30 minutes.
  • Cookie Cutters: If you want to press other shapes with cookie cutters using this recipe, I would recommend dividing the recipe into two 9×13-inch pans. This will result in thinner rice krispies that can then be easily cut with cookie cutters into every shape under the sun.

Tips and Tricks!

  1. Fresh Marshmallows: Use fresh marshmallows for the best results. Stale marshmallows can result in chewy or tough treats.
  2. Low Heat: When melting the marshmallows and butter, use low heat and stir constantly to prevent burning. Burnt marshmallows can ruin the taste of your treats.
  3. Quick Work: Work quickly once the marshmallows are melted and the cereal is added. The mixture can harden fast, so have everything ready to go before you start.
  4. Butter Your Hands: To prevent the sticky mixture from sticking to your hands, lightly butter them before pressing the treats into the pan.
  5. Even Pressing: Press the mixture evenly into the pan to ensure uniform treats. You can use a spatula or the back of a spoon to help smooth it out.
  6. Add-Ins: Get creative with add-ins like chocolate chips, nuts, or dried fruit to customize your treats. Just fold them in gently before pressing the mixture into the pan.
  7. Cool Completely: Allow the treats to cool completely in the pan before cutting them into squares. This helps them set and hold their shape.

What to Serve With Rice Krispie Recipe?

Storage, Freezing And Reheating!

After preparing Rice Krispie treats, ensure they cool completely before storing them in an airtight container or wrapping them tightly in plastic wrap to maintain their freshness. For longer-term storage, cut them into individual servings, place them on a parchment-lined baking sheet, freeze until firm, then transfer them to a freezer-safe container or bag, removing excess air before sealing. When ready to enjoy, thaw them at room temperature for about 15-20 minutes or microwave them briefly, being careful not to overheat. Alternatively, reheat them in a preheated oven at 300°F (150°C) for 5-10 minutes for a crispier texture.

Can I Make Rice Krispie Treats Ahead of Time?

Yes, you can definitely make Rice Krispie treats ahead of time! Personally, I like to store them in an airtight container at room temperature for up to a few days. If I need to make them further in advance, I’ll store them in the refrigerator for up to a week. Just be sure to let them come to room temperature before serving for the best texture.

How Can I Add Variety to My Rice Krispie Treats?

Adding different mix-ins or toppings is a great way to add variety to your Rice Krispie treats! Personally, I love mixing in mini chocolate chips, chopped nuts, or dried fruit for added flavor and texture. You can also drizzle melted chocolate or caramel over the top, or even sandwich a layer of peanut butter or Nutella between two layers of Rice Krispie treats for a delicious twist. The possibilities are endless!

Recipe Rating