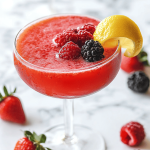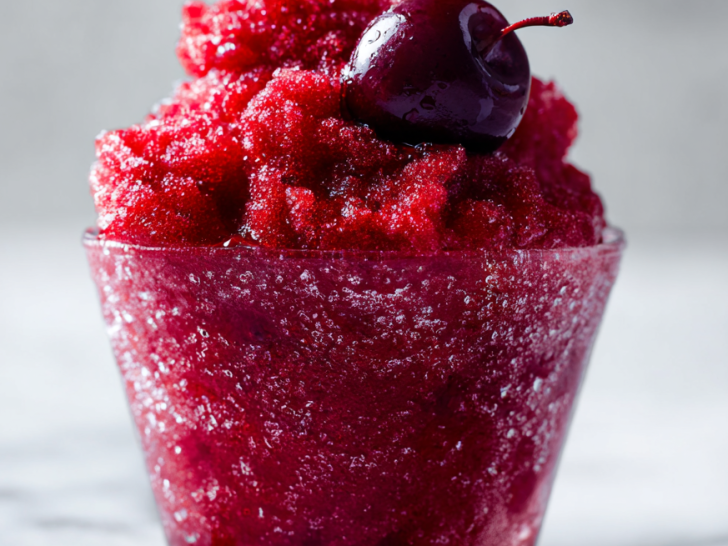
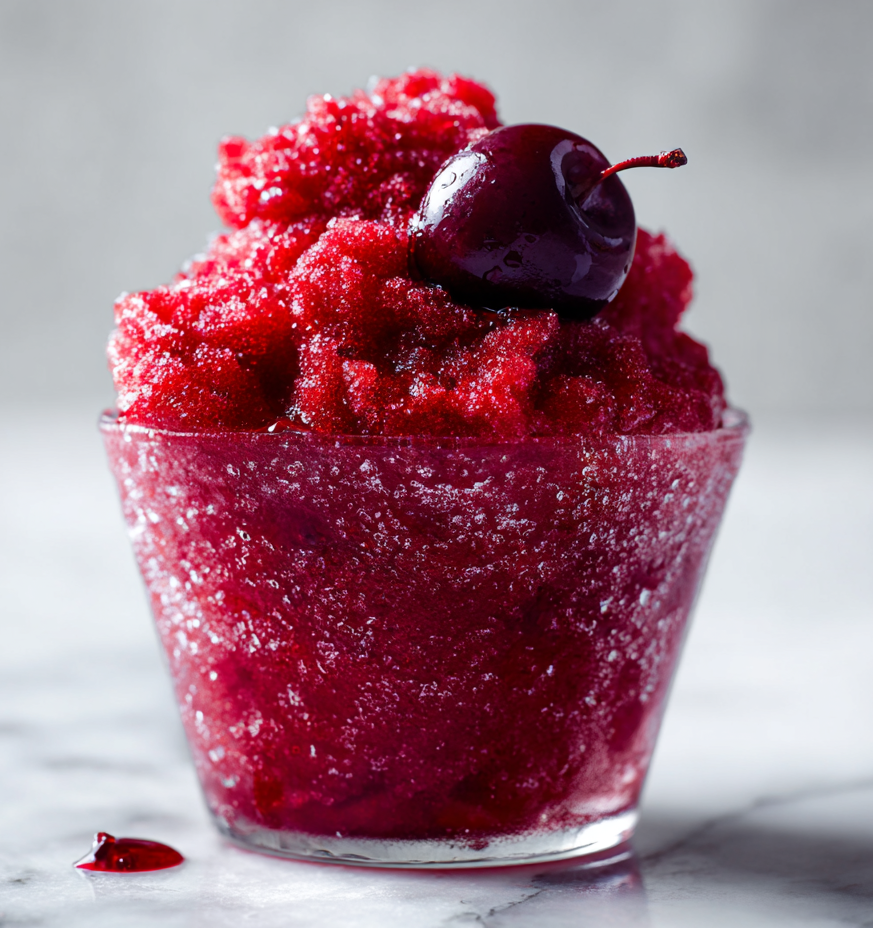
This Cherry Slushie is a refreshing frozen drink that’s quick to prepare and perfect for hot days. Made with frozen cherries, a touch of sweetness, and bright lemon juice, it delivers a cooling treat without much effort.
The texture is icy and smooth with a slightly chunky slush consistency. Each sip is sweet and tangy, with a vibrant fruity flavor that feels both refreshing and satisfying.
Why I Love This Recipe
It’s the perfect balance of sweet and tart, with a refreshingly icy texture. It reminds me of childhood summers, yet feels sophisticated enough for grown-up afternoons.
Plus, it’s endlessly customizable – swap ingredients or add a splash of booze for a grown-up version.
Ingredients Breakdown
- Frozen cherries: Frozen cherries give that instant icy crunch, sweet and tart in every bite. Use fresh cherries if you have no time to freeze—just add ice to the blender.
- Lemon juice: Brightens up the flavor with a citrusy kick, countering the sweetness. Swap with lime for a different zing.
- Simple syrup or honey: Sweetens without watering down the flavor. Use maple syrup for a richer, earthier note.
- Water or ice: Helps achieve that slushie consistency. Use cold water or crushed ice to keep it icy.
- Mint or cherry garnish: Adds visual appeal and a fresh aroma, making the drink feel extra special.
Kitchen Tools You’ll Need
- Blender: To pulverize the frozen cherries into a smooth, icy slush.
- Measuring spoons: To measure syrup or honey accurately.
- Knife & cutting board: To pit the cherries safely.
- Glassware: To serve the chilled slush.
Cherry Slushie
Equipment
- Blender
- Knife Cutting board
- Glassware
Ingredients
- 1 cup frozen cherries pitted and frozen for at least 2 hours
- 1 tablespoon lemon juice freshly squeezed
- 2 tablespoons simple syrup or honey adjust to taste
- 1-2 cups water or crushed ice to loosen the mixture if needed
- for garnish cherry or mint optional
Instructions
- Place a handful of pitted cherries in the freezer and let them freeze solid for at least 2 hours or overnight, ensuring they achieve that icy crunch.
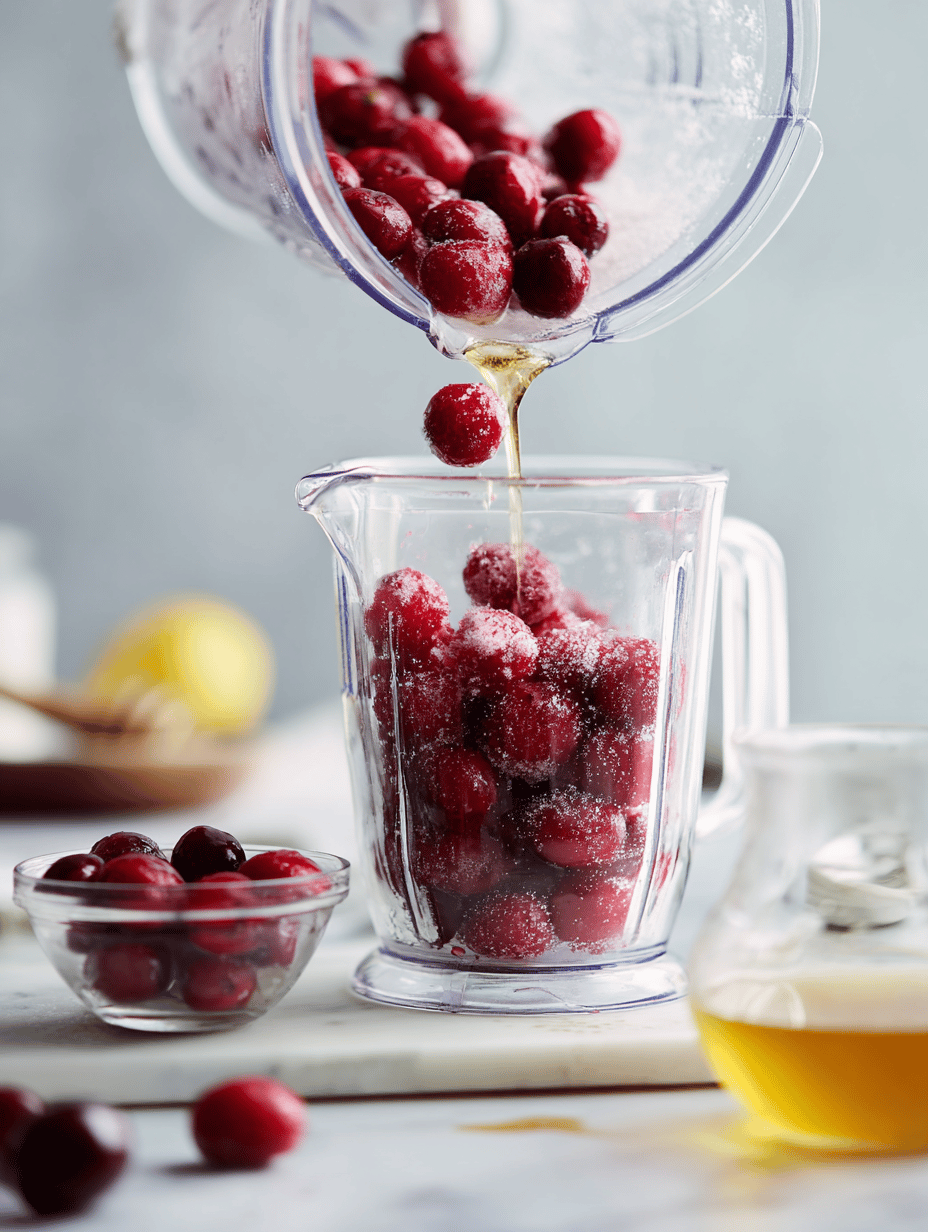
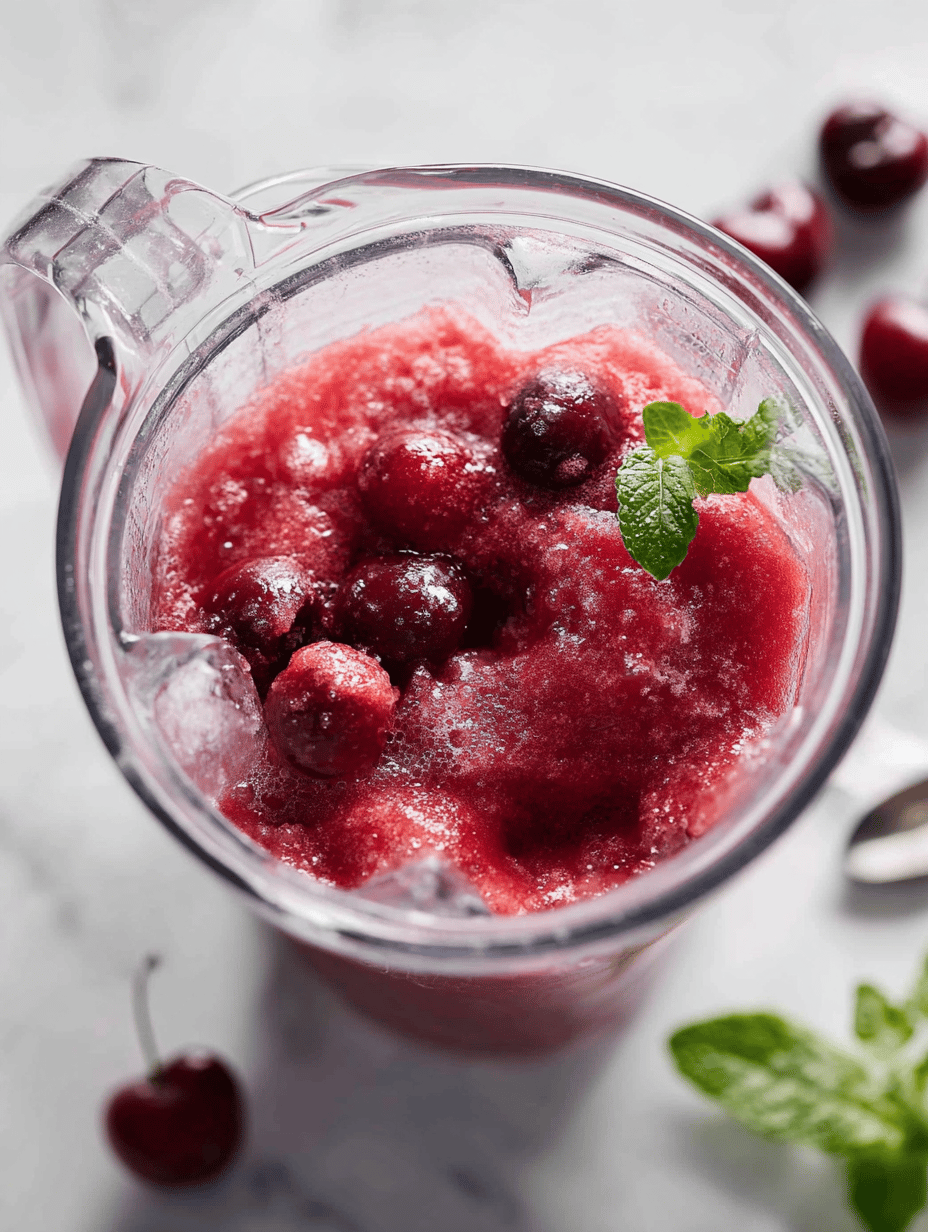
- Pour the frozen cherries into your blender, creating a vibrant red base that looks almost like a jewel-toned snow globe.
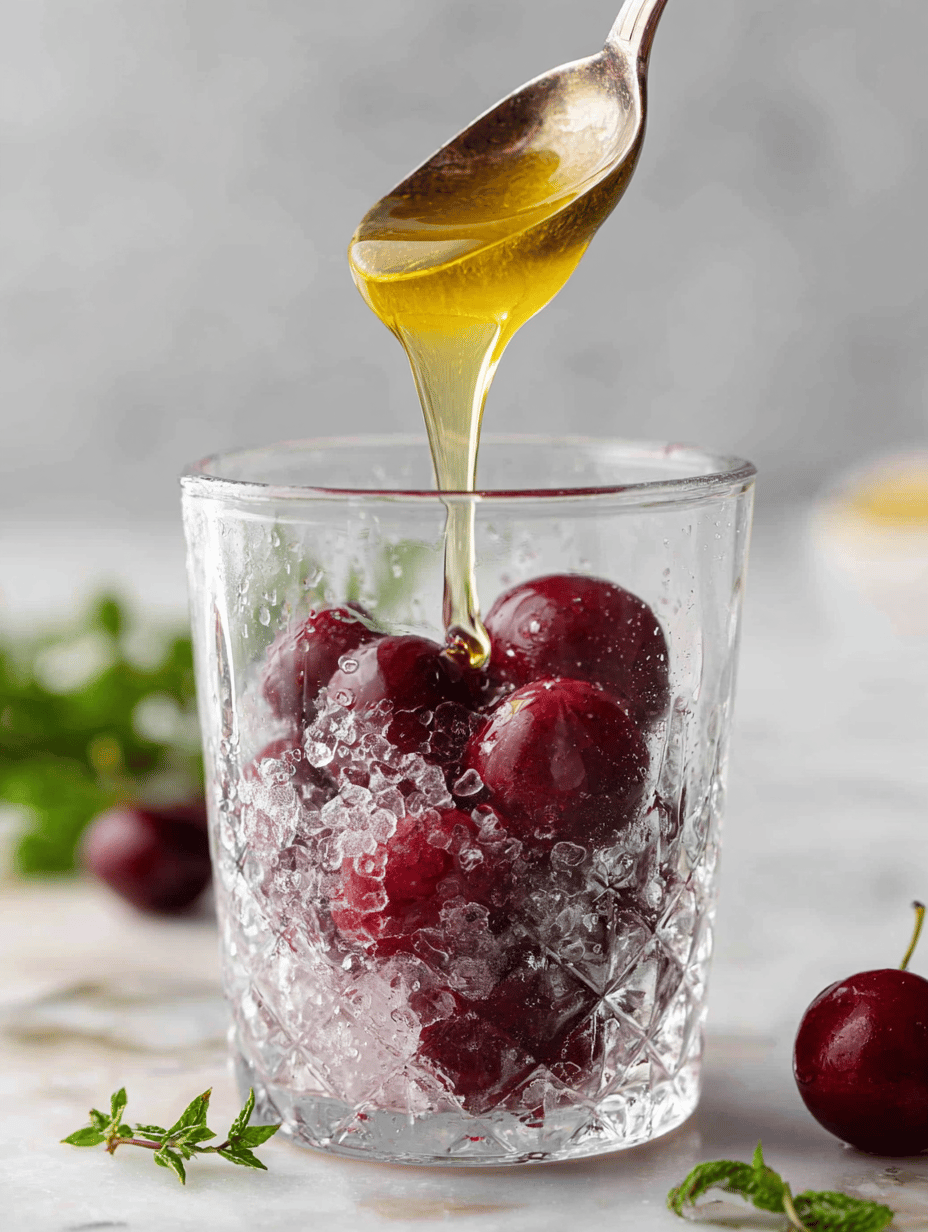
- Add a splash of lemon juice to brighten the flavor and balance the sweetness with a citrusy tang.
- Scoop in a couple of tablespoons of simple syrup or honey, depending on your preferred level of sweetness, and let the blender do its magic.
- Start blending on high speed, watching as the ingredients transform into a thick, icy slush that’s smooth and vibrant in color.
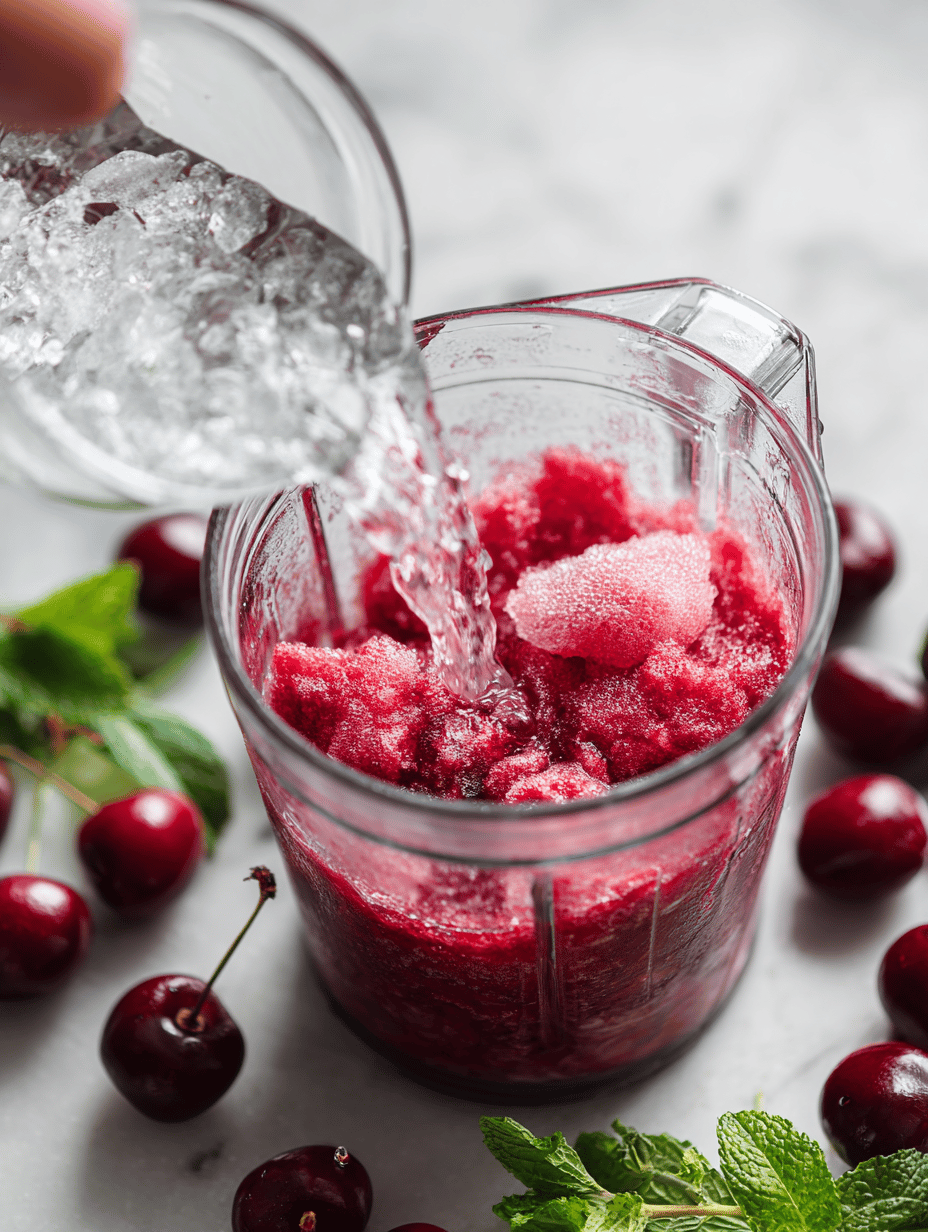
- If the mixture is too thick or not blending smoothly, add a splash of cold water or crushed ice and continue blending until the texture is just right—cold, slightly chunky, and scoopable.
- Taste the slushie and adjust the sweetness or acidity if necessary by adding a little more honey or lemon, then give it a quick pulse to combine.
- Scoop the icy mixture into chilled glasses, watching it mound up with a frosty, textured appearance that’s almost like a soft snow cone.
- Garnish each glass with a cherry or a sprig of fresh mint for a pop of color and aroma that makes the drink feel extra special.
- Serve immediately with a straw or spoon and enjoy the cold, sweet-tart burst of summer in every sip.
Nutrition
Cooking checkpoints and tips to keep it perfect
- Make sure cherries are fully frozen before blending for that icy texture.
- Blend until completely smooth—any lumps mean a less uniform slush.
- Taste and adjust sweetness before serving; flavors will intensify slightly as it melts.
- Keep an eye on the blender—overworking can turn the mixture warm and soupy.
Common pitfalls and how to dodge them
- Blending warm cherries, which results in a watery slush.? Use fully frozen cherries; partially thawed cherries won’t give that frosty texture.
- Over-blending, causing the mixture to warm up.? Don’t over-blend; 30-40 seconds is enough, or it’ll turn warm and runny.
- Adding too much sweetener at once.? Taste before serving, adjust sweetness, then blend briefly.
- Using a mixture too thick to pour or sip easily.? If the mixture is too thick, add a splash of cold water or ice and blend again.
Enjoying this cherry slushie is a little ritual of cooling down and indulging in a burst of fruity brightness. It’s easy to tweak—add a splash of sparkling water or a dash of vanilla for different vibes. Keep a stash of frozen cherries in your freezer; they turn any day into a mini summer escape.

hi there,
i’m Austin
A photographer who loves to cook. During the day, I take pictures, but at night, I dive into the world of flavors and recipes.
know more