Halloween Witch Finger Cookies Recipe

Halloween Witch Finger Cookies Recipe
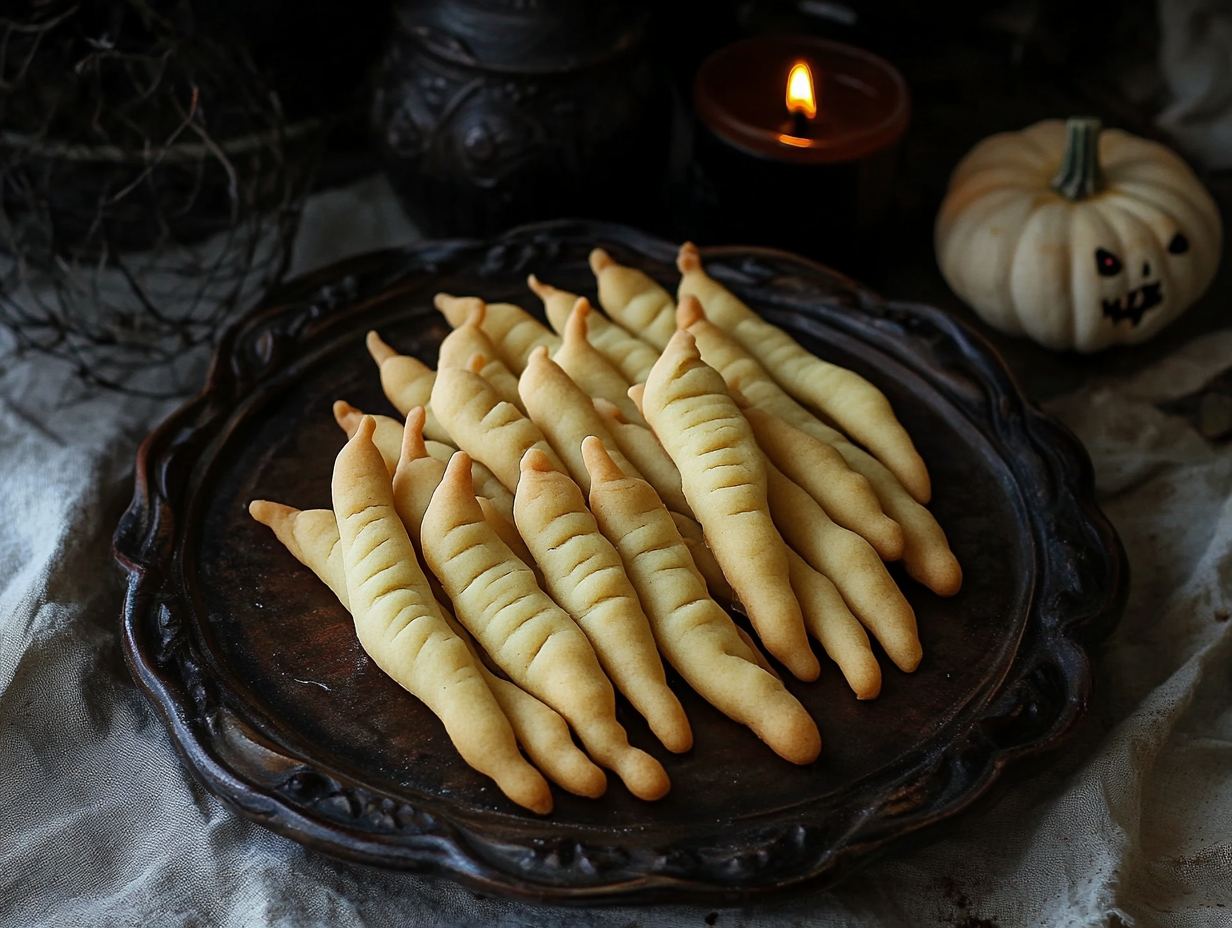
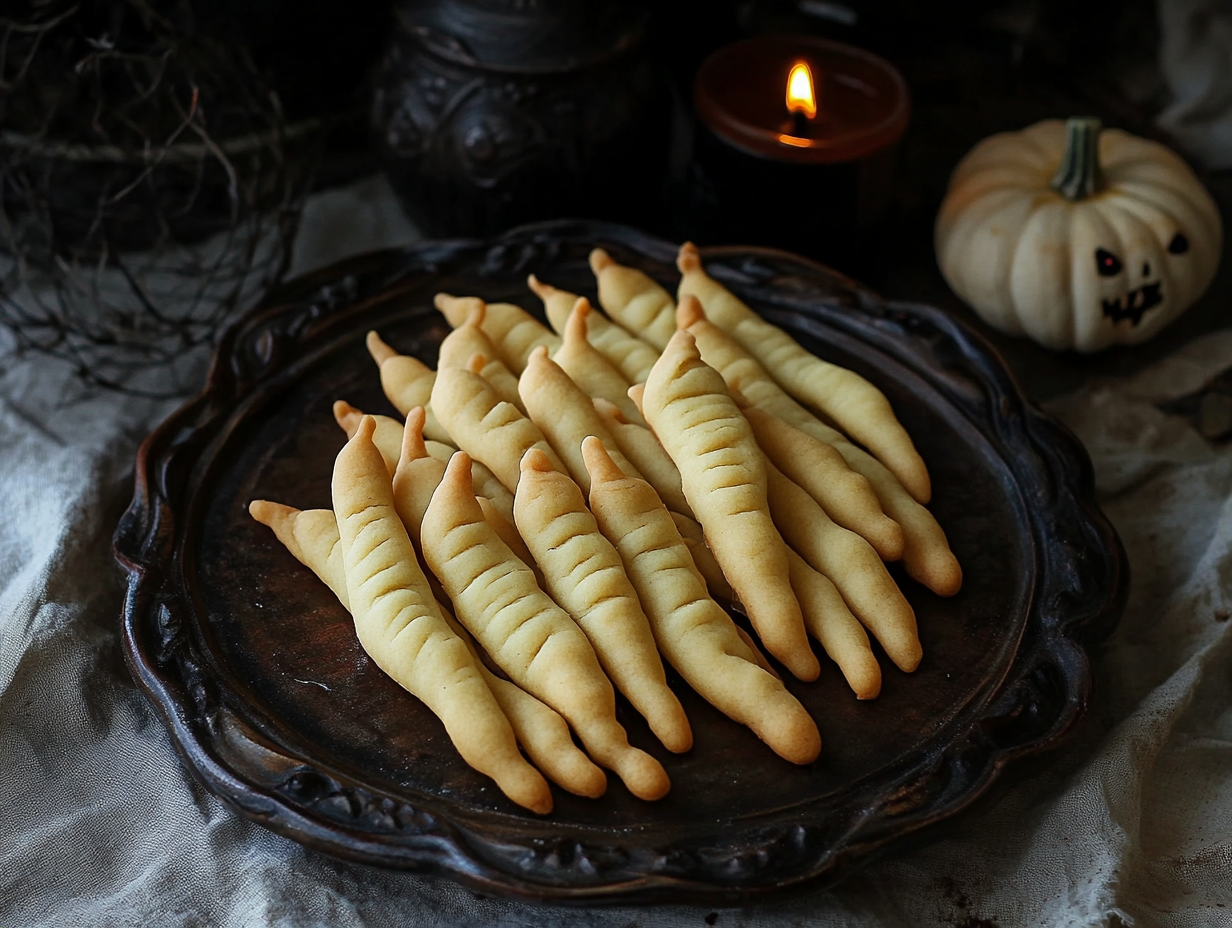
Halloween Witch Finger Cookies are a fun way to turn a classic buttery cookie dough into a spooky seasonal treat. Shaped by hand and finished with almond “nails,” these cookies are a great choice for Halloween parties, bake sales, or a festive dessert spread.

The green-tinted cookies have a tender, crumbly texture with vanilla and almond notes, while the whole almond adds a satisfying bite. A little red decorator gel underneath each nail gives the finished cookies their eerie Halloween look.

Reasons You’ll Keep Making These Cookies

  • Easy to Shape: The dough can be rolled and molded by hand without special cookie cutters.
  • Simple Equipment: Basic mixing and baking tools are all you need.
  • Make-Ahead Dough: Chilling the dough gives you time to prepare the rest of your Halloween treats.
  • Party Friendly: The recipe makes 28 cookies, making it convenient for sharing.
  • Beginner Friendly: The finger shapes do not need to be perfectly uniform.
  • Fun Decorating: Almonds and red decorator gel create the spooky details with minimal effort.

Ingredient Insights and Easy Swaps

  1. Unsalted Butter: Softened butter helps the ingredients blend smoothly and creates a tender cookie. Let it soften at room temperature rather than melting it.
  2. Powdered Sugar: Confectioners’ sugar blends easily into the dough and helps maintain a delicate cookie texture.
  3. Almond Extract: This adds a subtle nutty note that works naturally with the whole almond “nails.” Vanilla extract rounds out the flavor.
  4. Whole Blanched Almonds: These create the fingernails and give each cookie its recognizable witch-finger appearance. Choose almonds with a similar size for a more consistent look.
  5. Green Food Coloring: Add the coloring gradually so you can control the shade. A few drops are enough to give the dough its Halloween-inspired color.
  6. Red Decorator Gel: A small amount under each almond creates the creepy finishing detail after the cookies have cooled slightly.

Chef’s Tip: When shaping the cookies, make the fingers slightly thinner than you want them to look after baking. The dough will spread and puff as it cooks.

Halloween Witch Finger Cookies Recipe

Halloween Witch Finger Cookies Recipe

Halloween Witch Finger Cookies are spooky yet scrumptious treats that perfectly capture the spirit of the season. Shaped like creepy fingers with almond "nails" and a vibrant green hue, these cookies are both fun to make and deliciously addictive. They’re sure to be a hit at any Halloween gathering, adding a delightful touch of eerie elegance to your festivities!
Hit the Rating button
Print Pin Rate
Course: Dessert
Cuisine: American
Prep Time: 20 minutes
Cook Time: 20 minutes
Total Time: 40 minutes
Calories: 120kcal
Author: Anne Carter
Servings: 28 cookies

Equipment

Ingredients

  • 1 cup unsalted butter softened
  • 1 cup powdered sugar confectionery
  • 1 teaspoon Vanilla extract
  • 1 egg
  • 1 teaspoon Almond extract
  • 2 3/4 cups all-purpose flour
  • 3/4 cup whole blanched almonds
  • green food coloring few drops
  • 1 tube red decorator gel
  • 1 teaspoon baking powder
  • 1 teaspoon salt 1/2 teaspoon salt if using salted butter

Instructions

  • In a bowl, beat together the butter, sugar, egg, almond extract, and vanilla extract until well combined.
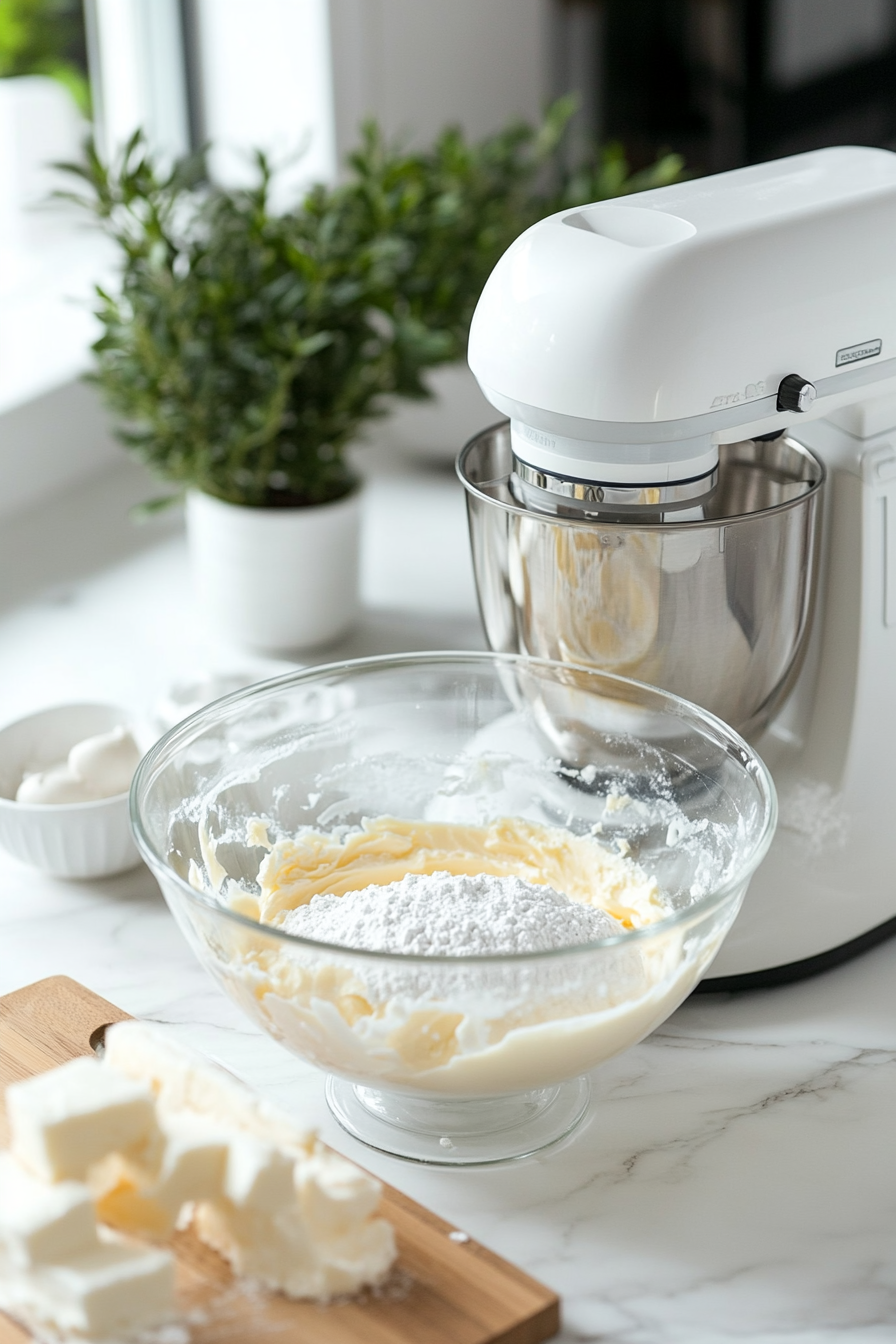
    In a bowl, beat together the butter, sugar, egg, almond extract, and vanilla extract until well combined
  • Gradually mix in the flour, baking powder, and salt until a dough forms.
  • Add a few drops of green food coloring, mixing until you reach your desired shade of green.
    Add a few drops of green food coloring, mixing until you reach your desired shade of green
  • Cover the dough and refrigerate for 30 minutes to firm up.
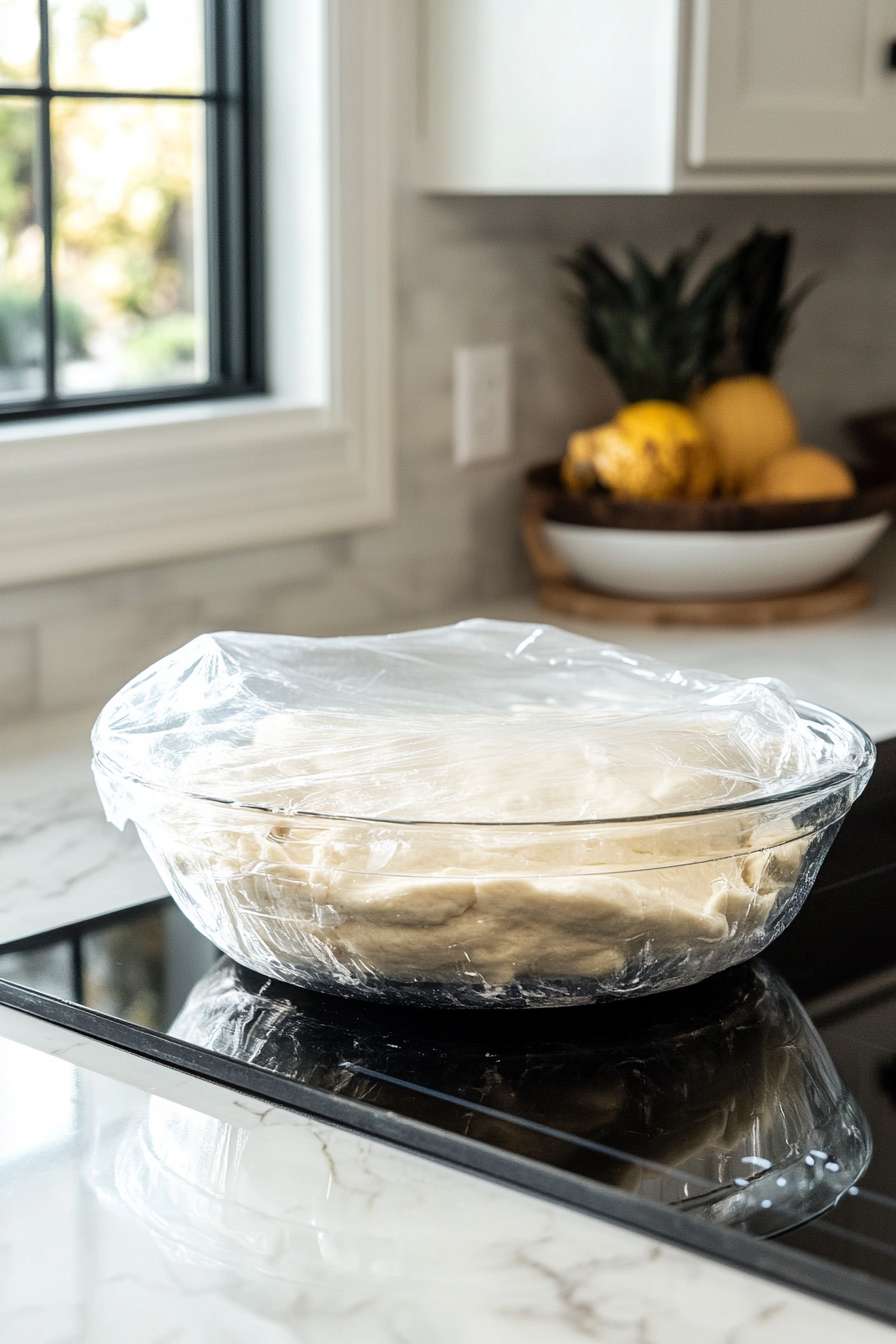
    Cover the dough and refrigerate for 30 minutes to firm up
  • Roll heaping tablespoons of dough into finger shapes for each cookie.
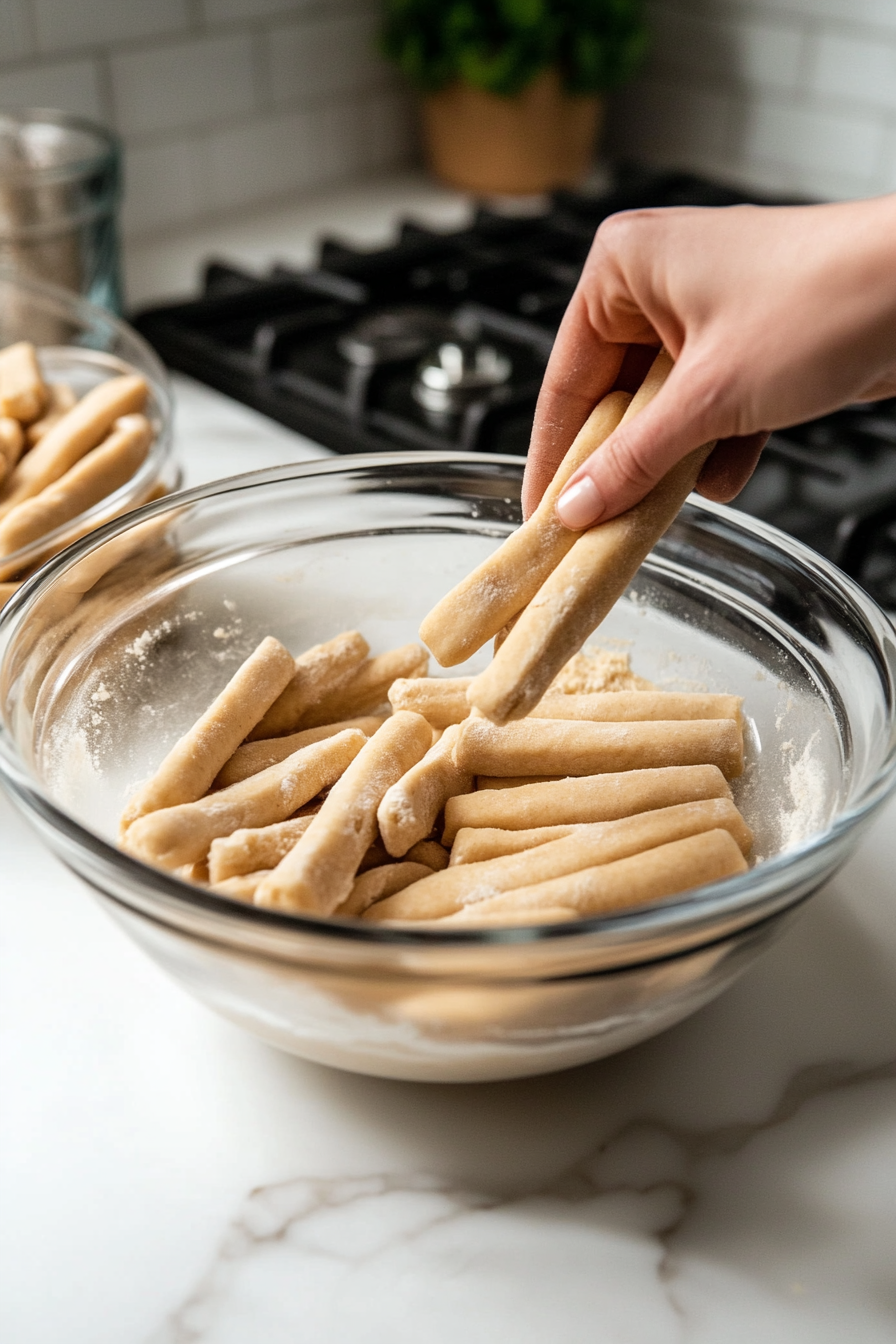
  • Press an almond firmly into one end for the "nail," then squeeze the center to create a knuckle shape. Use a paring knife or toothpick to make several indents for knuckles.
    Press an almond firmly into one end for the "nail," then squeeze the center to create a knuckle shape
  • Place the cookies on lightly greased or parchment-lined baking sheets.
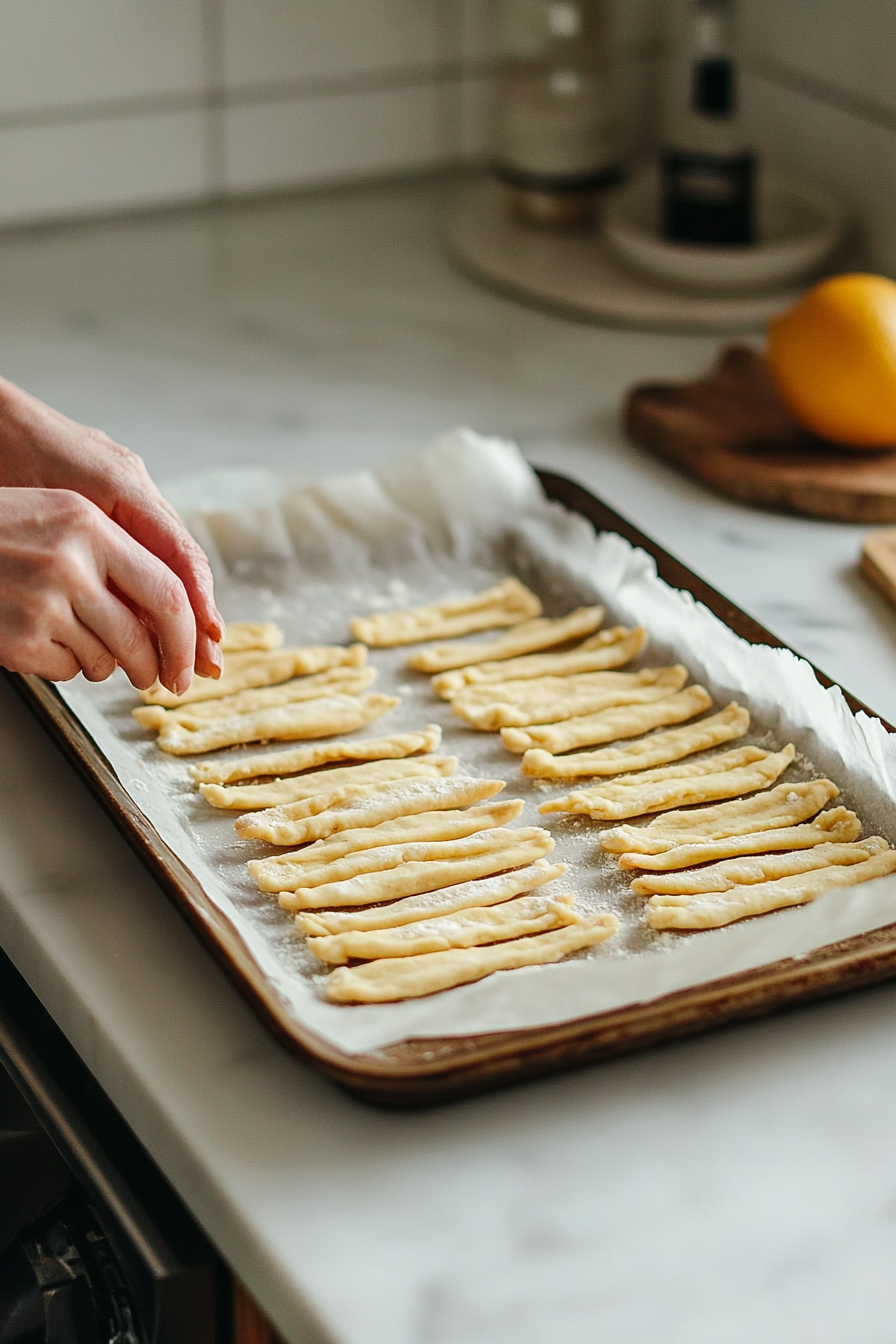
  • Bake in a preheated 325°F (160°C) oven for 20-25 minutes or until pale golden. Let cool for 3 minutes, then add red decorator gel under the almond for a creepy effect. Enjoy!

Nutrition

Calories: 120kcal | Carbohydrates: 15g | Protein: 2g | Fat: 6g | Saturated Fat: 3.5g | Polyunsaturated Fat: 0.5g | Monounsaturated Fat: 1g | Cholesterol: 20mg | Sodium: 100mg | Potassium: 50mg | Fiber: 0.5g | Sugar: 6g | Vitamin A: 300IU | Calcium: 10mg | Iron: 0.5mg

Common Mistakes to Avoid

  • Skipping the Chill: Warm dough can become difficult to shape and may spread more during baking.
  • Oversized Fingers: Large pieces of dough can lose their defined finger shape as they bake.
  • Loose Almonds: Press each almond firmly into the dough so it stays attached during baking.
  • Shallow Knuckles: Make the indentations noticeable enough to remain visible after the cookies bake.
  • Overbaking: Remove the cookies when they are pale golden rather than waiting for deep browning.
  • Adding Gel Too Early: Wait about 3 minutes after baking before adding the red decorator gel.

Creative Variations for Your Next Batch

  • Purple Witch Fingers: Use purple food coloring instead of green for a different Halloween palette.
  • Black Nails: Use dark-colored decorating gel around the almond for a more dramatic finish.
  • Chocolate Dough: Replace part of the flour with cocoa powder for a chocolate version.
  • Colored Almonds: Tint the almonds before decorating for colorful or unusual nails.
  • Long Fingers: Shape the dough into slightly longer pieces for an exaggerated witch-hand effect.
  • Monster Fingers: Add small candy eyes to some cookies for a playful variation.
  • Cracked Skin Effect: Make extra shallow lines around the knuckles to create a more weathered appearance.

What to Pair With Halloween Witch Finger Cookies ?

Best Ways to Store Leftovers

  • Room Temperature: Keep cooled cookies in an airtight container.
  • Separate Layers: Place parchment between layers if stacking the cookies.
  • Keep Decorations Intact: Store the cookies in a container where the almond nails will not be pressed against the lid.
  • Portion Storage: Divide cookies into smaller containers when preparing them for Halloween parties.
  • Container Placement: Keep the storage container on a level surface to help prevent the decorated cookies from shifting.

Frequently Asked Questions

  1. Why do these cookies need to be shaped like fingers before baking?
    Hand-shaping gives you control over the length, width, and knuckle details, which creates the distinctive appearance of the finished cookies.
  2. Should the almonds be blanched?
    The recipe calls for whole blanched almonds, which have their skins removed and provide a cleaner nail-like appearance.
  3. How many cookies does this recipe make?
    The recipe makes approximately 28 cookies when using heaping tablespoons of dough for each finger.
  4. Can I make the fingers different sizes?
    Yes. Slight differences in length and shape can actually make the cookies look more like a collection of creepy witch fingers.
  5. When should I add the red decorator gel?
    Add it after the cookies have cooled for about 3 minutes, placing it underneath the almond for the intended effect.
  6. What temperature should the oven be?
    Bake the cookies at 325°F (160°C) until they are pale golden.
  7. How can I make the knuckle details more visible?
    Use a paring knife or toothpick to create several deliberate indents around the center of each shaped cookie before baking.
Spread the love

Leave a Reply

Your email address will not be published. Required fields are marked *

Recipe Rating